

Climbing shoes: what they are and why they feel so different
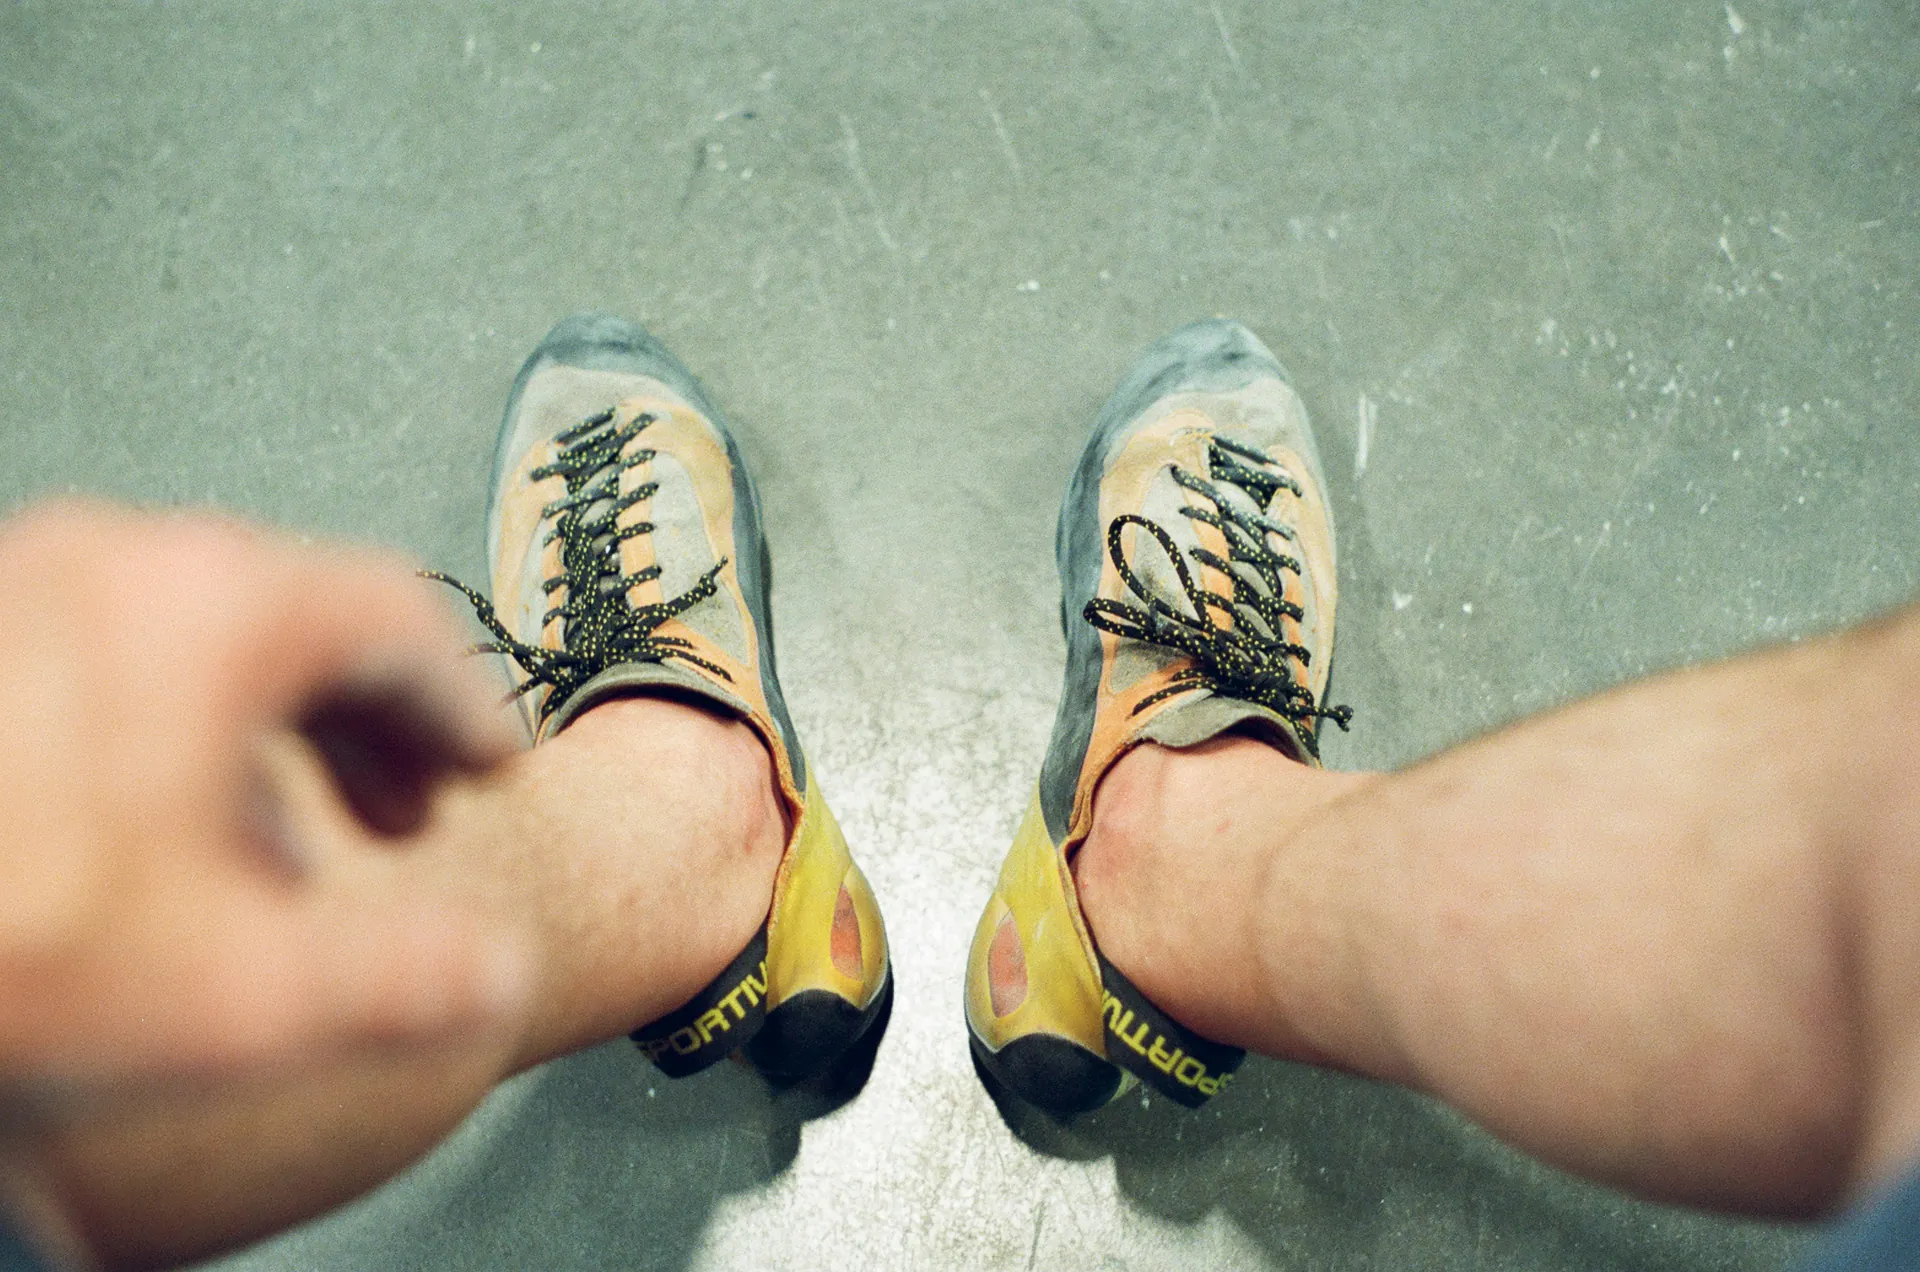
Climbing shoes are specially crafted footwear designed for activities like rock climbing, bouldering, and other vertical challenges. They prioritize precision, grip, and power transfer over everyday comfort, making them essential for serious climbers.
Unlike typical running shoes or walking boots, climbing shoes feature sticky rubber outsoles, asymmetrical designs, and often downturned shapes. These elements force your toes into a curled position, enhancing performance. This unique construction creates a tradeoff: they might feel tight and uncomfortable at first, but they allow for precise footwork that regular shoes can't match.
Soft climbing shoes are perfect for feeling subtle footholds, ideal for technical moves. On the other hand, stiffer shoes provide more support, reducing fatigue on long climbs, making them great for beginners. The aggressive curvature focuses power through your big toe, offering unmatched performance compared to standard footwear.
The design factors that actually change performance
Fit and last shape: toe box, width, heel shape, volume
The last shape—the mold defining a shoe's form—plays an essential role in determining fit through the toe box width, heel shape, and overall volume. These factors directly impact power transfer and comfort. Narrow toe boxes squeeze toes together, providing precision on edges but potentially causing discomfort for wider feet, such as hotspots. On the other hand, wider designs accommodate high-volume feet but may reduce the effectiveness of toe curl for performance.
A common misunderstanding is assuming that the width of your street shoes matches climbing shoes. In reality, climbing lasts prioritize performance over comfort. For instance, heel cups must fit securely to prevent slipping during heel hooks.
Downturn and asymmetry: what they do on steep terrain vs slabs
Downturn refers to the curve of the shoe, which is more aggressive for steep overhangs. This design positions the toes downward, helping climbers pull on holds. In contrast, neutral shapes are better suited for slabs, allowing for effective smearing. Asymmetry, which angles the rand inward, focuses force through the big toe, making it ideal for small edges on vertical faces. However, this feature is less effective for crack climbing or flat-footed stances.
A common misconception is that more downturn automatically means better performance. While it excels on overhangs, it can fatigue the feet on slabs and reduce the shoe's versatility.
Stiffness and midsole: edging support vs sensitivity
Stiff shoes with full midsoles provide excellent edging support on micro-holds and slabs, while also reducing foot fatigue on long routes. In contrast, shoes with split or no midsoles maximize sensitivity, making them ideal for bouldering and smearing. Thicker soles enhance durability and are great for beginners but can dull the feel of the rock. Thinner soles, on the other hand, offer greater precision but may lead to quicker fatigue.
A key error to avoid is choosing ultra-flexible shoes for technical edging. These shoes often deform under pressure, reducing their effectiveness.
Rubber: friction, durability, temperature effects
Rubber compounds differ in Shore A hardness levels, which influence performance. Soft rubbers (60-75) provide maximum friction and sensitivity on slick rock but wear out quickly and can become gummy in hot conditions. Medium rubbers (75-85) strike a balance between grip and durability, performing well across various temperatures. Hard rubbers (85+) are excellent for precise edging and longevity but tend to slip on slabs.
Some bi-compound designs use soft centers for smearing and hard edges for durability. A common misunderstanding is assuming that stickier rubber is always better, without considering the type of rock and environmental conditions.
Closure systems: lace vs velcro vs slipper
Lace systems provide precise micro-adjustments, ensuring a custom fit as your foot swells or changes during activities. On the other hand, velcro straps offer quick on/off convenience, though they lack the ability for fine-tuning. For instant sensitivity, slippers are ideal, especially for bouldering sessions.
When choosing, consider the tradeoff: laces are more secure for multi-pitch climbs but can slow you down during gym transitions. A common mistake is relying on velcro for precision tasks, as the straps can loosen mid-session, reducing effectiveness.
Upper materials: leather vs synthetic, stretch expectations
Leather uppers stretch between 1/2 to 1 size, allowing them to mold perfectly to your foot. However, they tend to breathe poorly. If minimizing stretch is a priority, lined leather is a better option. Synthetic materials, on the other hand, resist stretching, maintain their fit for a longer time, and wick moisture effectively. While synthetic uppers are durable, they often feel less supple compared to leather.
A common expectation error occurs when users assume synthetics "break in" like leather. In reality, synthetics soften only minimally, making it important to size them accurately from the start.
Heel and toe-hook features: tensioning and coverage
Rubberized heel cups and toe hooks equipped with tensioned rands are designed to deliver secure pulls, especially on overhangs. Hard rubber components help prevent slippage during demanding maneuvers. Coverage varies—toe patches enhance hooking capabilities, while V-tension heels boost power.
However, beware of excess bulk, as it can compromise sensitivity. A pitfall to avoid is neglecting the heel fit, which can lead to painful slips even if the rubber is grippy.
Choose shoes by climbing style
Indoor bouldering
For indoor bouldering, prioritize aggressive, soft slippers or velcro shoes, such as the Scarpa Instinct VS, for enhanced sensitivity on volumes and overhangs. These are ideal if you can tolerate high discomfort during short, intense sessions at intermediate or advanced levels. Beginners, however, should opt for shoes with a moderate downturn and some padding. This helps to build foot strength without causing unnecessary pain.
Sport climbing
Sport climbers benefit from moderately downturned shoes with edging support, such as the La Sportiva Katana Lace or Muira VS. These shoes balance precision on pockets and crimps with enough comfort for longer climbing sessions. They are ideal for vertical to steep routes at any skill level. Additionally, laced shoes are recommended as they accommodate swelling feet during extended climbs.
Slab and volumes
When climbing on slabs and volumes, choose neutral or stiff-soled moderate shoes with sticky rubber to ensure secure smearing and edging. Avoid shoes with extreme aggression as they tend to slip on low-angle terrain. These types of shoes are well-suited for patient intermediates who prioritize durability over maximum sensitivity.
Trad and crack climbing
For trad and crack climbing, flat, neutral shoes like the Five Ten Moccasym are ideal. These shoes excel at jamming and smearing without causing toe discomfort. They emphasize comfort and versatility, making them perfect for all-day use. Whether you're a beginner or an expert, these shoes are a great choice for tackling variable terrain frequently.
Multipitch and Alpine Rock
For multipitch and alpine climbing, opt for straight-lasted, stiff shoes designed as reliable workhorses. Look for models with thicker soles and a moderate fit, such as all-day comfort styles. These shoes emphasize support over sensitivity, making them ideal for extended wear on mixed rock surfaces. They are perfect if your comfort tolerance is high and your climbing sessions last for hours.
Beginner Gym Use
For gym beginners, neutral or moderately aggressive velcro shoes are a great choice. Select a size that's 0.5 to 1 size below your street shoe size to ensure a balance of edging performance and all-day comfort. These shoes allow frequent use across top-rope climbing and bouldering sessions, helping you develop technique without unnecessary discomfort before moving on to more specialized footwear.
How tight should climbing shoes be
Comfort fit vs performance fit
A comfort fit allows your toes to remain flat or slightly curled, providing enough room for all-day climbing sessions. This fit is ideal for beginners or multipitch climbs, where there’s no dead space but also no pressure points forming. It works best with stiff shoes sized 0-0.5 below your street shoe size.
On the other hand, a performance fit compresses your feet with tensioned rands for increased precision. In this fit, your toes touch the front, the heel feels snug, and the overall fit is skin-tight. This is suitable for short, high-output climbs on steep terrain and usually requires sizing down by 0.5-1.5 sizes, depending on the shoe's softness.
Discomfort vs red-flag pain
Acceptable discomfort involves snug compression without any looseness, toes bent but still mobile, and temporary fatigue that fades over time. This type of fit enhances power while minimizing the risk of injury.
In contrast, red-flag pain includes symptoms like crushed toe knuckles, numbness, blisters, or pinching in the Achilles area. These are signs that your shoes are too small and could lead to issues like reduced circulation or impaired performance. If you experience these, size up immediately.
Break-in and stretch: what to expect
Leather climbing shoes tend to stretch about 0.5 sizes after 10-20 sessions, softening from a snug fit to one that’s perfectly dialed in. However, synthetic shoes experience minimal stretch, so it’s important to prioritize the initial fit. For the most accurate sizing, try shoes in the late afternoon when your feet are slightly swollen.
Remember, the break-in process will involve gradual molding, but shoes will not go from "uncomfortably tight" to loose. Starting with painful shoes doesn’t guarantee improved performance later on.
Sizing: why street size is unreliable
Street shoe sizes often fail for climbing shoes because each brand uses unique lasts designed with curled toe positions. Additionally, there are differences in EU, US, and UK sizing scales—EU sizes are spaced approximately 6.6mm apart, while US/UK sizes are closer to 4.8mm. On top of this, climbing shoe designs prioritize performance over flat-foot comfort, meaning the same numbered size can fit very differently across various models.
Measuring your feet: length, width, volume
To measure your feet, stand with your heel against a wall on a piece of paper. Mark the tip of your longest toe (usually the big toe) and measure the distance in millimeters on your larger foot. Convert this measurement to EU size as a baseline. Then, trace the outline of your foot to assess width and volume, noting features like arch height and toe spread. For accuracy, repeat this process in the late afternoon when your feet are at their maximum swelling.
Low volume vs high volume models
Low volume climbing shoes, such as the Unparallel Sirus, are ideal for individuals with narrow heels and low arches, offering minimal heel lift. On the other hand, high volume models like the Scarpa Force are better suited for wider forefeet and higher insteps, providing a snug fit without excessive bagging. To find the right match, compare your foot trace to the brand's lasts—low volume shoes often feature a tight toe box, while high volume designs allow for more toe splay.
How to iterate efficiently when trying sizes
Begin with your measured EU size minus 0.5 to 1 size. Try three consecutive half-sizes, paying attention to toe contact and ensuring there is no heel slip. Test the shoes on climbing holds to evaluate their performance for edging and hooking. If your toe knuckles feel crushed or there are gaps, swap for another size. Use sizing charts like Rock+Run's brand drop guides (e.g., La Sportiva Mythos typically drops 1-2 EU sizes) to refine your choice efficiently.
Fix Common Fit Problems
Heel Lift or Heel Bagging
Heel lift occurs when loose heel cups or low-volume feet meet high-volume shoes, leading to slippage. To address this, tighten the laces around the heel and quarter, try lower-volume models such as Scarpa's low-volume variants, or use heel-grip socks as a temporary solution. Heel bagging, on the other hand, results from excess space caused by high-volume feet in narrow shoes. To fix this, switch to wider heel cups or high-volume versions of the shoe. Avoid over-tightening, as it can cause pinching and discomfort.
Toe Knuckle Pressure and Hotspots
Toe knuckle pressure happens when the toe shape doesn't match the downturned last of the shoe, leading to deformation and empty spaces. For Egyptian feet, look for square toe boxes, and for Morton's toe, opt for symmetrical toe boxes. Size the shoe so that your toes touch the end without being crushed. Hotspots, caused by front-to-back sliding in oversized shoes, can be avoided by downsizing to ensure a snug heel-to-tip fit. Initially, you can use thicker socks to help with the fit until the shoes break in.
Blisters and Friction Points
Blisters are caused by rubbing due to ill-fitting uppers or sliding within the shoe. To prevent this, apply moleskin to hotspots before climbing, heat-stretch leather shoes in the shower for added width (note: synthetics are less responsive to this method), and ensure there is no dead space by choosing the correct size. Persistent friction might indicate the wrong shoe last for your foot shape. Experiment with brands like the wider-fitting Acopa if narrower options like La Sportiva don't work for you.
Wide Forefoot with Narrow Heel
When you have a wide forefoot and a narrow heel, you may experience forefoot squeezing and heel slippage. Look for medium-wide forefoot models that feature deep, narrow heel cups. Lace-up shoes can help by allowing independent tightening zones. Additionally, try brands that cater to tapered feet without causing a volume mismatch between the forefoot and heel.
High instep or low instep
A high instep may cause rubbing on the top or sides when wearing low-volume shoes. To address this, look for high-volume shoes or those with unlined uppers that allow for expansion. Additionally, loosening the straps over the instep can help improve comfort.
On the other hand, a low instep can result in a feeling of bagginess around the midfoot area. To resolve this, choose low-volume shoes or consider adding tongue padding to achieve a more secure lockdown and better fit.
How to test shoes before committing
What to test on small edges vs smears
When testing on small edges, stand on 5-8mm holds to evaluate the shoe's stiffness and toe power. Good climbing shoes should hold firmly without causing toe flex or collapse, allowing you to maintain a vertical posture without discomfort. For smears, test on blank slabs or volumes. Soft rubber is ideal as it provides sensitivity and grip, preventing slips caused by overly hard or baggy materials. Alternate 10-20 moves per foot to properly assess performance.
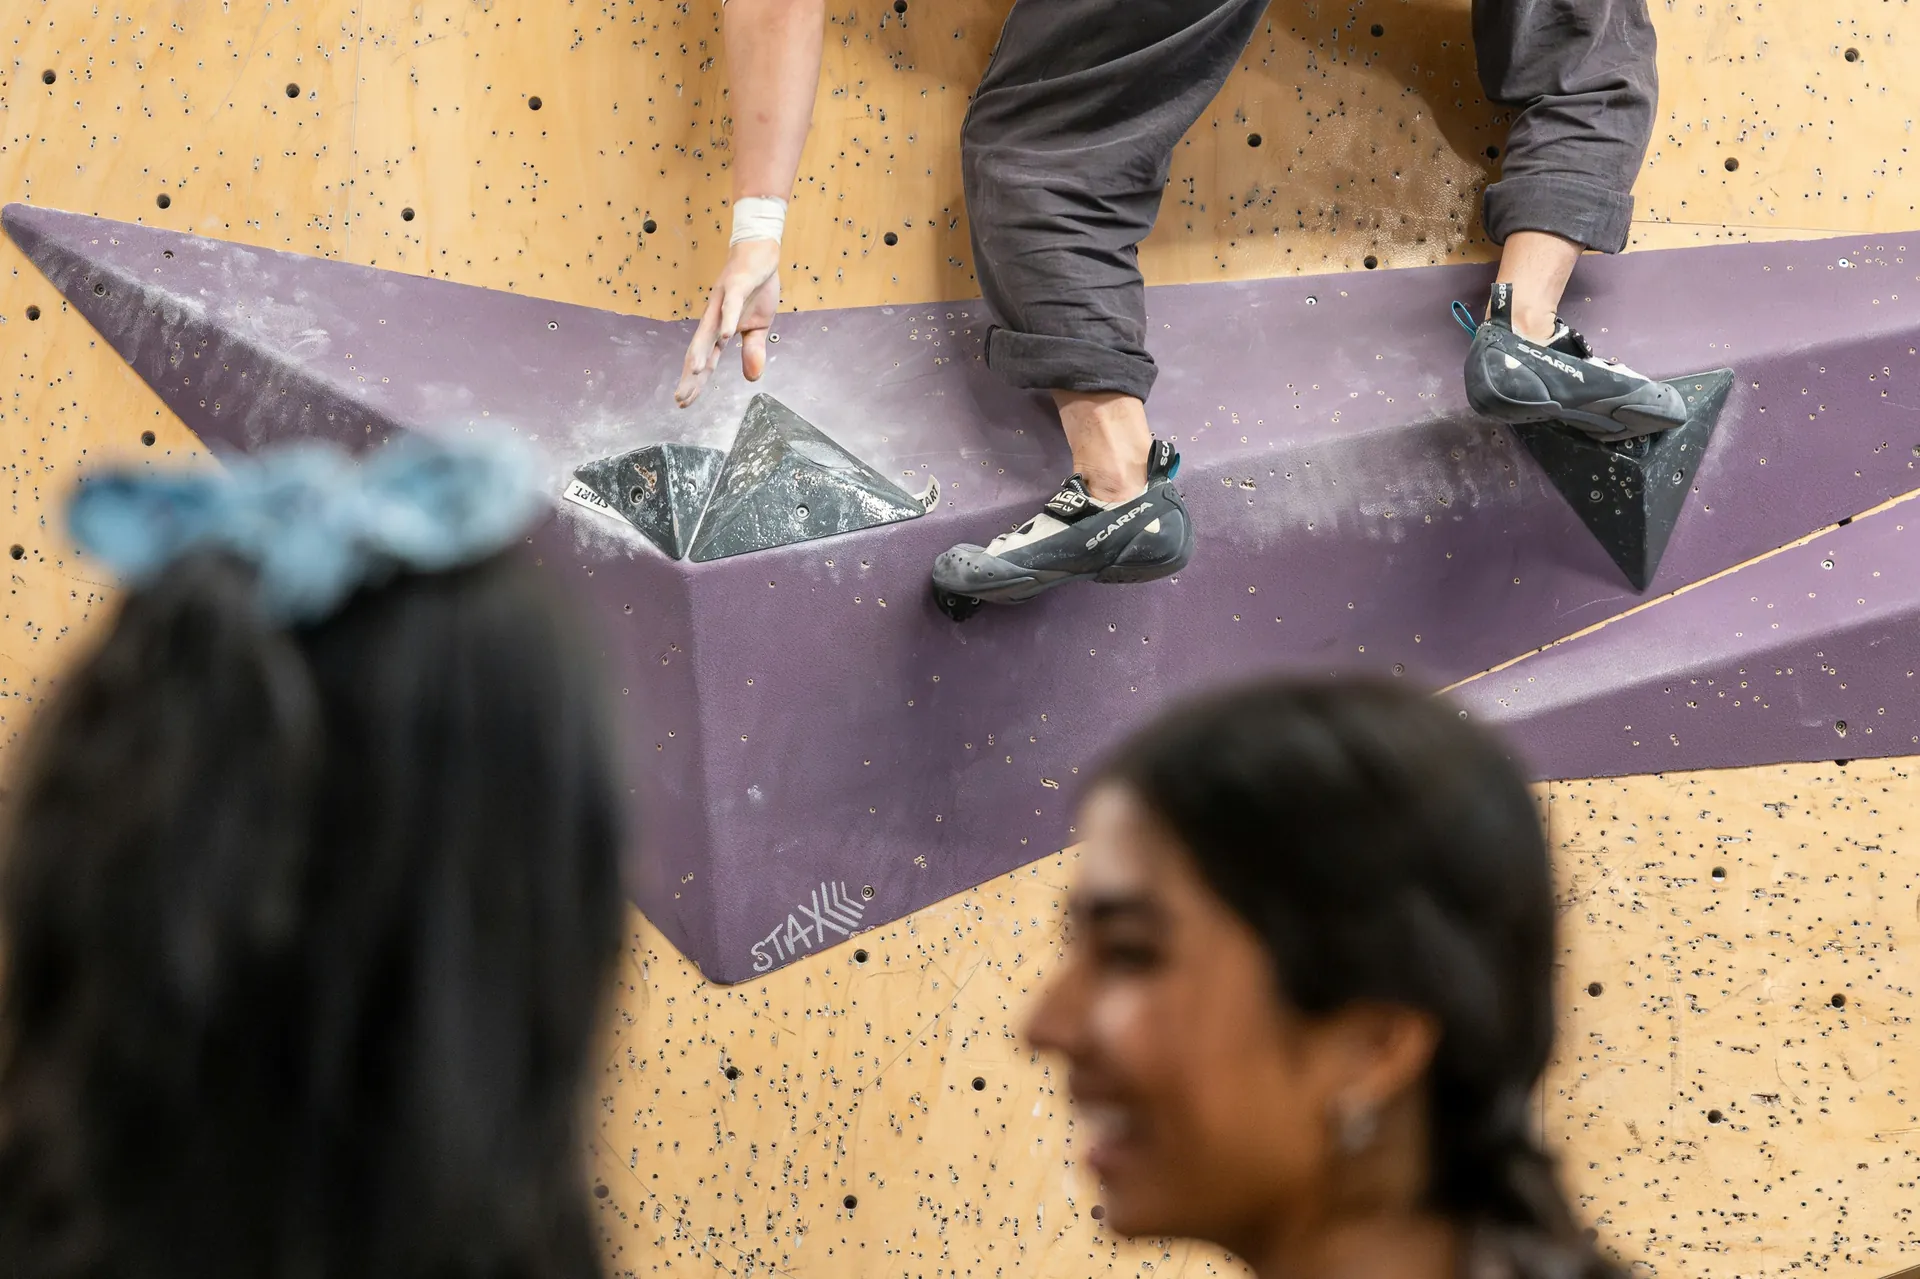
Evaluating heel hooks and toe hooks
When performing heel hooks on volumes or overhangs, twist your foot to ensure the shoe cups securely without lifting or bagging. Models like the Lowa Rocket or Unparallel Qubit excel in catching precisely, even during dynamic movements. For toe hooks, look for shoes with grippy, textured rubber coverage, such as siped or patterned designs. These features help the shoe stick to slopers without peeling off. Test both static positions and swinging loads to confirm effectiveness.
Buying online safely: sizing strategy and returns
To buy climbing shoes online safely, measure your feet and compare them to the brand's size charts. Order three half-sizes around your expected fit to find the best option. Prioritize retailers like REI that offer free returns. Additionally, cross-reference reviews for size drops (e.g., La Sportiva typically fits -1 EU size smaller). Test the shoes immediately on holds rather than just walking, and return any pairs that don’t perform as expected.
Used shoes: what matters and what is cosmetic
When buying used climbing shoes, inspect the rubber depth (it should be at least 2mm), check the stitching integrity, and examine the rand condition to determine if the shoes are viable for a resole. Avoid shoes with delamination or stretched uppers, as these issues significantly impact performance. Cosmetic wear, such as scuffs or faded color, does not affect functionality as long as the fit remains intact. Finally, smell the shoes—strong odors may indicate deep bacterial buildup, which is a sign to pass on that pair.
Resole vs Replace: How to Decide
Wear Stages and What They Mean for Performance
Early wear is characterized by sole thinning but no seam damage. During this stage, performance dips slightly due to reduced rubber depth, but a resole is still viable for full restoration, typically costing between $65-$110. The ideal stage for resoling is when the seam begins to recede toward the rand without forming holes. This stage maintains edgeability longer than the late wear stage.
Late wear occurs when rand holes are exposed, leading to a sharp drop in grip as climbing becomes reliant on exposed seams. At this point, repairs are still possible with rand work, but there is a risk of fit changes. Critical wear, on the other hand, occurs when the uppers are punched through, leaving the shoe with zero performance and making replacement the only option.
Why Timing Matters
Resoling too early can waste money on soles that are barely worn. However, waiting until after rand exposure accelerates upper degradation, alters the shoe's shape, and increases repair costs due to the need for additional fixes. Timing your resole correctly can extend the life of your shoes by 2-3 times at a cost significantly cheaper than buying new pairs (approximately $150 per year compared to $300).
It's worth noting that shoes can typically undergo 1-2 resolings before they lose too much precision and support. At that point, replacement becomes necessary for maintaining high performance.
What Resoling Changes in Feel and Fit
Resoling restores grip and durability with fresh rubber, which can be the same or harder for added longevity. However, it may slightly stiffen the shoe or shift its weight, especially if rands are repaired. While the fit rarely changes significantly if the resole is done early, leather uppers may have molded or loosened over time.
The tradeoff is clear: resoling costs about half the price of a new pair, but it requires a 2-4 week turnaround, making it important to have rotation pairs. After a resole, the feel of the shoe approaches that of a new pair but may lack some of the break-in comfort you've grown accustomed to.
Care and Maintenance
Cleaning and Drying Habits
To maintain your footwear, brush the soles with soft bristles and lukewarm soapy water after every session. This helps remove chalk, dirt, and mud while restoring the rubber's porosity for consistent friction. Be sure to rinse thoroughly and pat dry with a microfiber cloth. Avoid machine washing to prevent glue breakdown. Air dry your shoes indoors, away from direct sunlight or heat sources. If they become damp, stuff them with newspaper to absorb moisture and prevent mildew.
Storage and Heat/UV Risks
Store your shoes in cool, dry places, such as gear bags, where the temperature remains constant. Avoid leaving them in hot cars or backpacks after use, as trapped moisture can warp the uppers and weaken adhesives. UV exposure can degrade the rubber's grip and fade the colors over time. For added protection, use shoe bags during approaches to shield them from grit and light.
Managing Odor Without Damaging Materials
To manage odor, sprinkle deodorizing powders or use light disinfectant sprays inside the shoes after drying. Alternatively, stuff them with balled newspaper overnight to wick away sweat salts and bacteria. Avoid harsh chemicals that can erode leather or synthetic materials. Wearing thin, washable socks during long sessions can help reduce odor—just remember to remove the socks before storing the shoes.
Mistakes to Avoid
Oversizing and Losing Precision
Oversizing your climbing shoes creates unwanted space in the toes, heels, or sides, leading to slippage on edges and even "weird noises" during movements. This significantly damages performance because a loose fit eliminates power transfer, which is far worse than minor discomfort. Additionally, oversized shoes can lead to bent tips under load, ultimately wasting your budget on unusable pairs.
Downsizing Too Aggressively
Going too small with your shoe size forces your toes into a "bonded unit," which blocks impact absorption and causes chronic pain, nail damage, and overstrain injuries like Hallux Rigidus. Manufacturers strongly advise against extreme size drops because modern rands already provide sufficient support without unnecessary discomfort. Overly tight shoes result in unbearable pain, not improved performance.
Buying Aggressive Shoes Too Early
Beginners often make the mistake of purchasing downturned slippers too soon. These shoes sacrifice essential edging support and hinder technique development, leading to fatigue and the formation of poor climbing habits. It's better to stick to moderate or stiff shoes until you reach an intermediate level, avoiding wasted money on high-aggression shoes that require advanced footwork.
Using One Pair for Everything
Using a single pair of climbing shoes for bouldering, multipitch, and cracks accelerates wear and mismatches performance. For example, aggressive shoes are not ideal for slabs. This approach also shortens the lifespan of your shoes. Instead, build a rotation of shoes tailored for specific climbing styles. This not only optimizes performance but also saves your budget in the long run by ensuring targeted durability.
Ignoring persistent pain signals
Ignoring Achilles pressure, numbness, or joint pain can lead to permanent damage and a decline in the quality of your climbing sessions. These pain signals often indicate that your shoes have the wrong fit or shape, rather than being a sign that you need to "toughen up." To safeguard your foot health and ensure long-term climbing performance, consider adjusting the sizing or switching to a different model.
Build your shoe rotation based on goals
One-pair approach
For casual climbers practicing 1-2 times per week on mixed gym terrain, select a versatile moderate shoe that handles vertical slabs to slight overhangs. This type of shoe prioritizes all-day comfort and edging, helping you build technique without requiring specialization.
Two-pair approach
Weekly climbers working on progressing to projects will benefit from a combination of shoes. Choose a neutral pair for slabs and vertical training, offering excellent edging support. Pair this with an aggressive shoe designed for bouldering and overhangs. Alternating between these pairs extends the lifespan of your shoes while ensuring they match the demands of each session.
Three-pair approach
Dedicated climbers who train 3 or more sessions per week and are advancing their styles should consider a rotation of three types of shoes. Use a neutral shoe for slabs, cracks, and all-day routes, a moderate shoe for sport climbing and precise edging, and an aggressive shoe for steep bouldering. Rotating these shoes allows for recovery, optimizes performance, and ensures even wear distribution.
Conclusion
Climbing shoes are precision tools that require thoughtful investment and care. Choosing the right pair can transform your performance and help prevent injuries, while neglecting proper fit can lead to wasted budget and diminished enjoyment. Start by accurately measuring your feet, testing various models suited to your primary climbing styles, and prioritizing comfort combined with performance over the outdated myth of "pain equals gain."
Consider building a modest rotation of climbing shoes that matches your climbing frequency and goals. Maintain them rigorously by cleaning them after each session, ensuring they dry properly, and scheduling timely resoling to extend their lifespan.
Your feet are your foundation as you climb—investing time now in selecting and caring for your climbing shoes will pay off in every session to come.