

A crash pad is an essential safety tool for bouldering enthusiasts. It serves as a portable mat specifically designed to cushion falls from low heights, especially on uneven ground. This vital gear protects climbers from hard landings during dynamic, rope-free moves. Unlike gym mats or full climbing harnesses, crash pads are constructed to endure the demands of outdoor climbing. They feature a combination of closed-cell foam and soft foam layers, which effectively absorb impact while remaining lightweight and easy to carry on hikes to the crag.
What a crash pad is (and what it is not)
Hey, reader, picture this: you're eyeing that tricky boulder problem, feet dangling just high enough to make your stomach flip. Enter the crash pad, a rugged, nylon-enclosed stack of multi-layer foam designed to create a reliable landing zone. Its purpose? To soften those inevitable tumbles onto jagged rock or bumpy dirt.
The crash pad's goal is simple yet essential: to reduce the severity of impacts on your heels, ankles, shins, and knees from repeated falls. This gives you the confidence to project your climbs without the constant fear of a twisted limb—or worse.
But let's be clear—it’s *not* invincible armor that eliminates all risk. It’s not the squishy, wall-to-wall gym flooring built for endless indoor sessions, and it’s definitely not some oversized rescue mat designed for ropes or big walls. Think of it as a smart buffer for bouldering's ground-close action, not a magic carpet that erases uneven terrain or poor spotting.
Why crash pads matter in bouldering
Common landing hazards: rocks, roots, holes, slope, uneven ground
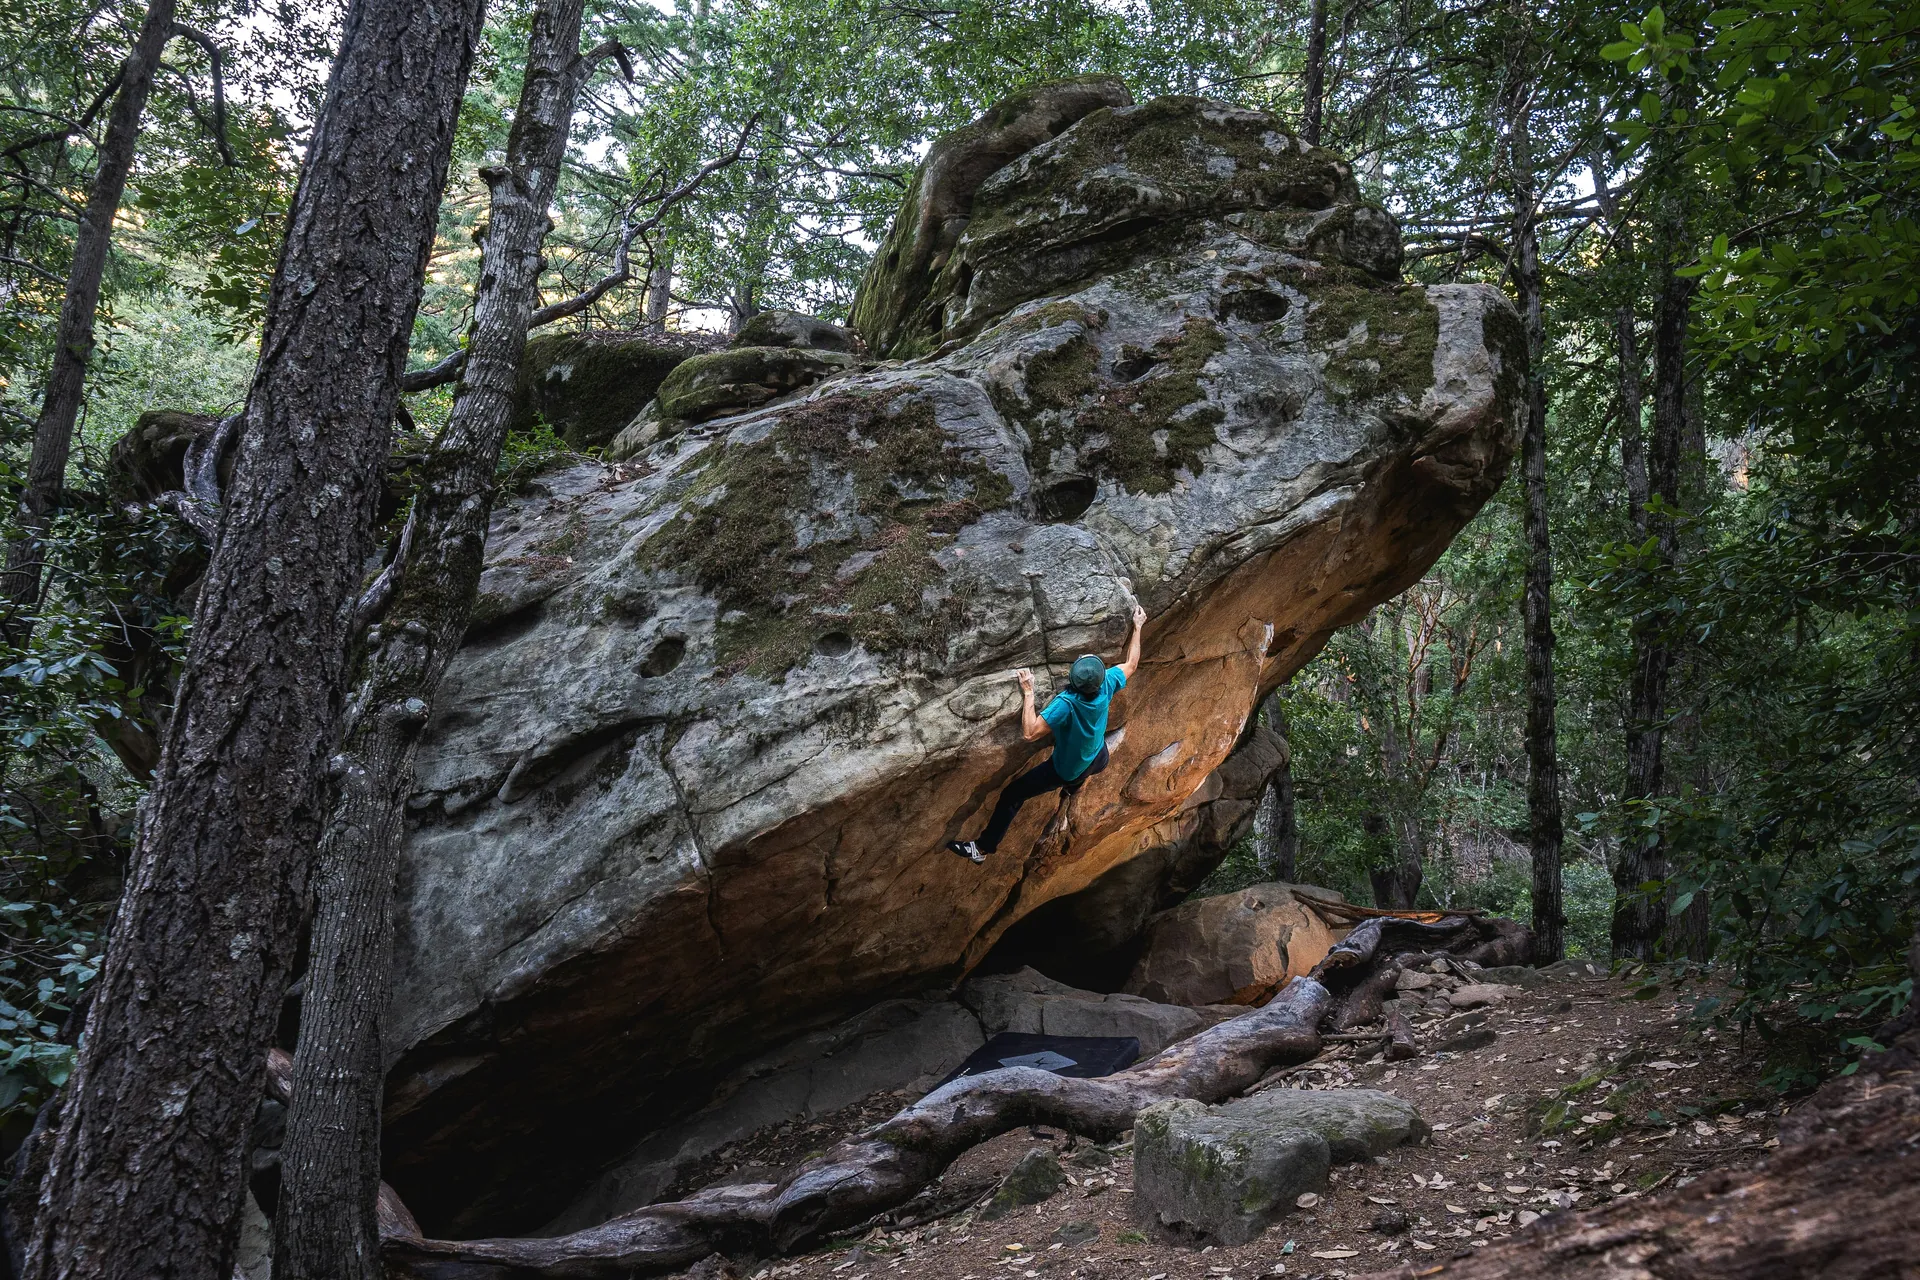
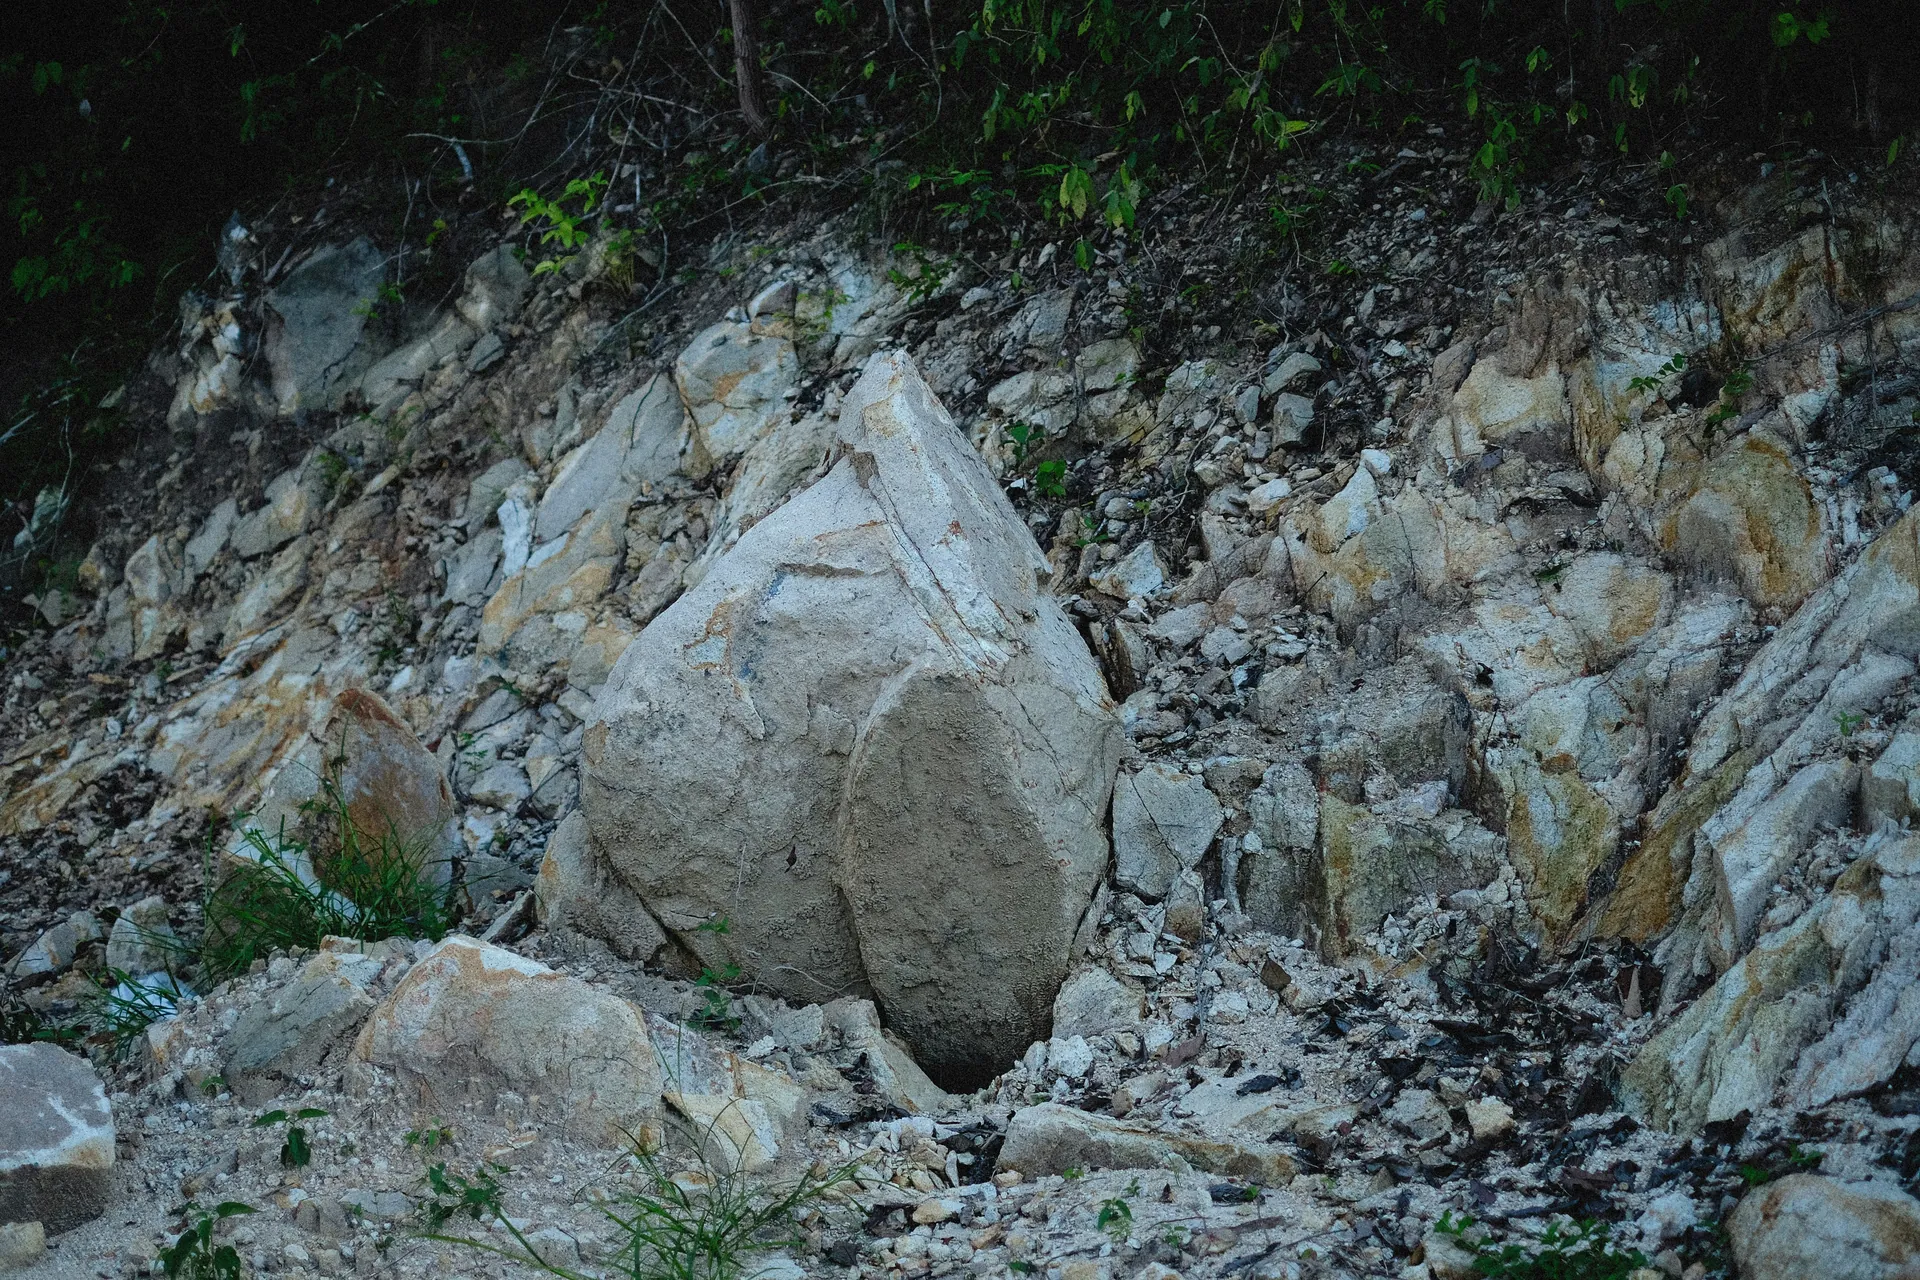
Imagine leaping off a crux only to land on a jagged rock, twist your ankle on a gnarly root, or step into a hidden hole. Outdoor boulder bases are often filled with hazards like sharp rocks, protruding roots, and deceptive pits. Add to that steep slopes that turn what seems like a flat fall into a dangerous slide. Even so-called "even" ground is rarely smooth—it's often scattered with smaller boulders, uneven earth, and trees. Without proper crash pad coverage, every landing becomes a potential injury risk.
Impact basics: height, swing, rotation, and why “flat ground” is rare outdoors
Here's a key fact: the force of a fall increases exponentially with height. For instance, a 2-meter drop generates only half the impact of a 4-meter fall. This is further complicated by sideways swings during traverses, awkward body rotations on dynos, or the way stiff, downturn climbing shoes force side impacts. Outdoors, the concept of "flat ground" is essentially a myth. Uneven terrain can make things worse by causing crash pads to slide or exposing gaps, turning what could have been a safe landing into a recipe for sprains or breaks. Choosing the right crash pad for your local crag's unique challenges is important—don’t just rely on glossy ads to make your decision.
Crash pad construction: the parts that change performance

Foam layers: top layer vs core vs base, what each does
The magic of a solid crash pad lies in its foam sandwich design. Typically, it includes a thin top layer of firm closed-cell foam to disperse the force of your fall across a larger surface, preventing pinpoint heel strikes. Beneath that is a plush core of open-cell foam, which provides deep energy absorption to slow your momentum. Lastly, there's a sturdy base layer of closed-cell foam, which resists ground abrasion and prevents bottoming out on rough terrain.
Open-cell vs closed-cell behavior: softness, bottoming out, durability
Open-cell foam offers a soft, cushioned feel, making it ideal for body landings. However, it tends to pack down and compress over time, which can lead to quicker wear and the risk of bottoming out on high falls. On the other hand, closed-cell foam is more resilient, repels water, and maintains its shape for years. It effectively spreads impacts without deforming, though it is firmer, making the right blend of these materials essential for achieving the perfect balance of plushness and durability.
Hinged vs taco vs hybrid designs: tradeoffs on uneven landings
Hinged designs fold flat like a book, making them easy to pack and capable of conforming to slopes without leaving gaps. However, the hinges can sometimes snag ankles. Taco-style pads roll up like a burrito for quick hikes but may bunch up on uneven terrain, creating potential trip hazards. Hybrid designs combine the benefits of both, offering versatility by folding and adapting to contours better, even on the elusive "flat ground."
Shell fabrics and stitching: abrasion, moisture, long-term wear points
The outer shell, often made from ballistic nylon or vinyl, endures the most wear and tear. Abrasion-resistant weaves and taped seams help protect against rock scrapes and moisture. Additionally, heavy-duty stitching at stress points, such as corners, prevents splits from repeated dragging, ensuring your crash pad can withstand seasons of use without falling apart mid-session.
Size and thickness: choosing the right footprint

Coverage vs portability: when bigger wins, when it becomes a burden
Choosing the right crash pad is all about balancing coverage and portability. A large crash pad measuring 4ft × 5ft provides a wide landing zone, ensuring you avoid edges and land softly—ideal for steep, rocky terrain. However, at 8–9 kg, it can be a challenge to carry uphill, especially if you're climbing solo. On the other hand, smaller pads, typically 3ft × 4ft or even compact briefcase-sized sliders, weigh half as much. They're easier to fit into car trunks and maneuver through tight approaches, but they leave gaps that could expose your ankle to hidden rocks.
The solution? Match your pad to your crag. Steep alpine boulders with rough ground require larger coverage, even if the hike feels exhausting. For low-ball cave problems with shorter approaches, lighter and more portable setups are a better choice—they're pads you'll actually want to carry.
Thickness and "bottoming out": why pad shape matters on rocks and slopes
Thickness isn't just about aesthetics—it's about impact physics. Thin pads (2–3 inches) are lightweight and great for quick sessions, but they compress under hard landings from high drops, risking your heel hitting bare earth. Standard pads (3–4 inches, roughly 10–13 cm) strike a balance between protection and portability, making them suitable for a variety of problems. For highball projects, you'll need pads that are 4–4.5 inches thick or more to prevent bottoming out on unforgiving rock or compacted ground.
Taller pads offer more closed-cell base layers, which resist punctures and deformation. If you're aiming for tall sends, prioritize thickness over weight—you'll thank yourself later.
Corner protection and edge support: why pad shape matters on rocks and slopes
The edges of your pad are critical areas of vulnerability. Angled hinges and reinforced corners are designed to prevent rocks from punching through folds, while taco designs that roll snugly conform better to irregular slopes. This minimizes gaps where your foot could slide off onto jagged terrain.
On uneven ground, larger pads come with extra corners, increasing the chances of catching edges. Positioning and pad shape are key—hinged pads are better for slopes, while rectangular pads excel on flat zones. It's not just about size; it's about choosing the right design for the terrain you're tackling.
Carry system and field practicality

Shoulder straps, waist belt, and load stability
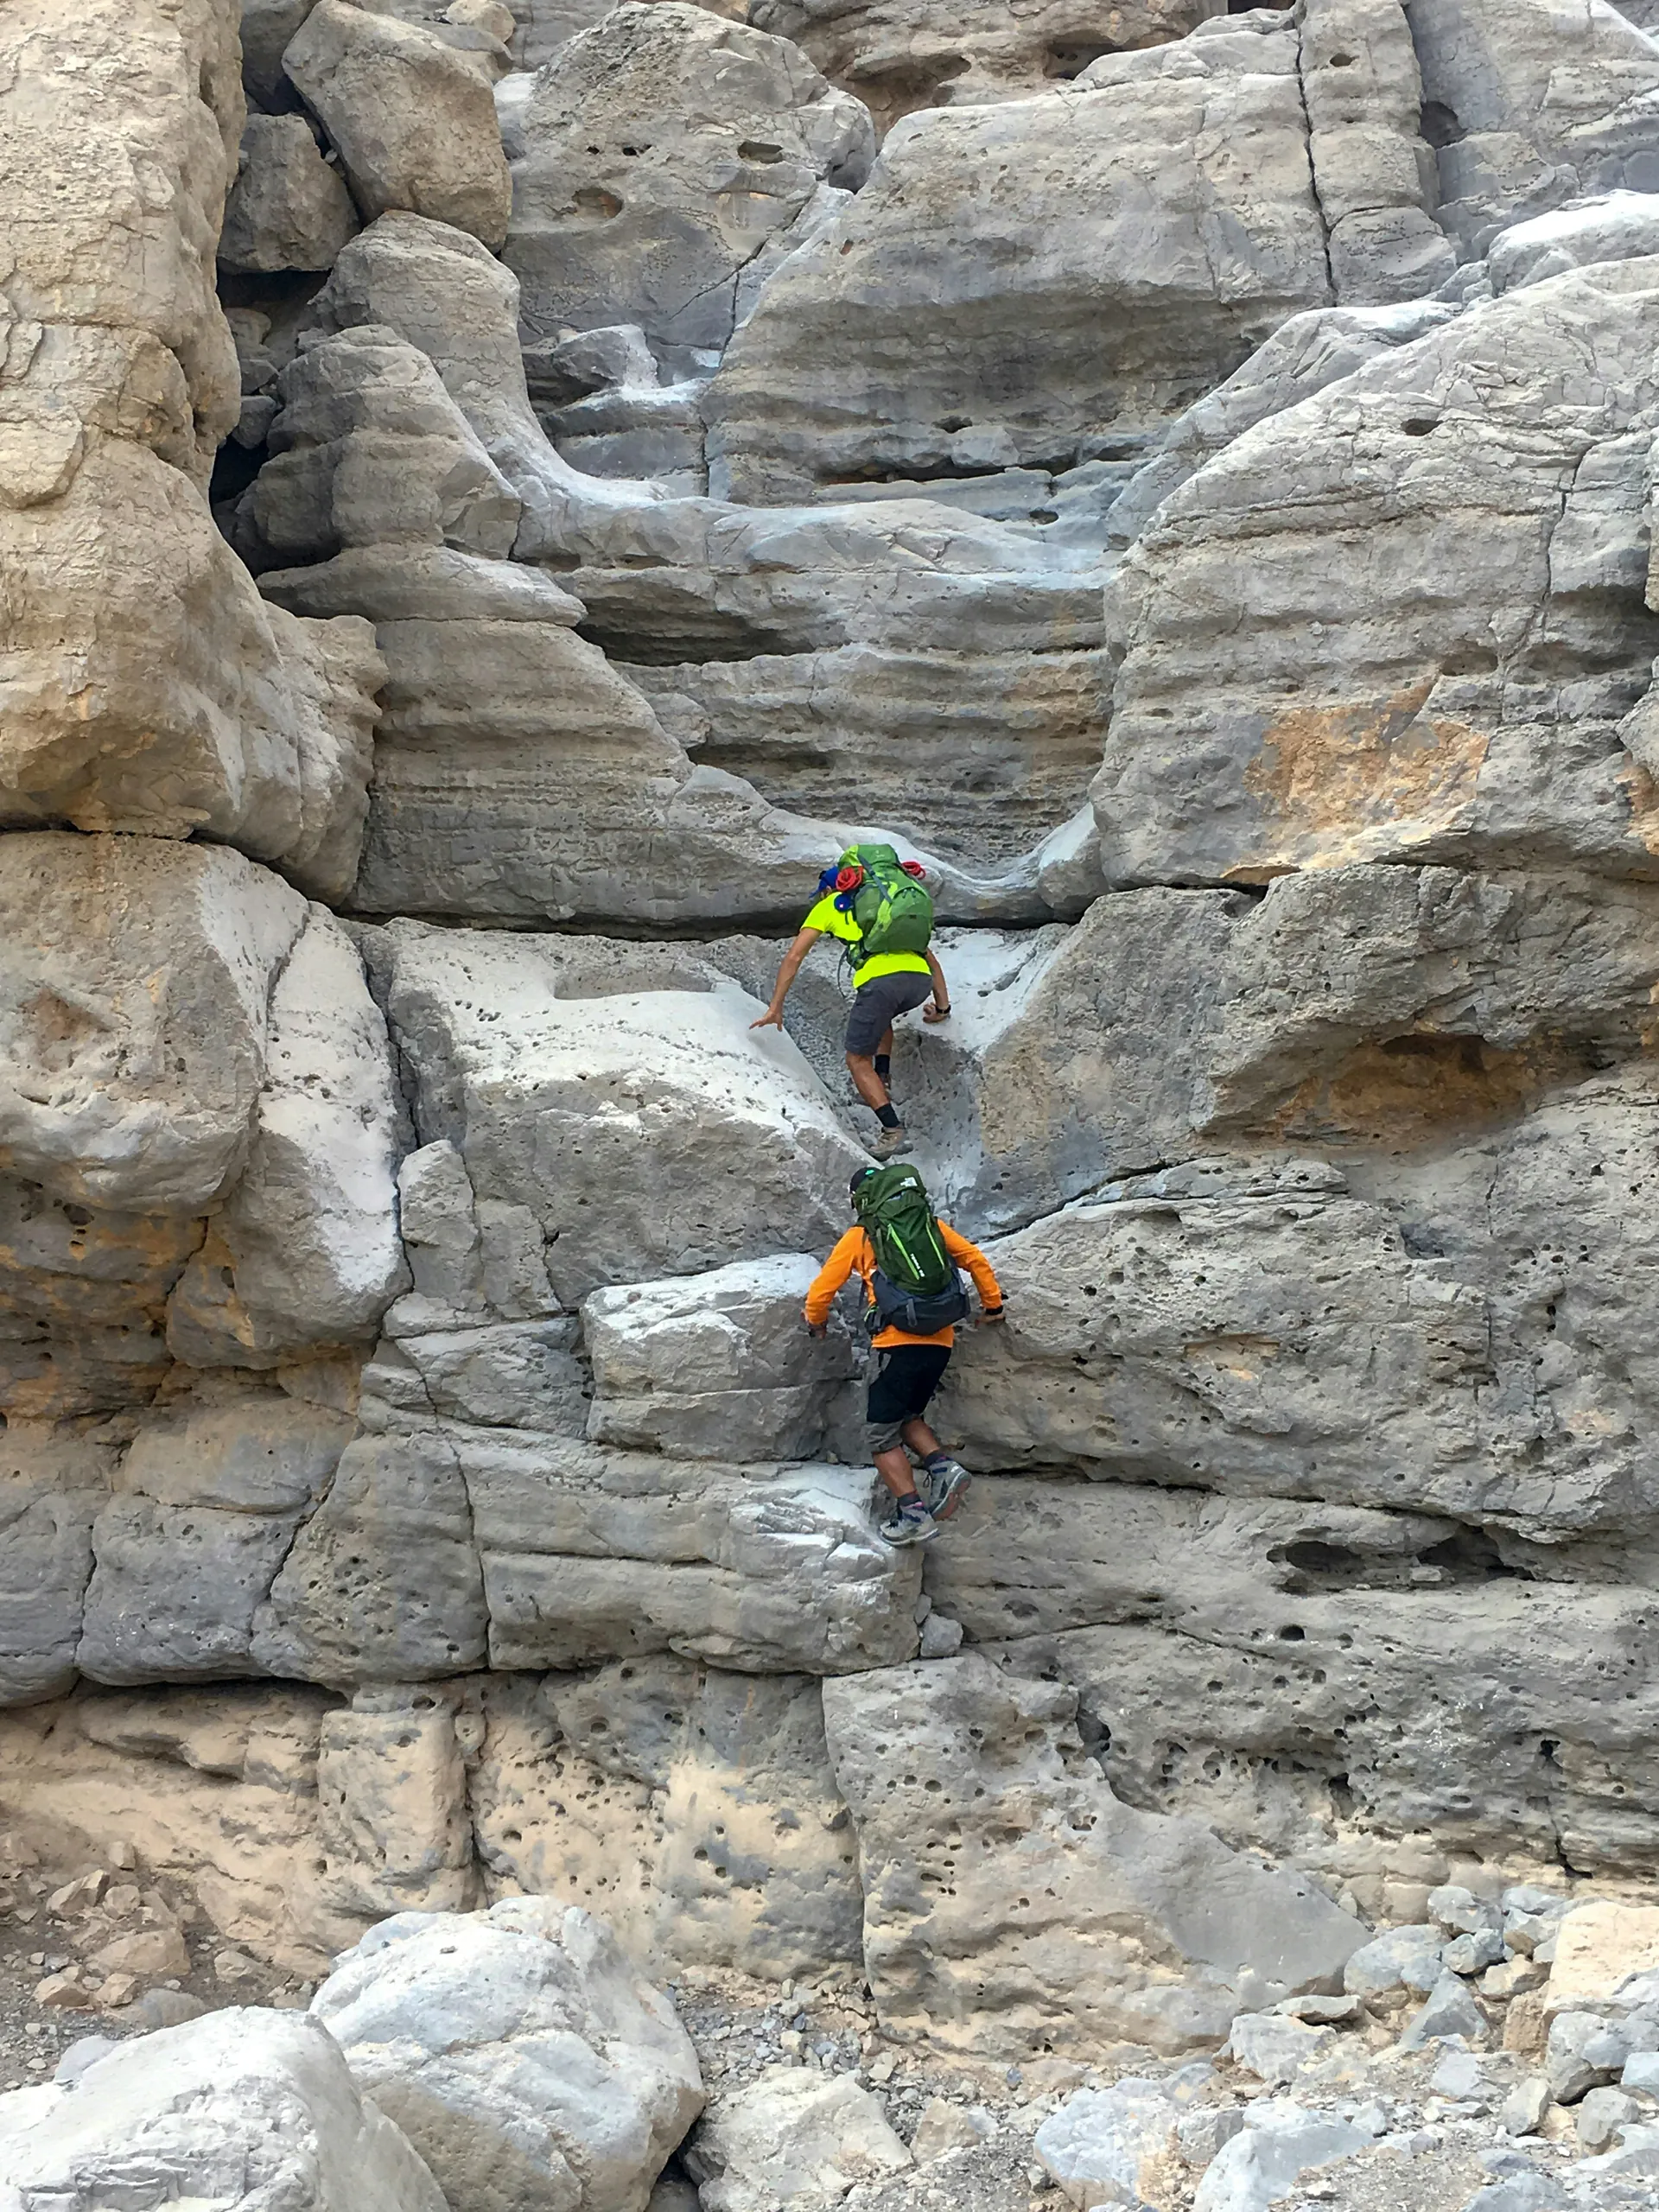
Reader, carrying a crash pad improperly can turn a hike into a *nightmare*. Properly padded shoulder straps that distribute weight evenly across your trapezius are far more important than you'd imagine, especially during multi-hour approaches. Poor load balance can exhaust your shoulders and disrupt your gait. A solid waist belt anchors the pad's center of mass to your hips, preventing the dreaded top-heavy drift that twists your spine and steals balance on sketchy terrain. Without it, your pad becomes a pendulum, swinging with every step.
The key principle: stack the heaviest pads closest to your body and stagger them slightly higher with each layer. This ensures the weight sits centered over your hips rather than pulling backward, which would force you into a forward slouch that wreaks havoc on your posture during long approaches.
Closure and pack mode: keeping the pad shut, keeping gear inside
A crash pad with a reliable closure system—whether velcro flaps, zippers, or buckles—ensures the pad stays cinched tight during hikes. This prevents unraveling and securely holds bonus gear like water bottles, brushes, and chalk, avoiding spills mid-trail. Some pads even feature built-in compartments or attachment loops for small bags, with some designs allowing a dedicated 20L climbing bag to nest inside the pad itself. This setup frees your hands and consolidates your load. Tri-fold designs with straps or hinges require snug fastening at multiple points to prevent accidental unfolding on uneven ground, which could tangle your feet or expose foam corners to rock damage.
Comfort on approaches: weight distribution and snag points
Beyond straps, the carry system's design often shines in the details. Straps positioned on hinges or tops should be removable or foldable to avoid creating trip hazards when the pad is laid down. Features like breathable air mesh or ventilation in harness areas help keep you from sweating excessively during long uphill hikes. It's also essential to watch for webbing snag points—rough stitching or exposed buckles that might catch on brush. Verify that the shoulder strap padding won't dig into your collarbones under heavier loads, especially when carrying 20+ pounds.
Lighter single-pad designs (8 lbs or less) are ideal for quick sessions and can serve as secondary pads for stacking. Meanwhile, heavier primary pads (15–20 lbs) justify beefier harnesses and waist support, making marathon approaches far more tolerable.
How to choose a crash pad for your style of bouldering
Beginners: versatility and forgiveness over specialization
When you're just starting, resist the urge to obsess over hyper-specialized setups—you likely don't yet know your local terrain or your fall patterns. Start with one solid medium pad (3–4 inches thick, roughly 10–12 cm) with soft foam that provides forgiveness for awkward landings and absorbs impacts across diverse problems. A standard pad around 4ft × 3ft offers large coverage for confidence while avoiding the backbreaking weight of a true big pad. Pair this with a small pad (2–3 inches thick) to fill gaps and practice your stacking skills.
This combination helps you develop terrain awareness and allows you to evolve before investing in specialized setups for steep caves or slab climbs.
Steep boulders: directional falls, pads shifting, and coverage needs
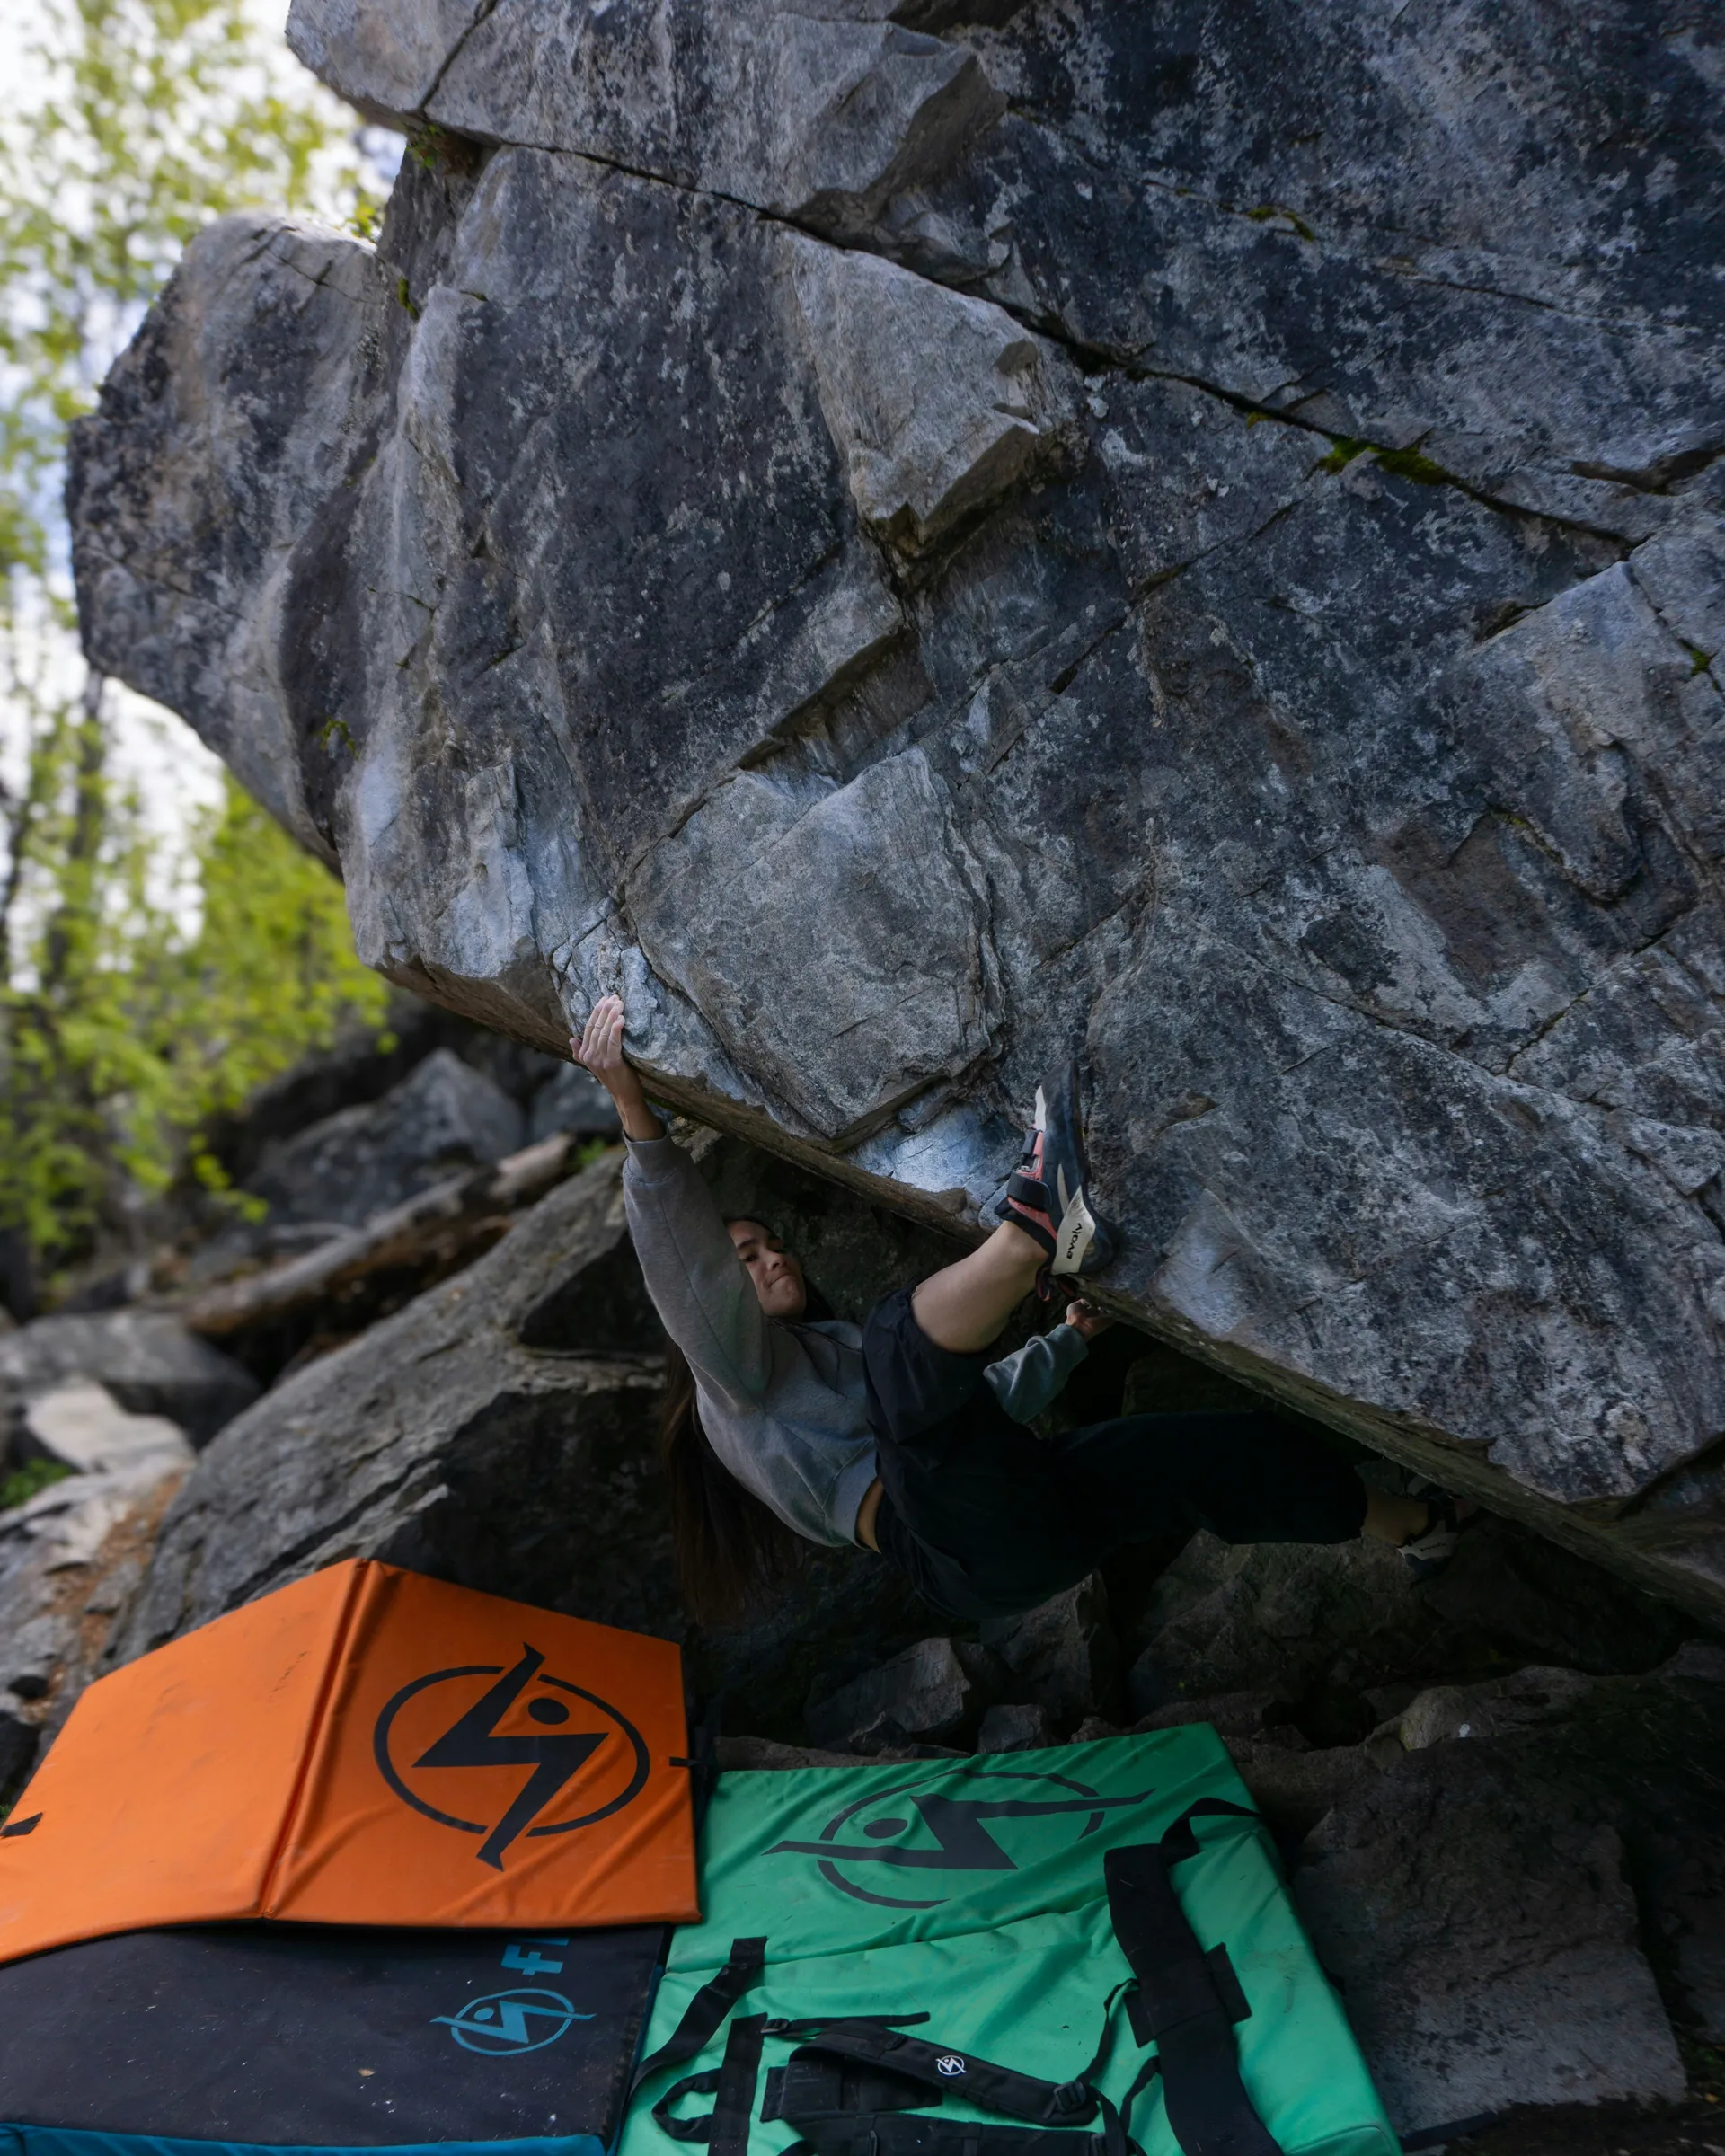
Steep problems throw you both *outward* and *downward* at the same time—your body swings away from the wall, pads may shift underfoot, and you need rock-solid positioning to land safely. Use multiple pads in overlapping layers, staggering them so one pad's edge supports another's, preventing slides into gaps. Anchor the base pad with body weight or have a spotter pin the corners before you start climbing.
Stiffer foam in steep areas resists compression under diagonal impacts. Taco or burrito-style pads, which conform to uneven ground, outperform hinged pads here, as hinges can snap or shift when you land off-center on rock features.
Slabs: foot slips, slide-outs, and edge stability
Slab climbing punishes foot slips—you peel off smoothly and slide downslope rather than dropping straight down. Your landing zone must extend *downslope* generously to catch your body mid-glide rather than stopping abruptly at pad edges. Position a large pad below the slab's landing zone, angling it slightly to follow the slope's pitch. Then layer smaller pads below that to extend coverage without creating trip hazards.
Softer foam (thinner pads with more open-cell foam) cushions these slide-outs better than rigid, closed-cell foam. Avoid hinged designs, as they can create catching edges that snag your feet mid-slide. Taco pads, which flow with slope contours, minimize the risk of ankle-tweaking impacts.
Highballs: when pad strategy changes and when to reconsider the objective
Highball routes require thicker, stiffer foam—ideally 4–5 inches of closed-cell core backed by robust base layers—because impacts from high drops can compress softer pads, exposing the hard ground beneath. Stack large pads (5ft × 4ft minimum) with secondary pads filling every gap to create a fortress-like landing zone that can handle one-meter tumbles.
However, here's a reality check: if your local area lacks high-quality boulders or you constantly find yourself reconfiguring pads to feel safe, it might be time to reconsider your objective. Highballs demand respect—for both the rock and yourself. Choose objectives where a solid standard pad suffices and matches your current skill level and budget.
Rocky or steep landings: bridging gaps and managing uneven terrain
Jagged, rocky terrain filled with boulders and sharp rocks in the landing zone demands a strategic approach. To ensure safety, use multiple small pads to systematically bridge gaps. Begin by surveying the area—preferably barefoot—to identify and mark potential hazards. Then, stack pads to level uneven spots and cover any sharp features effectively.
Taco and burrito folds are particularly effective in these situations because they drape over irregular surfaces more efficiently than rigid rectangular pads. Additionally, baffled or hybrid hinge designs are excellent for distributing foam evenly across dips, which helps prevent bottoming out on hidden rocks beneath the surface.
For added safety, layer thin pads (2–3 inches thick) on top of thicker ones. This creates staggered steps that conform to the terrain while still maintaining strong impact absorption. Although this method requires patience and additional pads, it transforms potentially treacherous ground into a manageable and safe landing zone.
Using crash pads effectively outdoors
Reading the landing zone before you climb
Before you chalk up, take a moment to read the landing zone carefully. Scan for sharp rocks, thorny bushes, roots, or stray gear that could pose a risk. Clear these obstacles to create a clean drop zone free of trip hazards. If possible, walk the fall line barefoot to feel for hidden dips or spikes. Visualize your likely fall trajectory based on the crux of the problem—will you swing out, slide down, or tumble sideways? Position your crash pad to intercept your fall path squarely.
This quick ritual can turn potential disasters into manageable sends. It's much more effective than simply placing foam down anywhere.
Placing pads on uneven ground: seams, gaps, and stability
When dealing with uneven terrain, start by laying your base pad. Level it by kicking dirt into depressions or using rocks to prop it up for added stability. Overlap subsequent pads by at least half their width to avoid aligning seams, as gaps can lead to ankle injuries. Angle pads to match slopes and ensure edges don't curl into trip hazards. Test the setup by jumping lightly to confirm that the pads stay firmly in place without shifting under impact. A stable arrangement is essential—wobbly setups invite chaos.
Stacking and combining pads: when it helps, when it creates new issues
Stacking pads can provide extra thickness for taller problems, but it requires careful alignment. Avoid creating weak spots by ensuring seams don't overlap, and use smaller pads to fill gaps between larger ones. This technique is great for bridging irregular terrain or adding height, but overstacking can lead to slippery or unstable surfaces, turning your setup into a teetering tower. Limit stacking to 2–3 layers maximum unless you are highly experienced in this technique.
Spotting and pad management: roles, communication, and avoiding chaos
Spotters are essential. They guide your fall trajectory toward the center of the pads, cradling your hips and head gently while protecting against rocky outcrops. Spotters should position themselves just outside the fall zone with knees bent and thumbs tucked. Use clear communication, such as shouting "pad's set!" or "fall straight!" to coordinate movements effectively. Dynamically adjust pads during the session—pull them forward for crux moves or reposition them for traverses. Assign one person to manage the pads to avoid confusion or disorganization. Teamwork is key: one person spots, another manages the pads, and everyone works together seamlessly.
One pad, multiple pads: building a sensible setup over time
The “one pad” baseline: what to prioritize first
Reader, start simple—your first crash pad should be a reliable medium pad, ideally around 36" x 48" x 4 inches. For example, the Organic Climbing Simple Pad, weighing about 12 lbs and priced at $189, is a solid choice. Look for versatile foam that can handle most low-to-mid height problems while staying friendly to both your budget and your back. Prioritize features like durable closed-cell base layers for longevity on rocky terrain, comfortable backpack straps for solo hikes, and aim for a sale price under $200 without compromising on impact absorption. Beginner-friendly models from brands like Mad Rock or Organic are excellent options as they are reliable workhorses that will grow with you.
Adding a second pad: what problem it should solve
Once you notice limitations with your single pad—such as hinge edges catching your heels or insufficient coverage on traverses—it's time to add a lightweight secondary pad. Look for one that's 2–3 inches thick, about 3 feet wide, and weighs around 7–8 lbs. A great example is the Black Diamond Circuit. This smaller pad helps bridge seams, fill rocky gaps, or extend your landing zone without significantly increasing your carry load. It addresses the "just missed the edge" issue common on uneven terrain. Additionally, it stacks neatly atop your primary pad for taller sends or can be slid around as a gap-filler. Expect to spend around $150–$180 for this versatile addition.
When a third pad makes sense: group sessions, complex landings, high coverage needs
A third pad becomes essential in group sessions where multiple climbers are taking turns or for tackling complex landings that require extensive coverage. For example, smoothing out high boulder bases with protruding rocks often demands a larger setup. Opt for another medium or large pad (4–5 feet wide and 4+ inches thick) to create a seamless landing area that can handle shared use. Consider investing in a third pad when your current duo setup consistently leaves hazards exposed or when you're facing high coverage needs at taller crags. Models like the Send Climbing add-ons or the Organic Big Pad are great options, offering extra safety for your crew. However, only make this investment once you've identified real-world limitations, ensuring your progression remains both smart and wallet-friendly.
New vs used crash pads: how to evaluate condition
Foam fatigue signs: soft spots, permanent compression, bottoming out feel
When inspecting a used crash pad, unzip or unvelcro the side openings and carefully examine the foam. Feel for soft spots where the open-cell layers have collapsed into mushy craters—this is a clear sign of permanent compression caused by years of heavy landings. Such wear makes the pad more prone to bottoming out during moderate drops. If possible, perform a jump test: a well-maintained pad will rebound firmly without allowing harsh ground feel to transfer through the layers. However, if your heels sense the floor too easily or the pad compresses unevenly, it indicates foam fatigue, which compromises safety—no matter how much you save in price.
Shell damage: abrasion zones, seam stress, zipper and buckle wear
Examine the shell for abrasion zones, especially on corners and edges where dragging over rocks can thin the nylon. Check for frayed stitching at seam stress points where foam bulges may strain the threads. Test zippers to ensure they glide smoothly without jamming or missing teeth, and inspect buckles for wear that could cause them to snap under load. Firmly tug on the seams—any pulls or tears, especially in high-traffic areas like hinge folds, are red flags for structural weakness that could expose the foam to the elements. Cosmetic scuffs are fine, but avoid pads with significant structural damage.
Hygiene and moisture: smell, mold risk, drying history
Start with a sniff test—musty odors are a strong indicator of trapped moisture and mold risk, which can rot the foam internally and foster bacteria that irritate the skin during landings. Ask about the pad's drying history: pads that were left damp repeatedly will degrade much faster. Look for dark stains or powdery residue inside the pad, and if it smells off, it's best to walk away. Hygiene and longevity are more important than any savings on the price.
Care and Maintenance
Cleaning: Chalk, Dirt, Sap, and Safe Fabric Care Habits
Reader, your crash pad relentlessly collects grime—chalk dust, dirt, pine sap, and mystery stains build up on the shell and seep into the seams. This not only degrades the fabric but also traps moisture that can breed mold. After each session, shake off loose debris and brush the cover with a soft-bristled brush to dislodge stubborn dirt. Follow up with a damp cloth for routine cleanup.
For deeper cleaning, open the velcro seams, carefully remove the foam layers (note their order!), and soak the empty shell in cold water with a small amount of mild laundry detergent. Gently scrub without using harsh chemicals that could damage the nylon or stitching. Avoid machine washing and never use hot water—stick to cold water only. For the foam, wipe closed-cell layers with a damp cloth but ensure you keep open-cell foam dry, as soaking it can degrade its structure.
Pat everything dry and allow air to circulate completely before reassembling the pad.
Drying and Storage: Preventing Moisture Damage and Foam Degradation
Moisture is your pad's worst enemy. Trapped water breeds mold and can rot the foam from the inside out. After cleaning or exposure to rain, fully open the pad and prop it vertically in a well-ventilated area, away from direct sunlight, to allow air circulation on both sides. Never use heat sources like dryers or heaters to speed up drying; excessive heat can warp the foam and weaken the fabric.
Once the pad is completely dry, store it in a cool, dry location, away from damp environments, direct sunlight, and heat sources above 110°F (43°C). These conditions can degrade the materials over time. Never store the pad compressed or under heavy objects—foam needs room to expand fully, or it will lose its resilience. For roll-up models, keep them unrolled during storage to avoid permanent creasing.
Transport and Stacking at Home: Avoiding Long-Term Compression
When transporting pads to the crag, carry them on your backpack straps instead of stuffing them compressed in car trunks for long hours. Prolonged compression flattens the foam layers and creates permanent weak zones. At home, stack pads flat on a shelf or lean them upright against a wall. Never pile gear or store pads under heavy items, as this squeezes the life out of both closed-cell and open-cell foam layers.
Between sessions, unpack everything and let the pads air out completely. A damp pad left in a bag overnight invites mold and odors that are incredibly hard to reverse. Inspect straps, buckles, and seams monthly. Tighten any loose stitching, reinforce frayed edges, and replace worn hardware to prevent small issues from turning into catastrophic tears that could expose the foam to water and dirt.
Common mistakes to avoid
Choosing too small a pad for real landings
Reader, don't fall for the "lightweight wins" trap. Buying a briefcase or slider as your only pad leaves massive exposure around the edges. Sideways falls or swing-outs could land you on jagged rocks instead of foam. Real landings demand large or standard pads (minimum size: 4ft x 5ft) for solo safety. Tiny pads work as add-ons, not primaries, and investing in pads that can't cover the full fall arc is simply wasting money.
Relying on thickness instead of coverage and stability
Thicker foam may tempt beginners chasing "maximum protection," but without wide coverage and rock-solid stability, you'll still risk clipping edges or seeing pads shift under impact. This can amplify injuries, especially on slabs or traverses. Prioritize surface area and secure placement over thickness. A stable 3-inch pad array is far superior to an unstable 5-inch solo pad.
Ignoring seams and gaps in placement
Slapping down pads with aligned seams or visible gaps is a recipe for ankle injuries. Falling across edges can catch your heels like guillotines, particularly on stacked setups. Always overlap by at least 50%, stagger layers, and test-jump to confirm there are no weak spots. Ignoring this step turns your gear into a hazard rather than a safety measure.
Letting pads drift during attempts
Climbing without a dedicated spotter or pad manager allows pads to creep forward or backward mid-attempt as feet kick them, creating dangerous gaps just when you need protection. This can lead to disaster. Assign clear roles: one person should secure the pads while another spots the climber's trajectory. Drifting pads can betray the trust you place in your setup.
Buying a destroyed pad because it “looks fine”
Relying on surface-level inspections to grab "deals" on damaged pads can be risky. While cosmetic scratches might seem harmless, they can hide more serious issues such as foam collapse or seam tears that could fail mid-fall, putting you at risk of injury. Saving money at the expense of safety is never worth it. Always take the time to unzip the pad, inspect the foam, check the seams by tugging them, and even smell for signs of rot. Remember, "looks fine" does not always mean it is safe.
Terminology and Pad Culture (Quick Clarity)
“Taco” vs “Hinged” vs “Hybrid”
Reader, let's get you fluent fast: "Taco" pads fold like a burrito with one continuous foam slab—no gaps. They're ideal for draping over jagged rocks and conforming to uneven ground. However, they tend to be bulkier to carry and resist lying perfectly flat. "Hinged" (or tri-fold) pads split into panels connected by fabric seams. They fold flat like a book, making storage and transport easier, but they can risk bottoming out if you land directly on the exposed hinge over a rock. "Hybrid" pads offer the best of both worlds—featuring a hinged base for flat folding, topped with continuous foam that bridges the gap. This design provides taco-like protection without the added bulk, making it the sweet spot for versatile crags.
“Sit-Start” Landings and Why Pad Needs Can Change
Sit-start problems launch you from seated or low-kneeling positions. These moves often involve twisting hips or flailing legs, leading to awkward, low-angle falls. This means pads need to be positioned *behind* and *beside* the start rather than directly under cruxes. Coverage shifts from vertical drop zones to lateral sprawl. Such falls can involve sudden heel hooks or knee bars that dump you sideways onto edges. This requires extra small pads flanking the main stack to catch off-axis tumbles that standard placements might miss.
Ethics and Etiquette at Popular Boulders: Sharing Space and Minimizing Impact
In crowded spots, pad culture revolves around respect. Always pack up after flashing to free space for others. Never leave crash pads sprawling across multiple problems or blocking trails. Communicate by saying "pad coming down!" before repositioning to avoid collisions. To minimize ground impact, avoid trampling vegetation. Rotate landing zones if grass starts to die out, and clean up stray chalk or tape. True stewards treat shared boulders like communal living rooms, not personal gyms.
Conclusion
Dear reader, make sure to equip yourself with the right crash pad. Always prioritize coverage over gimmicks to ensure maximum safety. Learn to master placement by carefully reading fall zones and staggering seams effectively. For complex terrain, stack pads strategically, and don’t forget to maintain them regularly to avoid foam fatigue.
Spot efficiently, aim to fall with loose feet first, then roll to minimize impact. Build your setup progressively, starting with one versatile pad and expanding to a tailored fleet that suits your needs.
Avoid rookie mistakes like using tiny pads or ignoring gaps between them. Now, grab that crash pad at a regular price deal, head to your local boulder, and climb safely. Your ankles—and your successful sends—will thank you. Boulder on!