

Choosing the right climbing shoes is essential for improving your performance, ensuring maximum comfort, and preventing injuries whether you're climbing on the rock or in the gym. Start by matching the shoe to your foot shape, climbing style, and experience level. This way, you'll find a pair of climbing shoes that fit as if they were custom-made for your feet.
Fit First: The Non-Negotiables That Make a Shoe Work
Hey, climber! Before you get dazzled by flashy brands or promises of maximum performance, remember this: fit trumps everything when choosing rock climbing shoes. A killer climbing shoe only performs if it hugs your feet perfectly—no dead space, no heel lift, and no crammed toes in "torture mode." Nail the fit, and you'll pick a shoe that elevates your game without the pain of blisters or early bailouts.
Toe Position: Flat vs. Lightly Curled (and Why It Depends on Shoe Type)
For neutral climbing shoes, your toes should sit flat or just lightly curled, gently touching the end of the toe box. This setup ensures all-day comfort on slabs or multi-pitch climbs. On the other hand, moderate or aggressive shoes require a snugger curl to channel power for steeper climbs. Tightly curled toes are ideal for short, intense sessions like bouldering, but don’t overdo it—save the vice-grip fit for climbs under an hour to avoid numbing discomfort.
Heel and Midfoot: Eliminating Dead Space and Heel Lift
A well-fitted heel is essential—no air pockets or sliding around. This eliminates heel lift, locking in precision for those important heel hooks and ensuring your foot stays planted on edges. For the midfoot, a secure fit squeezes out dead space and channels every ounce of power where it matters most. Test this by standing and flexing—if the shoe shifts, it’s not the right fit. Walk away and keep searching.
Foot Volume, Width, and Toe-Box Shape
Got narrow feet or low volume? Look for low-volume climbing shoes with tapered toe boxes that cradle your big toe without creating hotspots. If you have wider forefeet or high-volume feet, prioritize roomier lasts to prevent bunching. Many women’s or low-volume models are designed with adjusted heel cups and volume for a perfectly dialed fit, enhancing both comfort and long-term performance.
Sizing reality: why your street shoe size doesn't translate
Here's the hard truth: your street shoe size is just a starting point, not a guarantee. Every brand uses its own unique last shape, and sizing will vary wildly across manufacturers—even between models from the same company. For example, La Sportiva typically runs 2–3 EU sizes smaller than your foot size, while Scarpa sits about 1 size down, yet Evolv stays closer to street sizing.
This means you can't just order blindly; you need to shop strategically and test before committing.
A practical sizing range by experience level
If you're a beginner, prioritize comfort over aggression. Aim for a fit where your toes touch the end of the toe box but still allow for slight wiggling, giving your feet room to swell during longer sessions. As an intermediate climber, you can tighten the shoe by 0.5–1 size, accepting mild pressure for better performance on moderate terrain. Advanced climbers often push into snug, even uncomfortable fits for maximum power transfer during short, hard efforts. However, this trade-off only works if you can control the discomfort and remove the shoes without causing damage.
The "snug vs painful" line (and what pain is a red flag)
Pressure around your big toe or across the toe box is normal and expected—this is how tight climbing shoes enhance performance. However, sharp, localized pain, numbness in your toes, nerve-like tingling, or cramping that kills your ability to climb is a red flag. In these cases, you should dial back the shoe size or try a different model with a roomier toe box shape. If your toes go numb or you lose sensation within minutes, the fit is damaging, not dialed in.
When to size up for long days (multi-pitch, trad, guiding)
Planning a full day on the rock? Keep in mind size flexibility: your feet swell over hours of climbing, and a comfortable fit at the crag beats a torture chamber halfway through a pitch.
For multi-pitch, trad, or guiding gigs, consider bumping up 0.5–1 size from your performance standard. This trades raw power for endurance and helps you avoid the numb-toe spiral that can tank your focus. Your personal tolerance and the number of pitches you're climbing matter here—test your choice on a shorter day before committing to a full mission.
Materials and stretch: leather vs synthetic (and how that changes sizing)
Picture this: you snag the perfect climbing shoes off the shelf, only to find them loosening up weeks later—or staying stubbornly tight. That's the magic (and madness) of uppers stretching over time, so savvy climbers always account for it when buying climbing shoes.
Leather molds to your foot shape like a custom glove, while synthetic leather shoes hold their line, making sizing decisions a game of foresight.
Stretch expectations: unlined leather, lined leather, synthetic
Unlined leather can balloon up to a full size as it breaks in, so buy snug—your toes should just graze the front, expecting that shape to soften into "perfect after break-in." Lined leather (often with microfiber) caps stretch at about half a size, blending breathability with control. Synthetic uppers barely budge, softening slightly but holding shoe size steady—ideal if you want "perfect now" without surprises, though perforated versions give a tad more.
Break-in process: what should change and what shouldn't
During break-in, expect initial stiffness to mellow as the upper molds to your feet, reducing overall discomfort and fine-tuning the fit—leather especially loves this phase. But if sharp hot spots persist or worsen, they won't magically "fix themselves"; that's a sign of mismatch, not just youth.
Managing hot spots without ruining the fit
Combat hotspots with short 20–30 minute wear-ins at home or easy boulders, gradually ramping up to let the material conform. For targeted relief, use a boot stretcher on pressure points or dampen leather sections before stuffing with balled socks overnight—but skip aggressive hacks that slacken the whole shoe.
If pain lingers past a week or two, hit up customer service for an exchange; better a new model than a ruined pair.
Shoe profiles: neutral, moderate, aggressive (downturn) and who they’re for
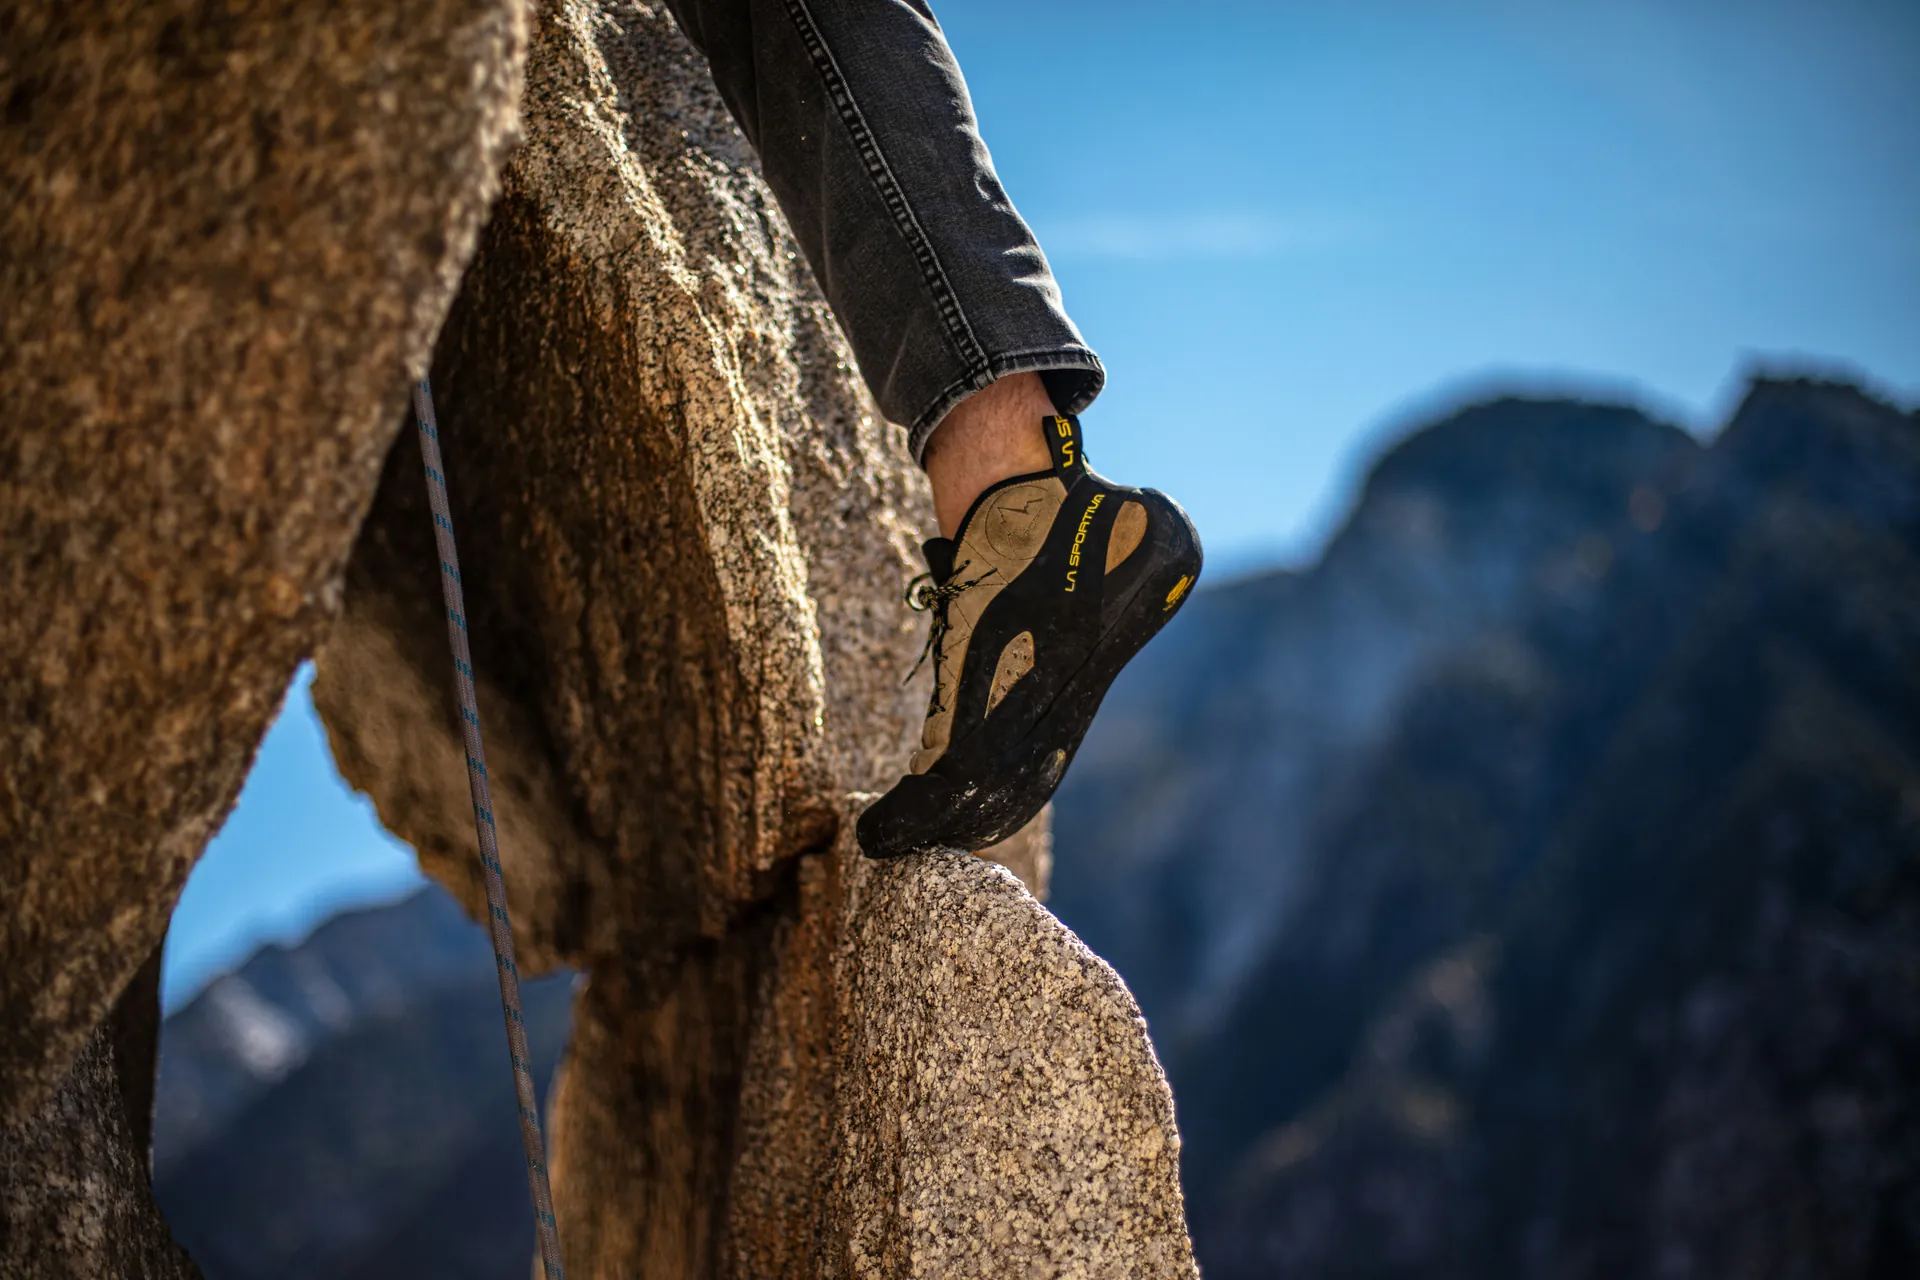
Shoe profiles determine how the sole curves from heel to toe, influencing both power delivery and comfort. Neutral profiles keep the sole flat, ideal for slabs and cracks. Moderate profiles add a slight downturn for versatility, while aggressive profiles feature a pronounced banana-like curve for overhangs. Forget the hype—choose the right profile for your terrain and climbing goals to achieve real-world success.
Neutral: comfort, support, cracks, and beginner skill-building
Neutral profiles mimic your natural stance, offering a distraction-free experience that helps you focus on developing proper technique. These shoes are perfect for beginners working on footwork for slabs, vertical faces, or cracks. With thicker and stiffer soles, they provide the support needed for longer climbing sessions, allowing you to log more reps and build foundational skills faster.
Moderate: the all-around workhorse for most climbers
Slightly downturned with a touch of camber, moderate profiles excel as your "one-shoe quiver." They handle vertical sport routes, edges, slabs, cracks, and even mild overhangs with a balance of power and grip. Featuring thinner, stickier soles, they are a favorite for climbers seeking gym-to-crag versatility without making extreme compromises.
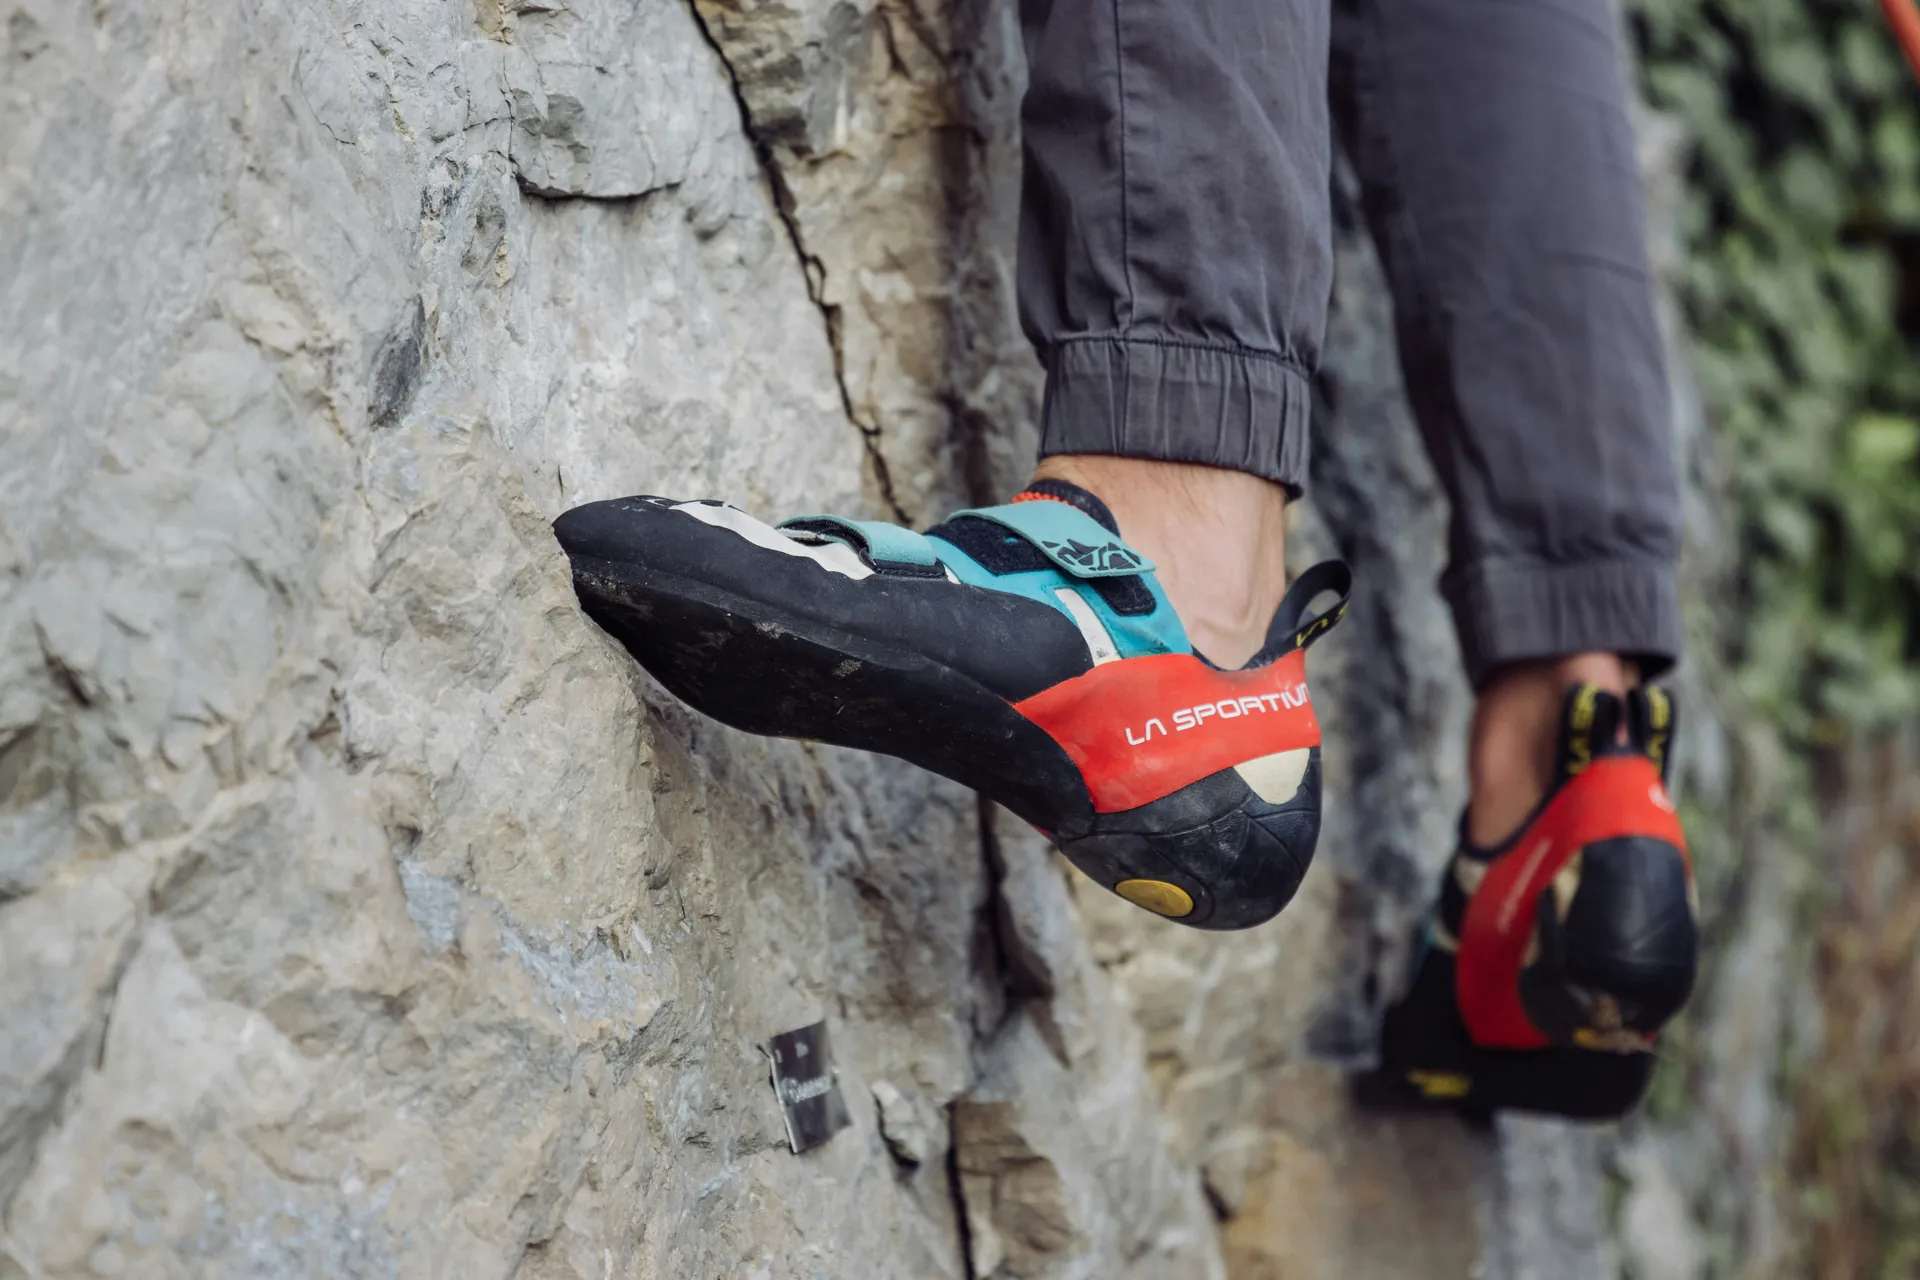
Aggressive: steep climbing, power, and precision (with comfort tradeoffs)
With a pronounced downturn and banana-like curves, aggressive profiles channel force to your big toe, ensuring precision on tiny holds, overhangs, roofs, and bouldering cruxes. These shoes are designed for short, intense climbs, where techniques like heel hooks and toe pulls are essential. However, their snug fit and aggressive design can lead to discomfort during extended routes, making them best suited for steep and challenging climbs.
Shape and Power: Asymmetry, Last, and Tension Systems
Shoe architecture is designed to channel your weight precisely. Features like asymmetry focus power toward the big toe for better edging, the last shapes the shoe for stability, and tension systems like rands keep the structure taut under pressure. When these elements are properly aligned, your feet transform into precision tools capable of gripping micro-holds with ease.
Asymmetry: Big-Toe Power vs Comfort
Greater asymmetry curves the inner edge of the shoe toward your big toe, concentrating weight for laser-like precision on small edges and pockets. This design is ideal for technical terrain like steep slabs and pockets, offering a significant performance boost. However, the angled toe box can feel tight, making these shoes better suited for short, intense climbs rather than extended sessions where comfort is key.
Last and Volume: What “Last” Actually Controls
The last is the foot-shaped mold that determines key factors such as forefoot width, instep height, toe geometry, and heel fit. Choosing a last that matches your foot shape is essential. Focus on how it cradles your foot's volume to prevent slippage and avoid pressure points. A poorly matched last can undermine power transfer, so always prioritize trying on shoes over relying solely on specifications.
Rand and Tension: Why a Tight Shoe Can Feel “Supported”
Rands—rubber wraps around the toe and heel—work together with tension systems like La Sportiva's P3 or Scarpa's Active Randing. These features help maintain the shoe's downturn and prevent twisting, which enhances edging and toe-in stability. However, their effectiveness depends on a proper fit. Without a secure base fit, these systems fall short, but when done right, they make even aggressive profiles feel secure and powerful.
Stiffness, sensitivity, and rubber: choosing the right “feel”
Stiffness, sensitivity, and rubber are the key elements that define a shoe's "feel." They balance support and feedback—stiffer builds edge like a board for tiny holds, while softer designs bend for intuitive smears and toe hooks. The rubber thickness and hardness further tip the scales between grip and wear.
Stiff vs soft: what each is best for
Stiff soles are ideal for micro-edging on crystals and slabs, as they help minimize foot fatigue. This makes them great for beginners, long routes, or crack jams where muscle strain can spike. On the other hand, soft flex shines in steep pulls, volumes, and smeary terrain. It delivers superior feedback for precise foot placement but requires stronger toes and calves to perform effectively.
Rubber thickness and hardness: performance vs durability
Thinner rubbers (2.5–3.5mm) are stickier and enhance smearing and sensitivity, but they wear out quickly on abrasive rock surfaces. Thicker rubbers (4–5mm) with firmer compounds prioritize durability and longevity. They are better suited for multi-pitch routes, although they may mute some of the nuanced feedback.
Toe patch and heel design: bouldering-focused features
Extended toe patches offer traction for hooking under roofs or on flakes, making them essential for comp-style bouldering. Additionally, sculpted heel cups with integrated rubber tension ensure minimal dead space, secure lockdown, and randing that bites into hooks without slop, delivering a reliable fit for demanding moves.
Closures: lace, velcro, slipper (and why closure is a fit tool)
Closures aren't just for beginners—they're precision tools designed to adjust the fit to your unique foot shape and the demands of your climbing session. Whether you're jamming cracks or flashing boulders, the right closure enhances control without unnecessary hassle.
Lace-up: precision fit tuning for varied feet and long routes
Laces allow you to micro-tune the tension from the toe to the instep, making them perfect for climbers with uneven feet or those experiencing swelling during extended climbs. This low-profile design is ideal for crack jams as it slips in seamlessly, and you can even tweak the fit mid-route without removing your shoes.
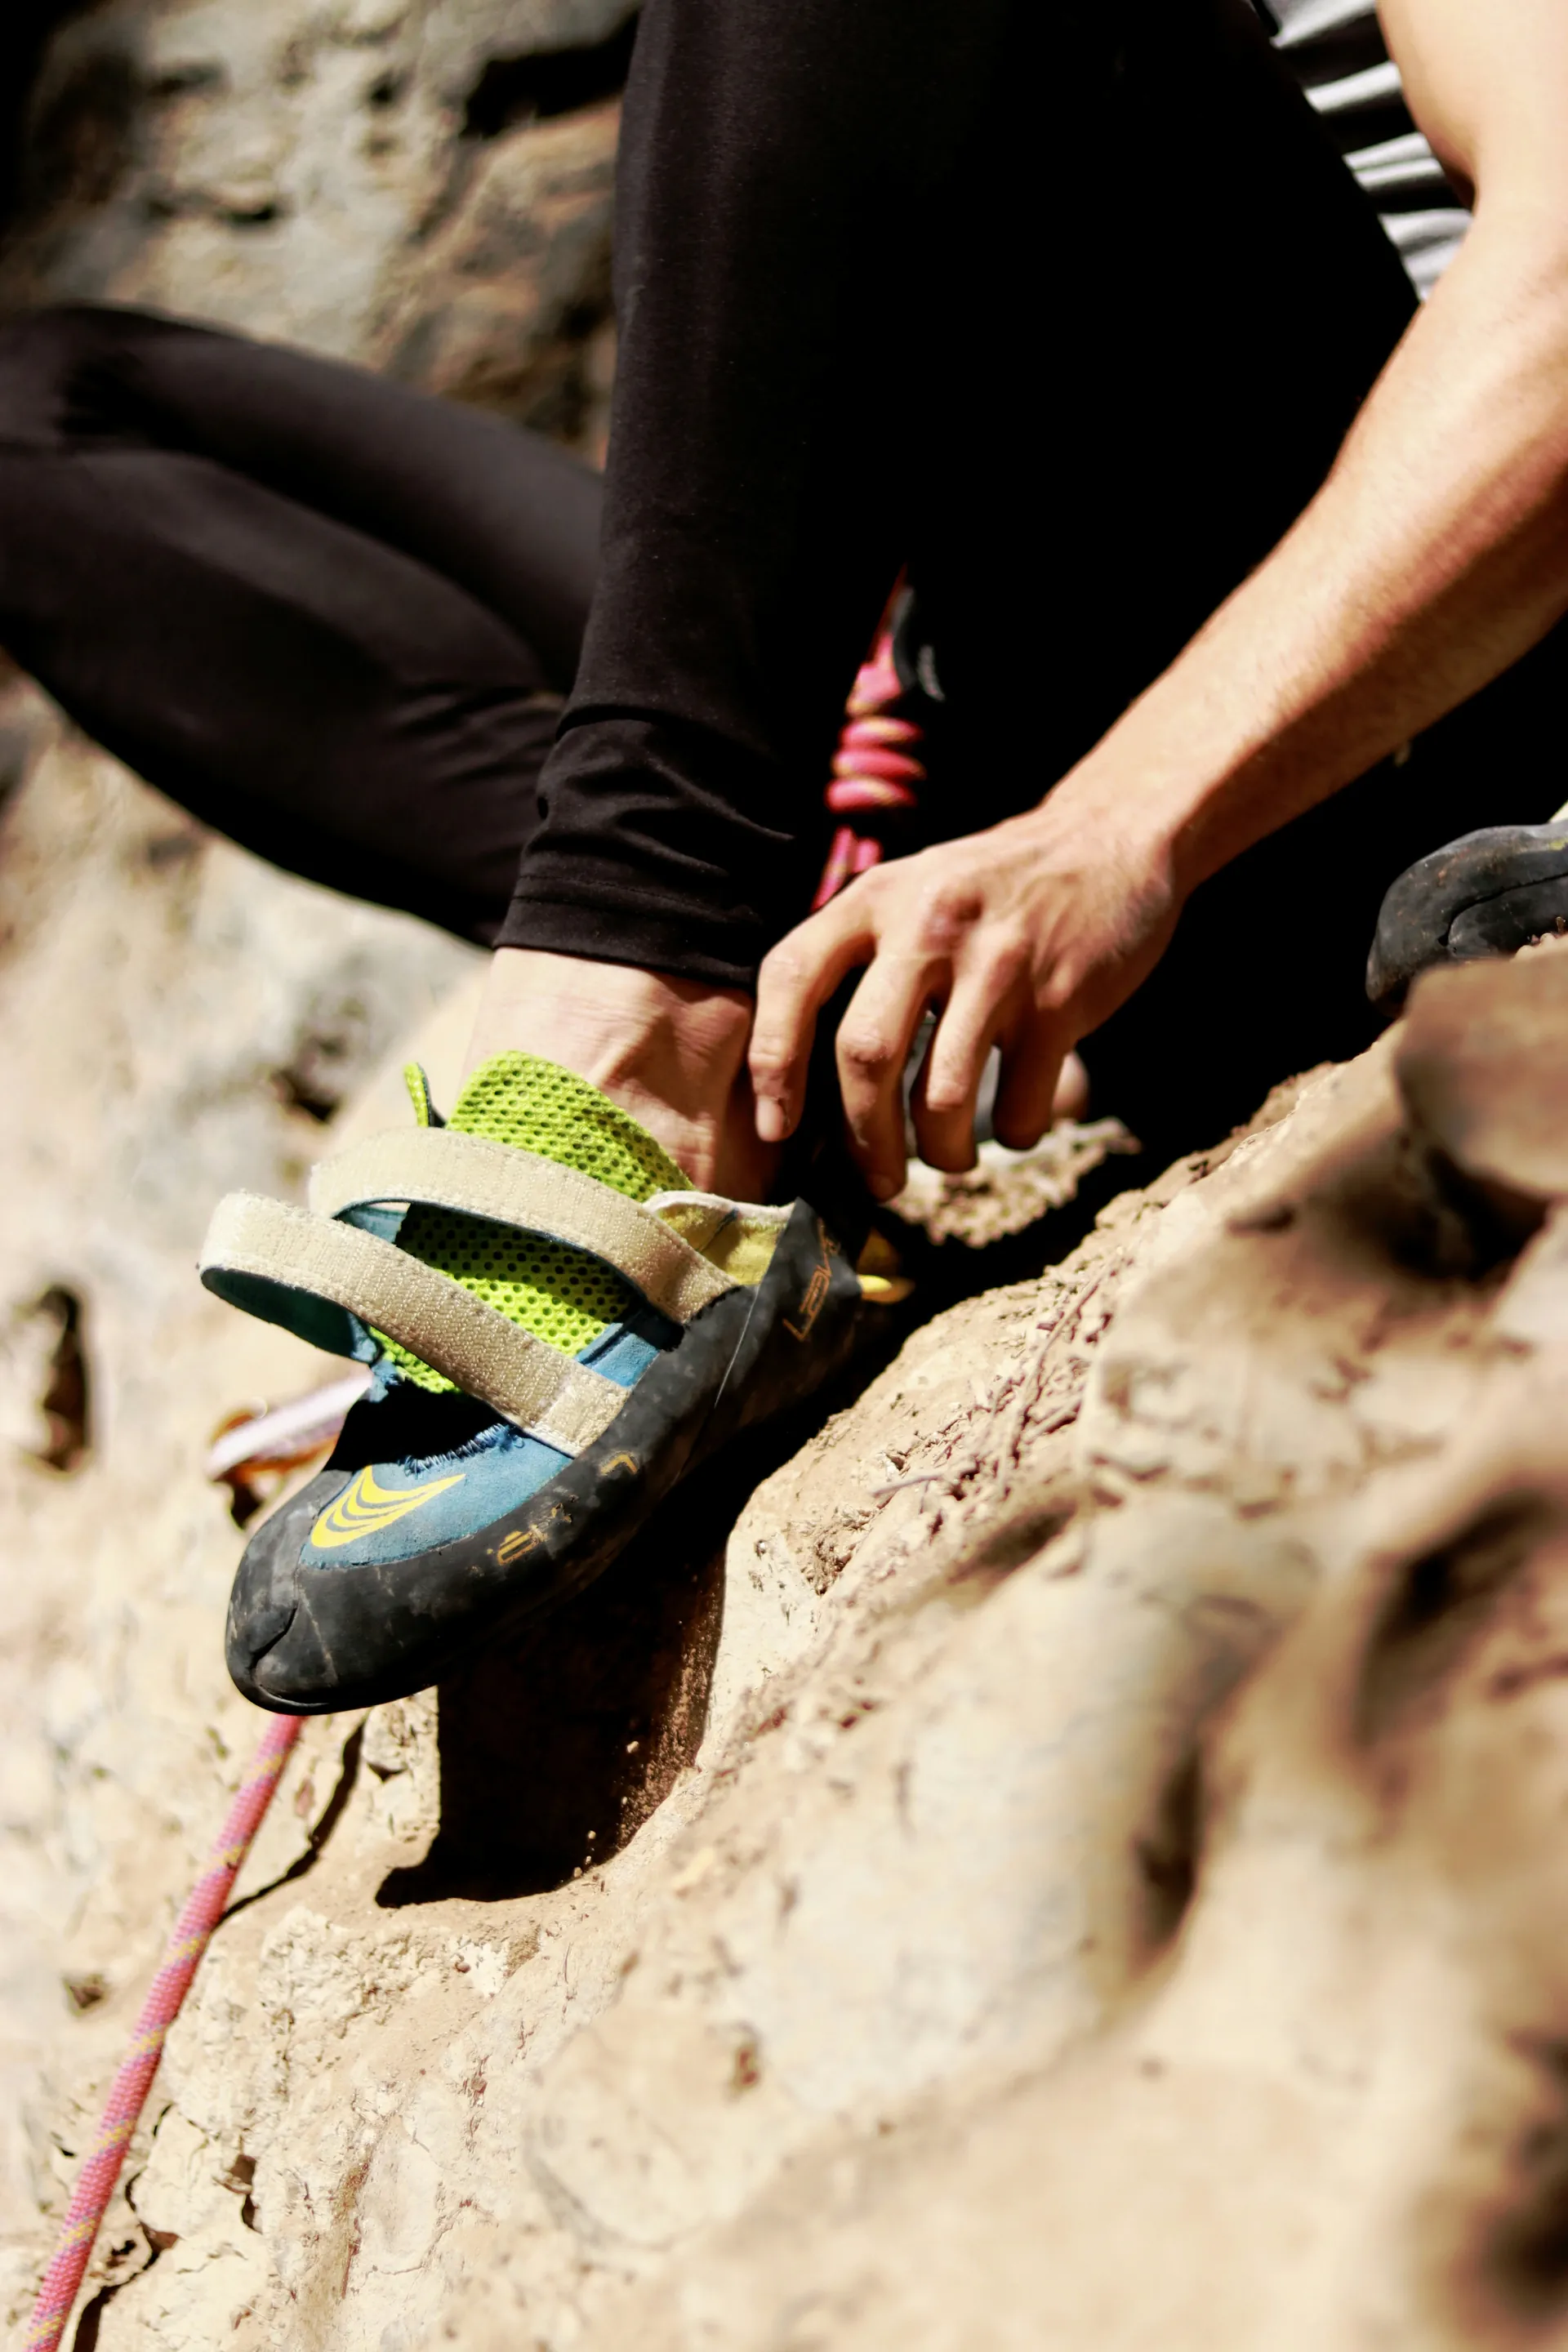
Velcro: convenience for gym and bouldering sessions
Velcro straps are all about speed and convenience, snapping on and off in seconds between climbs. They're ideal for gym laps or bouldering sessions where you're frequently swapping shoes. Despite the quick on-off feature, they still offer customizable lockdown across the forefoot, provided the base shoe fits well.
Slippers: sensitivity and simplicity (but fit must be perfect)
Slippers offer unmatched sensitivity with zero bulk, making them thrive in low-profile cracks and training sessions. The elastic hugs your foot like a second skin, but only if sized glove-tight from the start. Keep in mind, stretched bands can lose their grip over time, so perfect sizing is important.
Match the shoe to your climbing: gym, bouldering, sport, trad, multi-pitch
Reader, customize your rock climbing shoes to suit the terrain you climb most often. Gym volume boards call for aggressive sensitivity, while trad cracks require supportive flats. Use this framework to create a collection of shoes that aligns with your climbing style without compromise.
Gym all-rounder (most common first purchase)
Choose a moderate profile with supportive midsoles and durable rubber for versatility in the gym. These shoes are perfect for slabs, volumes, and overhangs, offering precise footwork without the discomfort of extreme downsizing. These are the best climbing shoes for beginners, ideal for training walls and building skills across various angles.
Steep bouldering and board-style climbing
For steep bouldering and board-style climbing, select aggressive shoes with a strong downturn, sticky toe patches, and responsive heels. These features are essential for toe hooks and heel jams on roofs and comp boards. Since these climbs are typically shorter, you can prioritize edge-scraping precision over comfort.
Sport climbing (vertical limestone vs steep endurance)
When climbing vertical limestone, opt for shoes with edging support, either moderate or stiff neutral profiles. For steep endurance routes, shoes with a downturned aggression are ideal for toeing into pockets and maintaining sustained hooks.
Trad and cracks (plus big days)
Neutral-profile lace-up shoes are perfect for trad climbing and crack climbing. They offer adjustability and padding for jamming fists or toes into cracks, ensuring comfort during long, demanding climbing sessions without causing fatigue.
Try-on protocol: how to test shoes like a climber (not a shopper)
Transform yourself from a casual browser into a fit pro with this in-store workflow. Make sure to try multiple sizes and models, stand, move around, and even climb if possible to uncover any flaws before heading to checkout.
Timing and setup: try shoes when feet are swollen
Visit the shop in the evening when your feet are likely to mimic post-climb puffiness. This ensures a more realistic sizing experience. Remember to trim your nails short and test the shoes barefoot—no socks—as that’s how you’ll be wearing them while climbing.
The three checks: toes, heel, and “no dead space”
Stand and inspect carefully. Ensure your toes make contact with the front of the shoe without causing knuckle-bunching pain. The heel should feel snug without lifting when you stand on tiptoe. Look for zero dead space—if you can slip a finger inside, the fit is too loose.
Movement tests: edging, smearing, heel hooks (simulated)
Simulate climbing movements to test performance. Balance on a thin edge of carpet to check the shoe’s rigidity and lift. Press your toes flat against a wall to evaluate smear stability. Finally, yank your heel upward to ensure the shoe locks your heel in place securely, without any rolling.
Building a smart shoe lineup: first pair, second pair, and rotation
Most climbers eventually realize that a single pair of climbing shoes can't handle every type of climb. To solve this, they build a shoe quiver, rotating between specialized pairs. This strategy not only enhances performance but also extends the lifespan of each pair and keeps their feet comfortable. Over time, this two-shoe approach can effectively cut costs in half.
First pair priorities: comfort, support, and durability
When choosing your first climbing shoe, prioritize comfort and consistent wearability over aggressive features. Opt for a moderate, supportive shoe with thick rubber—something you'll actually enjoy wearing every session, rather than a painful pair you'll avoid. Remember, a shoe that encourages regular use will help you build skills faster than one you dread putting on.
Second pair upgrade: specialize for your goals
Once you're ready for a second pair, choose a shoe that aligns with your climbing goals. For example, climbers tackling technical vertical routes often prefer stiffer, edging-focused shoes for precision. On the other hand, those focused on steep bouldering might go for aggressive shoes with high asymmetry and sensitive soles. Let your second shoe reflect your climbing passion—not just the latest trends.
Indoor vs outdoor rotation to save rubber
Climbing gym holds are notorious for wearing down rubber faster than natural rock. To combat this, designate one pair of shoes for indoor training and another for outdoor crag adventures. This rotation spreads out the wear, allowing each pair to recover between sessions and significantly extending their collective lifespan. For example, you might keep one pair gym-only while reserving the other for outdoor use. This simple strategy keeps both pairs fresher for longer.
Care, resoling, and longevity: protecting your investment
Your climbing shoes are an investment worth protecting—smart maintenance not only stretches their lifespan but also preserves performance and ensures your feet stay happy for years. Treat them right from day one, and they'll reward you with consistent grip and comfort.
When to resole (and why early is cheaper)
Resole your shoes before the rand separates or wears completely through. Catching thin spots early helps preserve the shoe's shape and structural integrity. Waiting until holes appear forces a pricier rebuild. Keep an eye on wear patterns, especially on the toe or edges, and address them before they worsen. Doing so will significantly extend the lifespan of your shoes while keeping their performance feeling precise.
Cleaning, drying, and odor control
After every session, wipe the soles and uppers with a damp cloth to remove chalk, dirt, and worn rubber particles that can kill grip. For stubborn grime, hand-wash with warm water and a soft toothbrush, using mild soap sparingly. Avoid hot water and harsh chemicals, as they can delaminate glue and damage materials.
Always air-dry your shoes in the shade, never in direct sunlight or heat, as this can weaken the materials. Remove your shoes from your pack immediately after use to prevent mildew. To absorb moisture and neutralize odor naturally, stuff them with newspaper or use boot bananas.
Common wear patterns and what they reveal about technique
Noticing toe tips wearing out first? This may indicate you're dragging your feet. Focus on precise footwork and avoid scraping. If you see wear on the inside or outside edge, it could reveal your foot placement habits. Heavy inside wear often means you're over-relying on one edge—try balancing your technique across both edges.
Uneven wear across the forefoot might hint at sloppy foot placement. By cleaning up your footwork, you'll notice wear spread more evenly. This not only extends the life of your shoes but also sharpens your climbing technique.
Conclusion
Dear reader, the secret to finding the perfect climbing shoes starts with the fit. Look for shoes that have no dead space, a secure heel, and toes that feel snug according to your climbing style. Next, consider the shoe's profile - opt for a neutral profile for slabs and traditional climbing, or an aggressive profile for steep routes. Pay attention to the rubber for optimal grip and choose shoes that match the terrain, whether you need gym all-rounders or specialized bouldering shoes.
If you're buying your first pair, prioritize comfort and durability. To extend the life of your shoes, rotate them regularly and make sure to test them rigorously before committing. Don't let poorly fitting shoes hold you back - visit a shop, try them on during the evening when your feet are slightly swollen, and find the right pair today.
Your sends are waiting for you - climb smarter, not harder!