

Struggling with rock climbing shoes that are too tight, pinching your toes, and turning every climb into a battle? You're in the right place. Here's how to safely stretch out your climbing shoes using proven methods that work—without damaging the rubber sole or toe box.
Imagine this: you're prepping for a bouldering session at Yosemite or Lake Tahoe, but your new shoes feel unbearably tight, hot, and uncomfortable. Maybe you sized down for that high-performance edge on big wall climbs or bought a pair that’s slightly off. Either way, tight shoes can ruin your climb before it even begins.
The good news? Climbing shoes made from stretchable rubber and synthetic materials can adjust with the right techniques. We'll guide you through low-risk wear-in tricks, targeted stretch hacks, and heat methods like stuffing shoes with socks and using a hair dryer—while avoiding disasters like freezing wet shoes in water bags that could damage your gear.
Let’s get your shoes climb-ready!
Before you stretch: confirm the real problem (and whether stretching can even fix it)
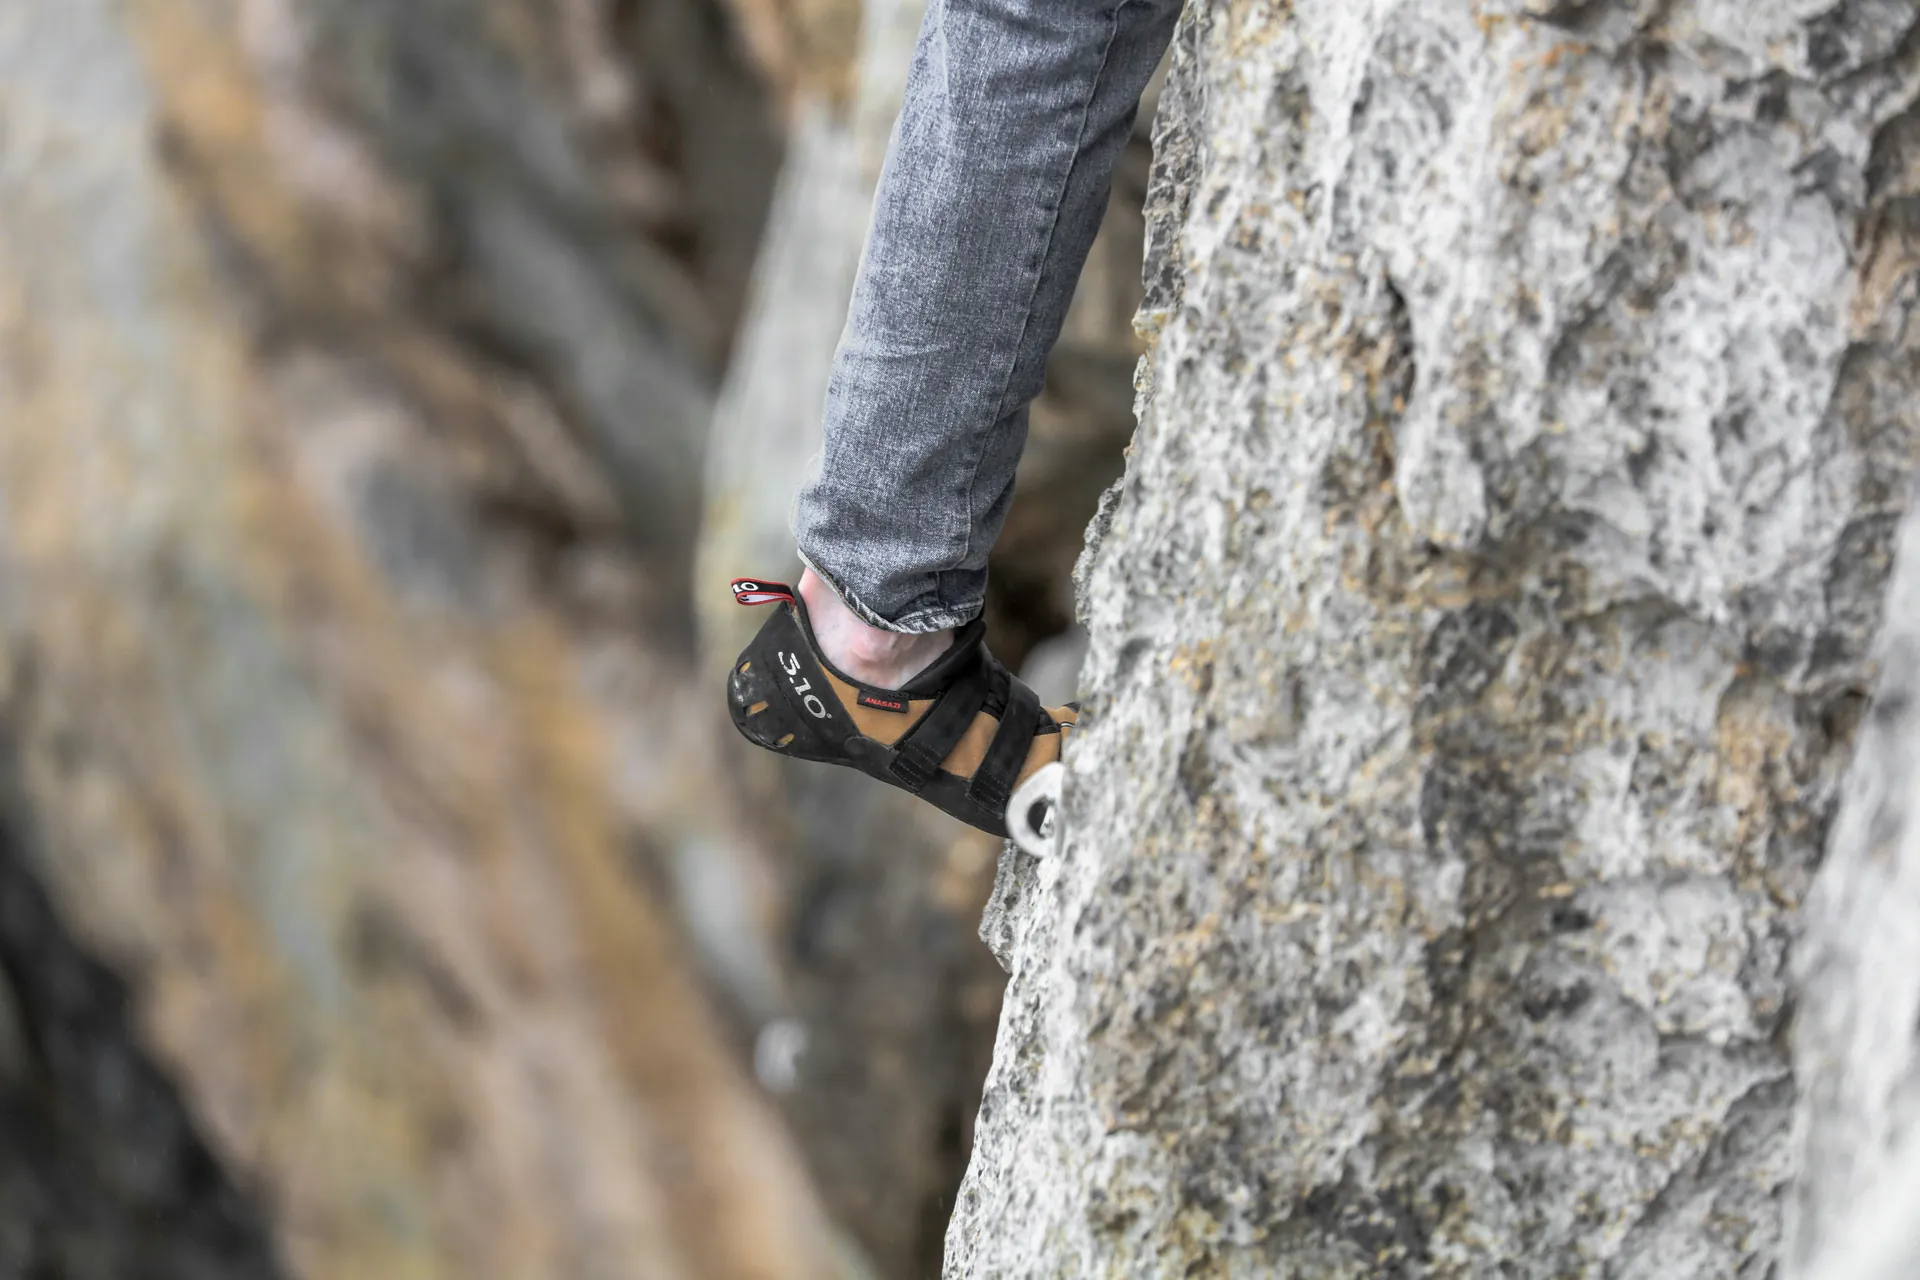
Before you grab that hair dryer or attempt stuffing your shoes with sandwich bags filled with water, take a moment to ask yourself one important question: is your problem something that stretching can actually solve? Here's the hard truth—climbing shoes will stretch, but not infinitely, and not in the ways that matter most.
Rock climbing shoes primarily stretch in width and volume (the overall toe box and forefoot area), but they stretch very little in length. If your big toe is jammed against the end because the shoe is genuinely too short, no amount of stretching will fix it.
Attempting to stretch such shoes will waste your time and money, when simply exchanging them for a larger size or a different model would be a better solution. Knowing this distinction beforehand can mean the difference between salvaging a tight shoe and ruining one that was never going to fit properly.
Too short vs too tight: quick fit diagnosis
The first step is determining whether your shoes are too tight overall or just too short in length. A simple protocol can help you diagnose this. Stand on flat ground in your climbing shoes and check three things:
First, press your foot down and assess whether the pressure is concentrated directly at the end of your big toe. If your toenail feels compressed or you experience sharp pain at the tip, length is the issue.
Second, notice if you feel numbness or tingling in your toes or feet—this indicates dangerous pressure that stretching won't safely relieve.
Third, check if the tightness is localized (such as a hot spot on your heel, instep, or knuckle) or distributed across the entire shoe. Localized pressure can often be addressed with targeted stretching, but length issues and numbness cannot.
Where shoes can realistically "give"
Understanding where climbing shoes can actually stretch helps set realistic expectations. Shoes stretch most in forefoot width—the area across your toe knuckles and the sides of your foot—and in instep volume (the height and depth of the toe box).
Leather, particularly unlined leather, stretches more generously than synthetic materials. Synthetic shoes, especially those with lorica lining, tend to "mold" to your foot shape rather than stretch significantly. However, certain parts of the shoe won't budge: the rubber sole, the toe cap, and the rand (the slingshot-like tension band around your forefoot).
These components are designed to provide precision and power but resist meaningful stretch. If your discomfort is in areas that barely stretch—such as the very tip of the toe, the rigid heel counter, or the stiff rubber rand—stretching will likely disappoint you.
Red flags that mean "don't stretch—return or resell"
Some warning signs indicate that stretching isn't the solution and you should consider returning or reselling your shoes instead. Persistent numbness or tingling in your toes or foot signals nerve compression, which will worsen with pressure and stretching.
Sharp, localized joint pain, especially in your big-toe joint, is another clear stop sign. Extreme tightness can lead to Hallux Rigidus, a form of degenerative arthritis, and stretching won't reverse damage that has already started.
Bruised or discolored toenails after wearing the shoes point to excessive pressure that stretching alone cannot solve. If your toe joints can't handle weighted pressure on rock—only edging—the shoe is negatively affecting your climbing performance, and stretching won't fix that.
Finally, if the shoe requires major stretching to be wearable (such as needing a plastic bag to slide your foot in initially or sizing down two full sizes), the risk of damage outweighs the benefits. In these cases, opting for a different shoe or size is the better choice, not a stretching attempt.
How much will rock climbing shoes stretch (realistic expectations)
Setting realistic expectations upfront is key. Stretching provides minor comfort improvements, not miracles. This helps you avoid frustration and focus on methods that truly work. Expect subtle changes that make the shoe more wearable, rather than a complete transformation into a roomy slipper.
Typical stretch range by material and construction
Leather shoes stretch the most. Unlined leather can potentially expand by a full size or more in width and volume after breaking in. On the other hand, lined leather shoes typically relax by about half a size since the lining limits the extent of expansion.
Synthetic materials stretch much less—usually about 1/8 inch all around or at most a quarter to half a size. Perforated synthetics may stretch slightly more than unperforated ones. Additionally, features like slingshot rands and board-lasted constructions tend to rebound, further limiting the stretch.
Break-in vs stretching: what changes over time
Break-in softens the materials and molds them to your foot shape through heat and pressure from climbing. This creates pliability without causing major size changes. True stretching, however, refers to the small but meaningful expansion in size and shape—primarily in the uppers. This process transforms a snug fit into a more precise and comfortable one.
Performance tradeoff: comfort gains vs precision losses
Every bit of added comfort from stretching comes with a tradeoff in precision. Overstretched shoes lose their edging power, heel security, and aggressive downturn. This is especially true for soft, slip-lasted models. The compression provided by the slingshot rand is essential for power, and relaxing it can diminish your performance on technical terrain.
Know your shoe: material, lining, and shape determine the safest method
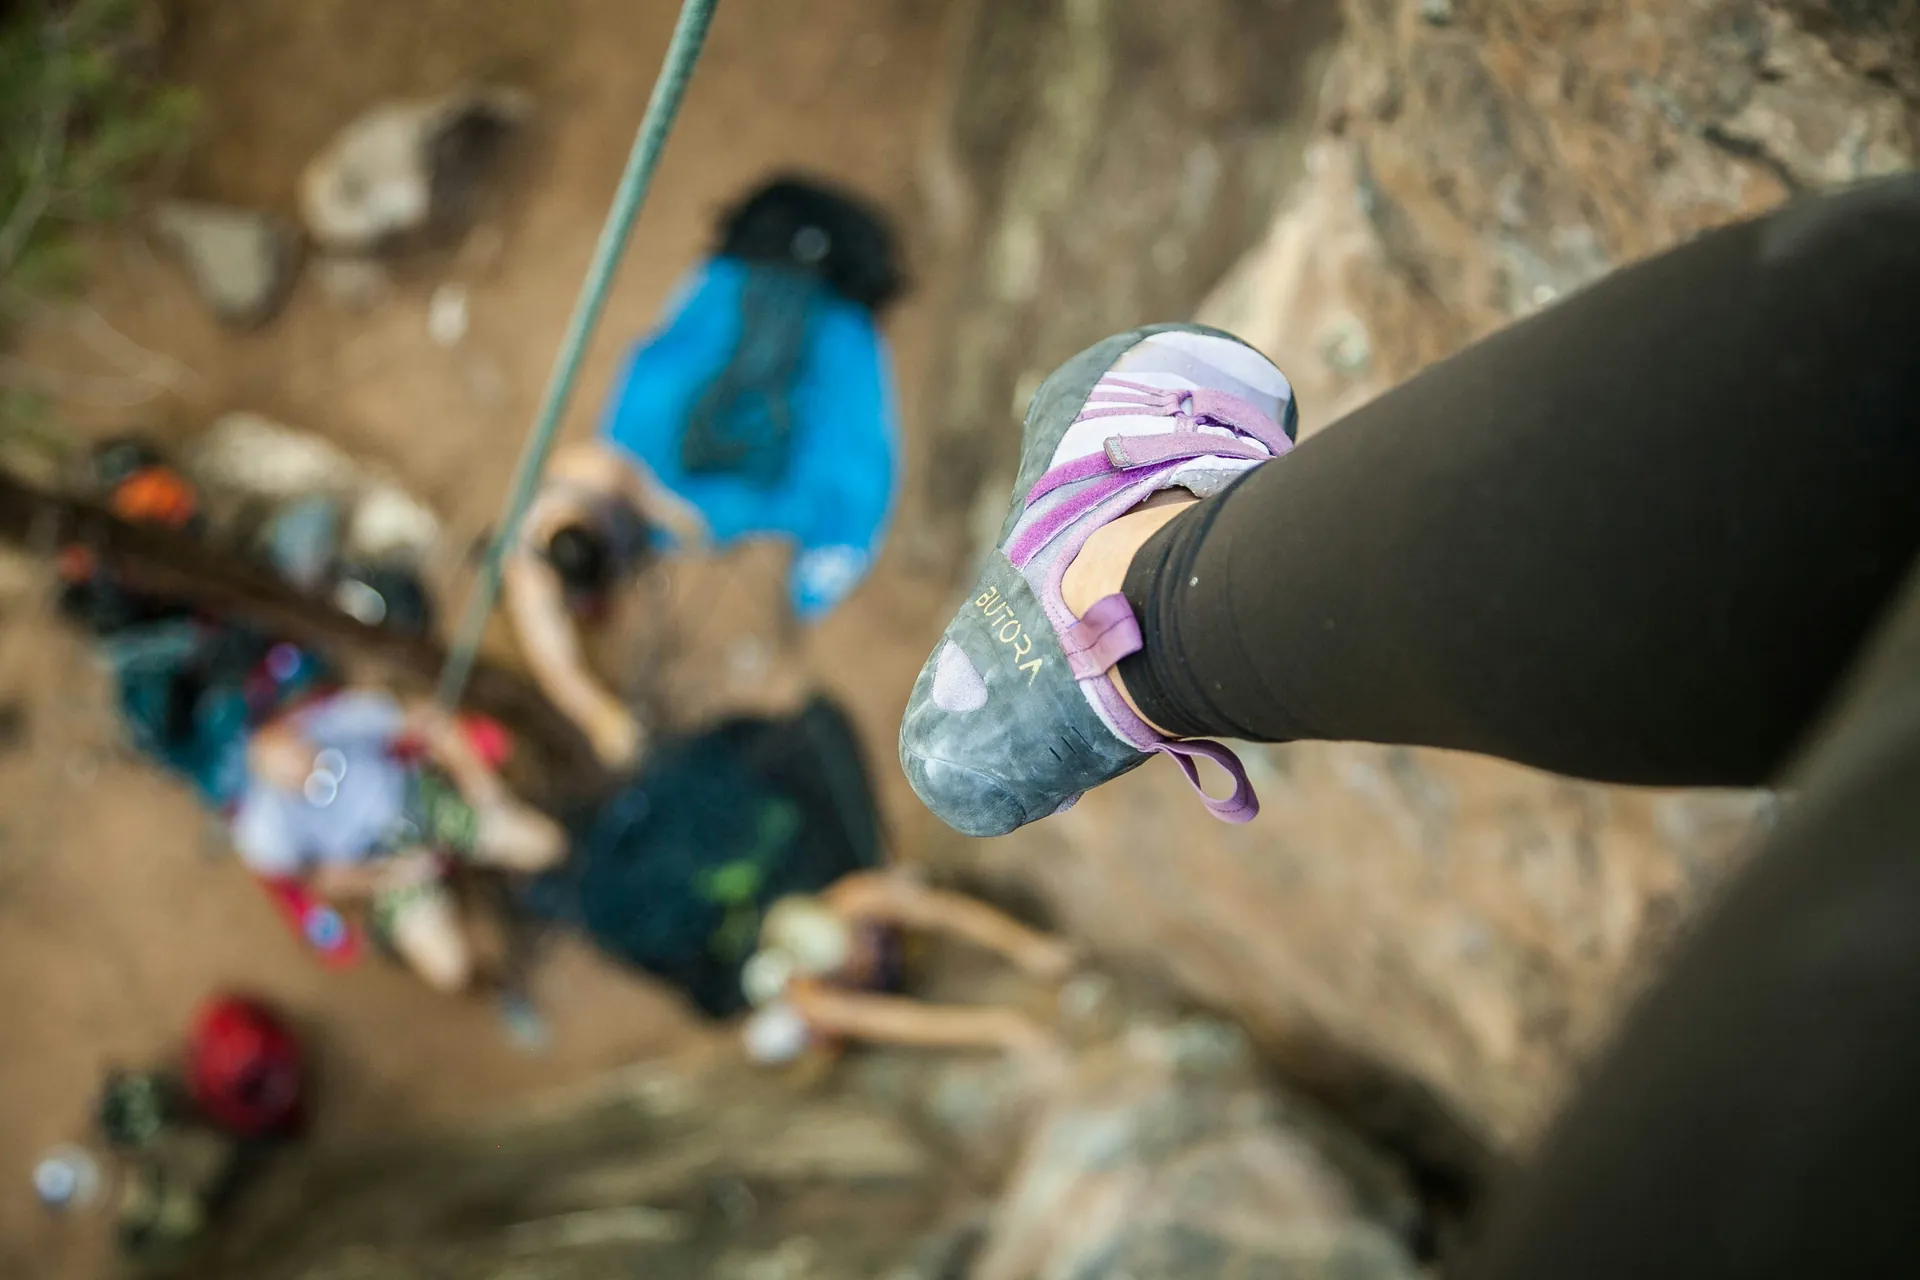
Before you grab that hair dryer or stuff sandwich bags filled with water into your climbing shoes, take a moment to understand what you're working with. The safest and most effective stretching approach depends entirely on your shoe's material, construction, and design—not on desperation or internet trends.
Choosing the right method for your specific shoe prevents damage and delivers real results.
Leather vs synthetic: which methods are appropriate
Leather uppers respond beautifully to moisture and heat because their fibers relax and reshape when warmed and dampened, then set into a new form as they dry. Heat-assisted methods and controlled wear are effective on leather because the material "wants" to mold to your foot.
Synthetic uppers, on the other hand, behave differently. They don't absorb moisture like leather, and heat affects them unpredictably. While synthetics soften slightly with use and conform to your foot shape, they won't truly stretch like leather. This means heat methods on synthetics carry a higher risk of damage. Instead, focus on gentle, incremental wear and mechanical stretching that works gradually over days.
Lined vs unlined uppers (and why it matters)
A lining fundamentally changes how your shoe responds to stretching by reducing total stretch by about half a size. Unlined leather shoes can stretch a full size or more, conforming beautifully to unique foot shapes. Lined shoes—whether leather or synthetic—resist excessive expansion, keeping the shoe's original performance characteristics intact longer.
This means lined shoes are more forgiving if you misjudge your size, but they also deliver less comfort gain from stretching. Understanding your shoe's lining helps you anticipate whether you'll experience modest softening (lined) or meaningful shape change (unlined) and guides your method choice accordingly.
Aggressive/downturned shoes: preserve the shape
Aggressive bouldering and sport climbing shoes feature exaggerated downturns and tighter heel cups—design elements that provide power and precision on overhanging rock. Stretching these shoes carelessly can flatten the downturn and loosen the heel cup, ruining the very performance characteristics you bought the shoe for.
Stretching aggressive shoes requires a targeted approach: focus on specific hot spots (such as tight areas on your knuckle or instep) without flattening the toe box or relaxing the entire upper. Use localized stretching methods—focused wear on problem areas, spot heat application, or mechanical plugs in precise zones—rather than full-shoe methods that compromise the shoe's aggressive geometry.
Low-risk methods (start here): stretching through controlled wear
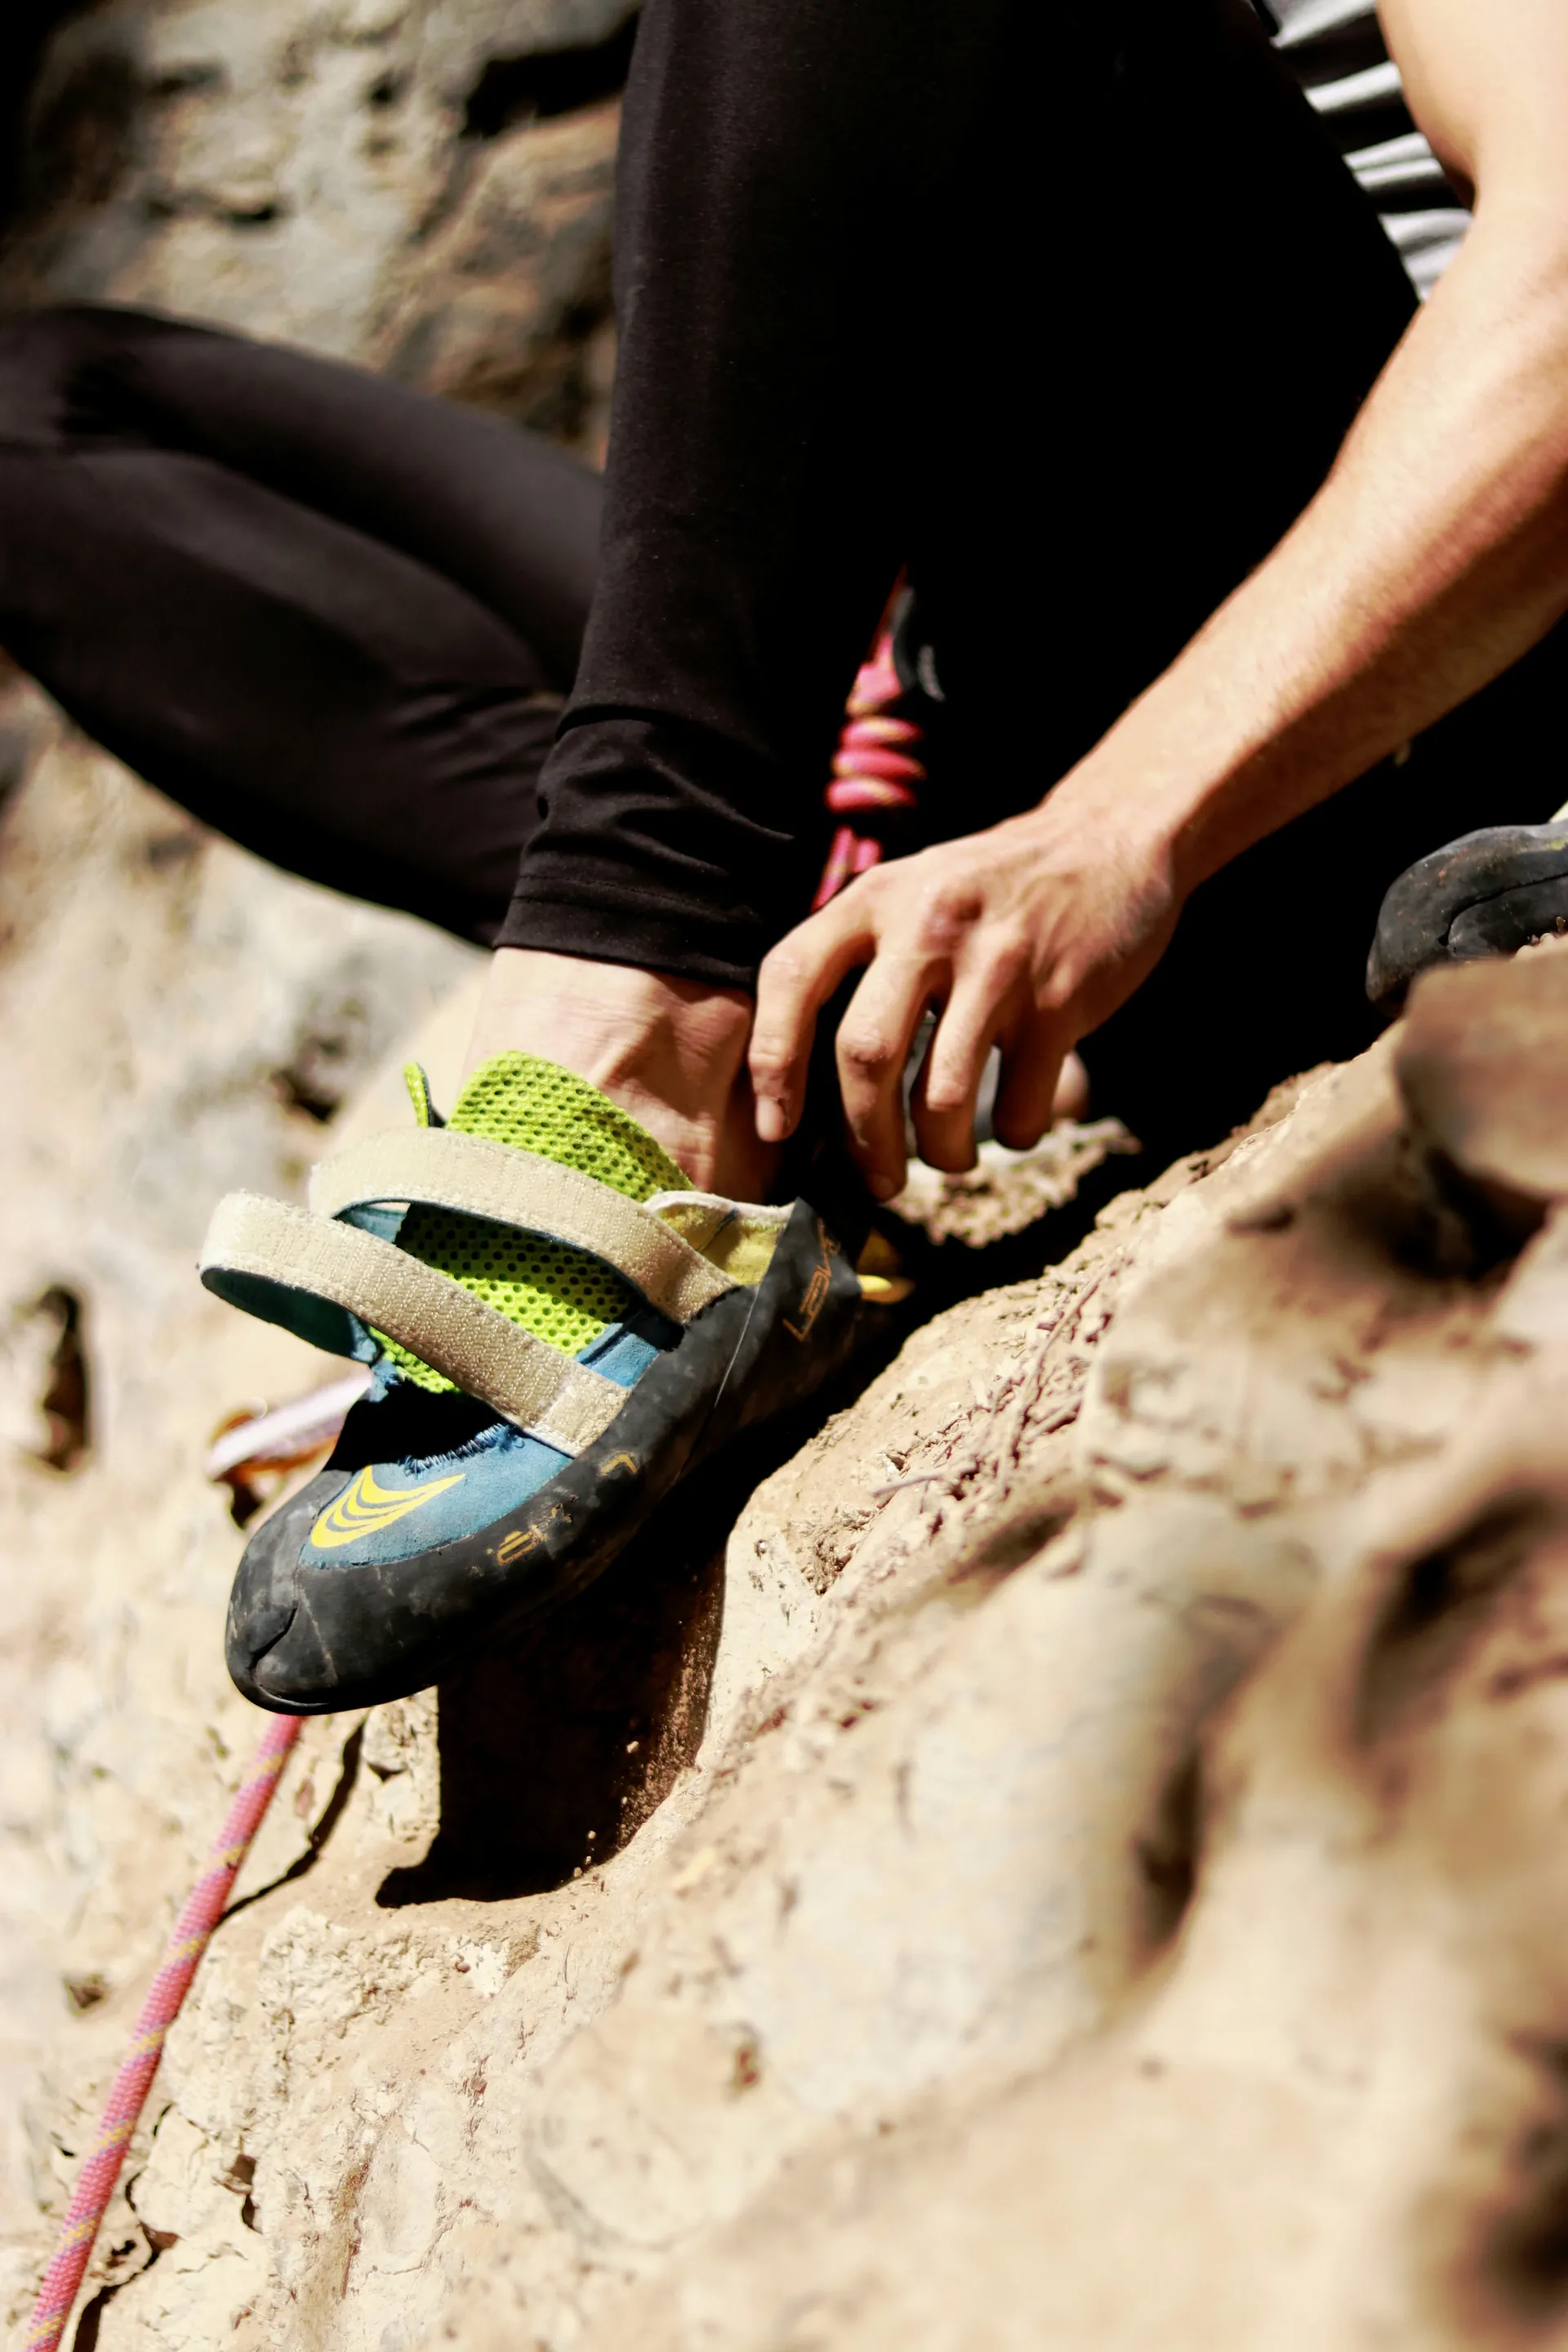
These controlled wear techniques are the ideal starting point for most climbers because they are safer, more predictable, and effectively stretch the shoe to match your exact foot shape without risking damage. They gradually build comfort while preserving performance—perfect for shoes that are almost right but need that final adjustment.
Micro-sessions: short wears + repeat (the safest break-in)
Start with micro-sessions to safely warm and mold your climbing shoes: lace or strap them snugly, then wear them for just 10–20 minutes at a time while walking around your house or doing light dynamic movements. Remove them immediately if pain builds, let them cool and rest for 30–60 minutes, and then repeat this process 3–5 times per day.
This schedule generates body heat to soften materials while avoiding blisters or hotspots—a much better approach than enduring hours of discomfort. Over 3–5 days, you'll notice gradual softening in width and volume, especially on leather uppers.
Thick-sock method (dry) for mild width/volume tightness
For mild tightness in the forefoot or instep, wear one thick sock (or double up on thin ones like cycling socks) inside your unlaced shoes and lace them snugly. The added bulk creates gentle outward pressure during your micro-sessions, encouraging width expansion without introducing moisture or heat. Wear them for the same 10–20 minute bursts, focusing on flexing your toes and rolling through your foot to target the toe box.
This dry method works particularly well for lined synthetics or situations where you want to avoid any risk of delamination.
"Plastic bag" slip trick to reduce friction during break-in
To extend your wear time without risking skin tears, slide a thin plastic bag over your socks (or bare foot) before stepping into the shoe—this significantly reduces friction, allowing you to tolerate longer sessions without pain. Lace up and perform your micro-sessions or even light traverses; the bag lets the shoe glide smoothly while your foot applies even pressure.
This method focuses less on aggressive stretching and more on enabling comfortable, extended break-in that naturally molds hotspots to your foot shape—guaranteed results without brute force.
Targeted Stretching for Hotspots (Best Way to Avoid Ruining the Whole Shoe)
Instead of stretching the entire shoe, focus on specific hotspots to provide relief exactly where you need it. This targeted approach ensures only the problem area is stretched, preserving the shoe's overall structure and performance.
Identify the Hotspot Precisely
Start by pinpointing the source of your discomfort. Use a washable marker to mark pressure points directly on your foot and the corresponding area inside the shoe. Stand in the shoes for about 5 minutes and note where the pain flares up:
- Big-toe knuckle pressure: Feels like a sharp pinch on the ball of your foot.
- Pinky-toe pinch: Creates a side-squeeze on the outer forefoot.
- Instep compression: Presses down across the top of the midfoot.
After identifying these points, match them to the shoe's interior. Wear thin socks and trace the corresponding areas inside the shoe, creating a clear roadmap for targeted treatment.
Spot Stretch at Home Using Controlled Pressure
Use localized tools or materials to apply pressure precisely to the marked hotspot. For example:
- Wine corks, rounded wooden dowels, or purpose-cut foam for the toe box.
- Balled-up clean rags secured with rubber bands for instep relief.
Insert the tool into the marked area only, lace the shoe snugly around it, and leave it in place for 20–30 minutes at room temperature. Check every 10 minutes to avoid overstretching.
Repeat this process 2–3 times daily over 2–3 days, alternating with short wear sessions. This gradual method molds the trouble zone without impacting the heel or rand.
Toe Box Width vs Instep Volume: Different Tactics
Different types of hotspots require different solutions:
- Toe box width issues: For lateral toe crowding, apply side-to-side expansion. Use paired small corks or clothespins clipped externally along the marked pinch points to create even outward force.
- Instep volume tightness: For vertical relief, stack layered fabric pads under the laces. This lifts and expands the midfoot area without broadening the entire forefoot.
By tailoring your tactic to the specific geometry of the hotspot, you can achieve precise and effective results while maintaining the shoe's overall precision and fit.
Heat-assisted methods (moderate risk): faster results, higher chance of damage if misused
These techniques use targeted heat to speed up the stretching process but require precision. Misuse can overheat glue and rubber, leading to risks like delamination or reduced stickiness. Proceed cautiously, and only use these methods on leather while monitoring closely.
Hairdryer + sock method (controlled heat)
This method allows for controlled application of heat to stretch the material. Start by warming the tight area gradually. Insert a thick sock into the shoe, set your hairdryer to low or medium heat, and hold it 6–8 inches away. Move the dryer constantly in circles for about 30–60 seconds per hotspot.
Immediately put on the shoe with the sock while the material is still pliable. Lace it snugly and flex your toes dynamically for 5–10 minutes to help mold the shoe to your foot. Once done, remove the shoe and let it cool while maintaining its shape on a flat surface. Avoid using high heat as it can soften the sole glue and degrade the rubber grip.
Repeat this process once a day for a maximum of 2–3 days. Always test the method on a small, inconspicuous area of the shoe first, especially if the shoe contains plastic, to avoid accidental melting.
Warm water "mold" method (for leather, carefully)
This method is suitable for leather shoes only. Begin by lightly dampening the exterior upper using a spray bottle filled with lukewarm water (not hot). Alternatively, you can briefly submerge the shoe in room-temperature water for 1–2 minutes maximum. After dampening, wear the shoe immediately with socks and move your feet gently for 20–40 minutes as the leather begins to dry. This helps the material mold to the shape of your foot.
Once done, remove the shoe and allow it to air-dry completely on a shoe tree or stuffed form. This will help set the leather's new shape. However, this method carries risks like uneven stretching, delamination, or unpleasant odors if the shoe becomes too saturated or if the process is rushed. Limit this method to one session, and avoid it entirely for synthetic materials, which do not tolerate moisture well.
Hot shower method: why it's popular and why it's risky
The hot shower method involves stepping into a warm shower with the shoes on. The steam and heat soften leather uppers, allowing them to mold quickly as you wear them wet. While this method is popular for resolving tight fits, it comes with significant risks. Prolonged exposure to water can weaken the shoe's structure, encourage bacterial growth, and cause uneven drying, which may warp the shape.
To minimize risks, limit the shower to 2–3 minutes under lukewarm water (not scalding). Wear the shoes until they are damp-dry while moving to mold the material, then remove and air-dry them stuffed and away from direct heat. This method is not suitable for synthetic or lined shoes. Whenever possible, consider safer alternatives to avoid potential damage.
Mechanical stretching tools: shoe stretchers, plugs, and professional options
Reserve these tools for stubborn hotspots, bunion pressure, or persistent forefoot width issues. They offer precise and controlled expansion, making them ideal when home methods fall short. Professional services are especially beneficial for protecting high-performance pairs.
Using a shoe stretcher without deforming the shoe
Generic boot stretchers often don't match the shape of climbing shoe lasts. Instead, choose mini two-way stretchers or climbing-specific models. These allow you to expand the width and length independently without flattening the shoe's downturn. Insert the stretcher loosely, turn the handle for minimal expansion (1/4 turn at a time), and leave it for 4–8 hours. Then, remove it and test the fit. Repeat this cycle over 2–3 days if needed.
Focus the expansion on the forefoot only. Avoid over-cranking the heel or toe to preserve the shoe's aggressive shape and rand tension.
Bunion/stretch plugs for localized expansion
Stretch plugs or bunion knobs, which are small rubber or wooden inserts, are designed to target specific knuckle hotspots, like pinky-toe squeezes. To use, lubricate the area with conditioner, insert the plug snugly, lace the shoe around it, and leave it for 1–2 hours. Using small increments prevents overstretching.
Check the progress every 30 minutes and repeat daily with slightly larger plugs if necessary. This method allows for precise, localized expansion of 1–2 cm zones, offering targeted relief.
Cobblers and climbing-shoe specialists
Consider hiring a professional when dealing with expensive aggressive models, unyielding hotspots, or shoes you can't afford to damage. Climbing cobblers use tools like heated plugs, custom stretchers, and their resole expertise to expand only where necessary. This ensures the shoe's downturn and grip remain uncompromised.
Professional services typically cost between $20–$50, which is a worthwhile investment for big wall or competition shoes. You can find these specialists through gym recommendations, and they often guarantee results after assessing your shoes.
Methods to Avoid (Common Internet Hacks That Can Wreck Climbing Shoes)
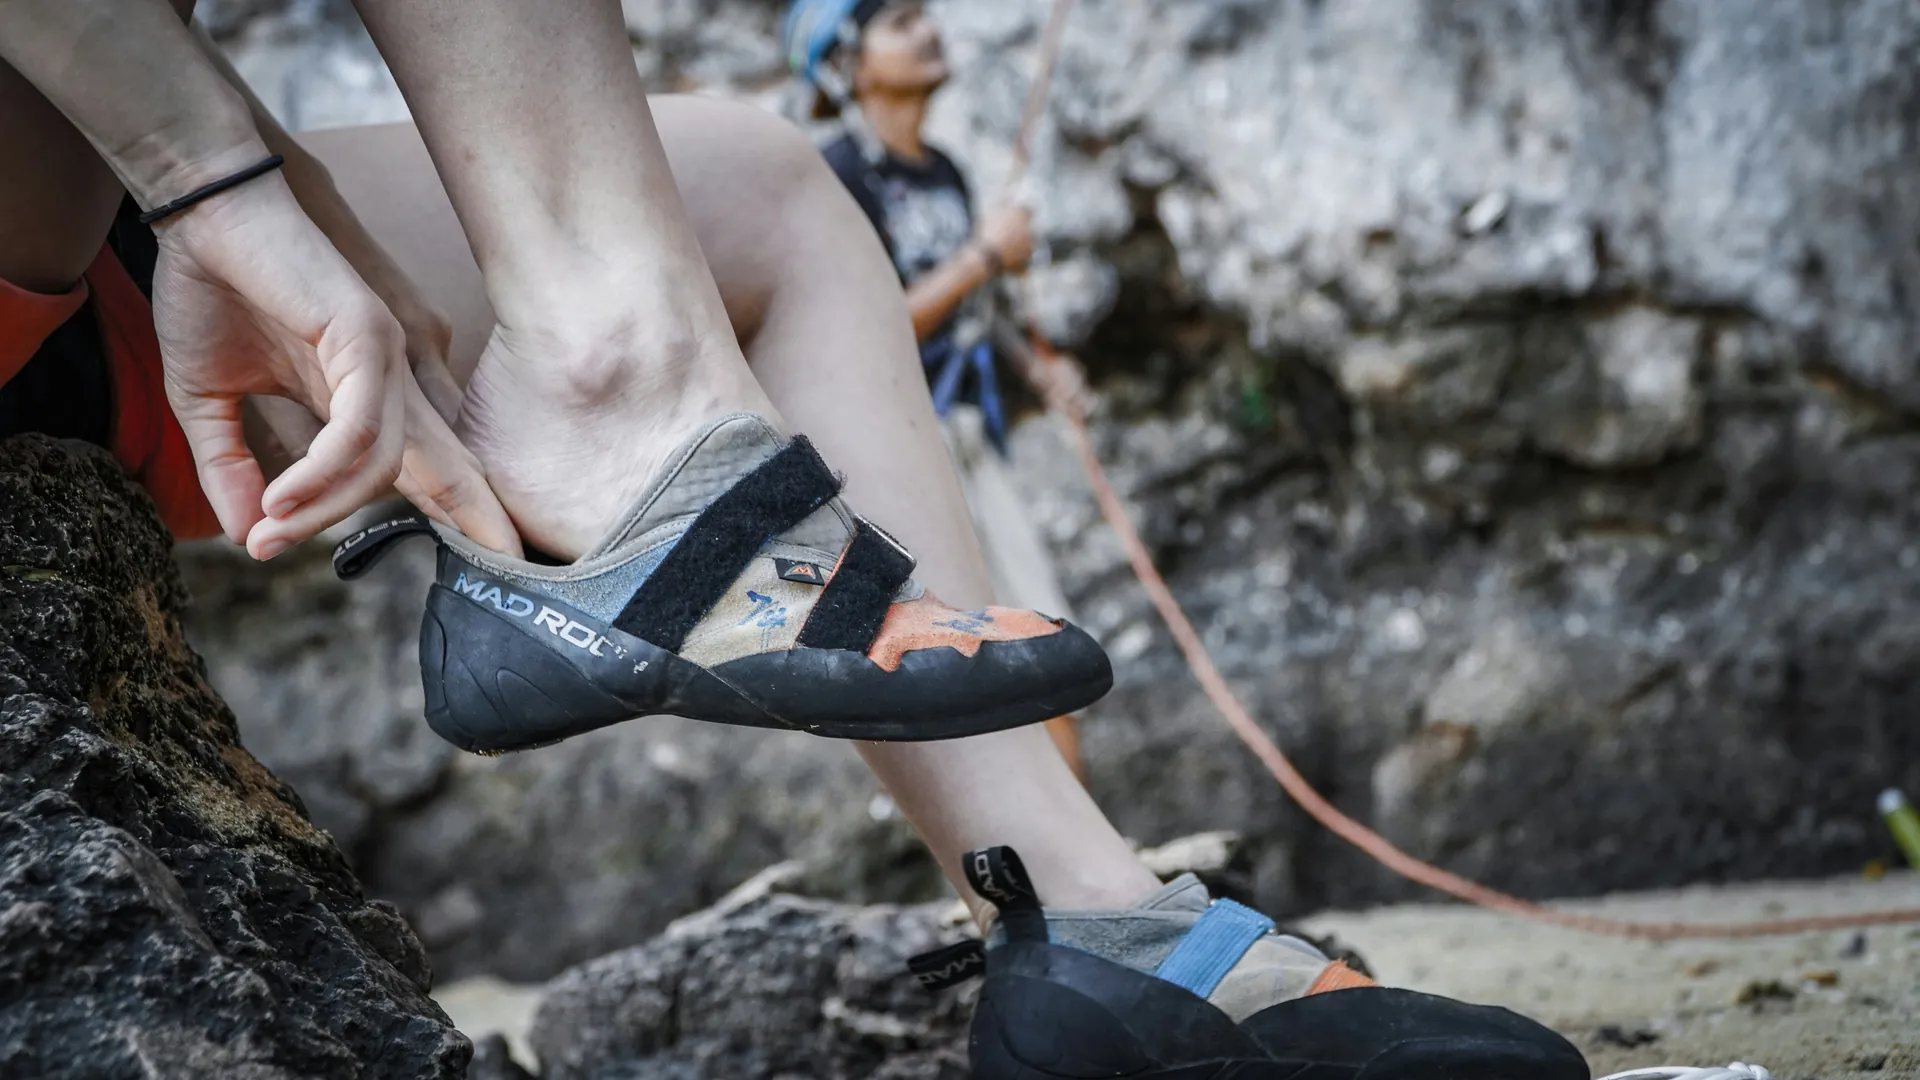
Steer clear of these viral hacks, reader—they might promise quick fixes but often deliver permanent damage like glue failure and warped components, ultimately ruining your investment. Save your climbing shoes by sticking to proven, reliable techniques.
Microwave, Oven, Boiling Water, Open Flame
Exposing climbing shoes to a microwave or oven melts internal glue, leading to rand separation and upper delamination. Boiling water can warp midsoles and deoxidize rubber, destroying friction permanently. Similarly, open flames scorch materials unevenly, making uppers brittle and prone to cracking under stress. These methods irreversibly damage the structure of your shoes—there are zero success stories that outweigh the wreckage.
Freezer "Water Bag" Method: Why It's Unreliable for Climbing Shoes
Filling climbing shoes with water bags (like sandwich bags) and freezing them applies uneven pressure, which stresses seams, promotes delamination, and creates awkward dead spots. Since this method doesn't mold to your foot shape, the results are highly inconsistent. If the bags leak, ice expansion can soak the materials, fostering bacteria and unpleasant odors, while also risking cold damage to the glue. Even when this hack "works," it can unpredictably deform the heels, making it far riskier than foot-based methods.
Overstuffing for Days or Forcing Length Increases
Cramming shoes with excessive fillers for days overstretches the uppers unevenly, causing permanent distortion to heel cups and toe structures. Additionally, this method often results in minimal length gains, at best. This brute-force tactic creates dead air pockets and loosens the precision fit, compromising performance for edging and heel hooks—key elements in aggressive climbing.
After stretching: lock in the fit and protect the shoe
Proper aftercare is essential to prevent rebound and extend the lifespan of your shoes. Handle this step correctly to maintain your new fit and friction for the long term.
Cool-down and drying protocol
Allow your shoes to air-dry in a shaded, ventilated area, away from heaters, direct sunlight, or dryers. Direct heat can warp shapes and weaken glue. If your shoes have insoles, remove them to dry separately. Stuff the uppers loosely with newspaper (replace daily) to help maintain their form, and sprinkle an odor-controlling powder, such as baking soda, inside. Be patient, as full drying can take 24–48 hours—this step is significant to locking in the gains without causing shrinkage.
Short re-test on real footholds
Once your shoes are completely dry, perform a short re-test on actual terrain. Use small holds to verify toe power, smear on slabs to assess volume feel, and hook your heels to check for security. Comfort should improve without any slippage or instability. Keep this test brief—10 to 15 minutes on easy terrain is enough to confirm precision holds and spot any potential issues early.
When you overshot: signs you stretched too far
Be on the lookout for signs that you may have overstretched your shoes. These include heel lift (greater than 1/4 inch slip), toe dead space (play during edging), edging wobble, or sloppy toeing. These issues indicate excess volume that can reduce power. To mitigate this, try wearing thicker socks during gym sessions, designate the shoes as your "comfy" outdoor pair, or add gel inserts for minor adjustments. Avoid re-tightening hacks, as they may cause further damage.
Stretching Strategy by Climbing Style (So You Don’t Ruin What You Bought the Shoe For)
Tailor your approach to your climbing discipline, reader. Bouldering enthusiasts require different care than those tackling all-day trad climbs to maintain optimal performance.
Bouldering/Steep Climbing Shoes: Prioritize Heel/Toe Security
These aggressive downturn shoes are designed to excel on roofs and dynamic moves where heel and toe hooks dominate. Overstretching the heel cup or toe box can compromise hook security, causing your feet to slip mid-project. Stick to hotspot-only techniques, such as using plugs on knuckle pinches, and avoid full-width stretching that might loosen the rand's claw-like grip, which is essential for technical footwork.
Sport Climbing: Balance Comfort and Precision for Longer Pitches
Endurance routes benefit from small adjustments that enhance foot confidence without sacrificing the ability to edge on tiny holds. Short sessions on vertical jugs can help stretch the shoes just enough for multi-route sessions. Ensure the downturn remains intact for powerful pulls, and test smearing post-stretch to confirm that toe precision holds up, even during a pump.
Trad/Multi-Pitch: When "Stretching" Is Really Just Choosing the Right Model
For big wall or alpine objectives, prioritize all-day comfort over aggressive performance. Flatter-profile shoes stretch minimally, offering relief during long climbs. If discomfort persists, consider switching to approach-style shoes rather than forcing tight slippers. Minimal stretching with thick socks or extended wear helps maintain jamming ability without compromising crack technique or long standing belays.
Conclusion
Dear reader, when it comes to rock climbing shoes, the key to achieving the perfect fit lies in a combination of controlled wear, addressing specific hotspots, and using cautious heat. Always start with low-risk methods to safely mold your shoes without compromising their precision.
First, assess the fit carefully: while width can stretch, remember that length does not. Leather climbing shoes tend to expand more than synthetic ones, and shoes with aggressive shapes require minimal intervention to maintain their performance.
Avoid risky methods like freezer bags or microwaves, as these can damage the glue and rands of your shoes. After stretching, test your shoes on real rock to ensure the shape is locked in properly. Additionally, tailor your approach to your climbing style—bouldering often requires secure toes, while trad climbing prioritizes comfort.
So, grab a plastic bag or thick socks, engage in short micro-sessions, and enjoy climbing pain-free. Your perfect fit is just around the corner—go send that project with confidence!