

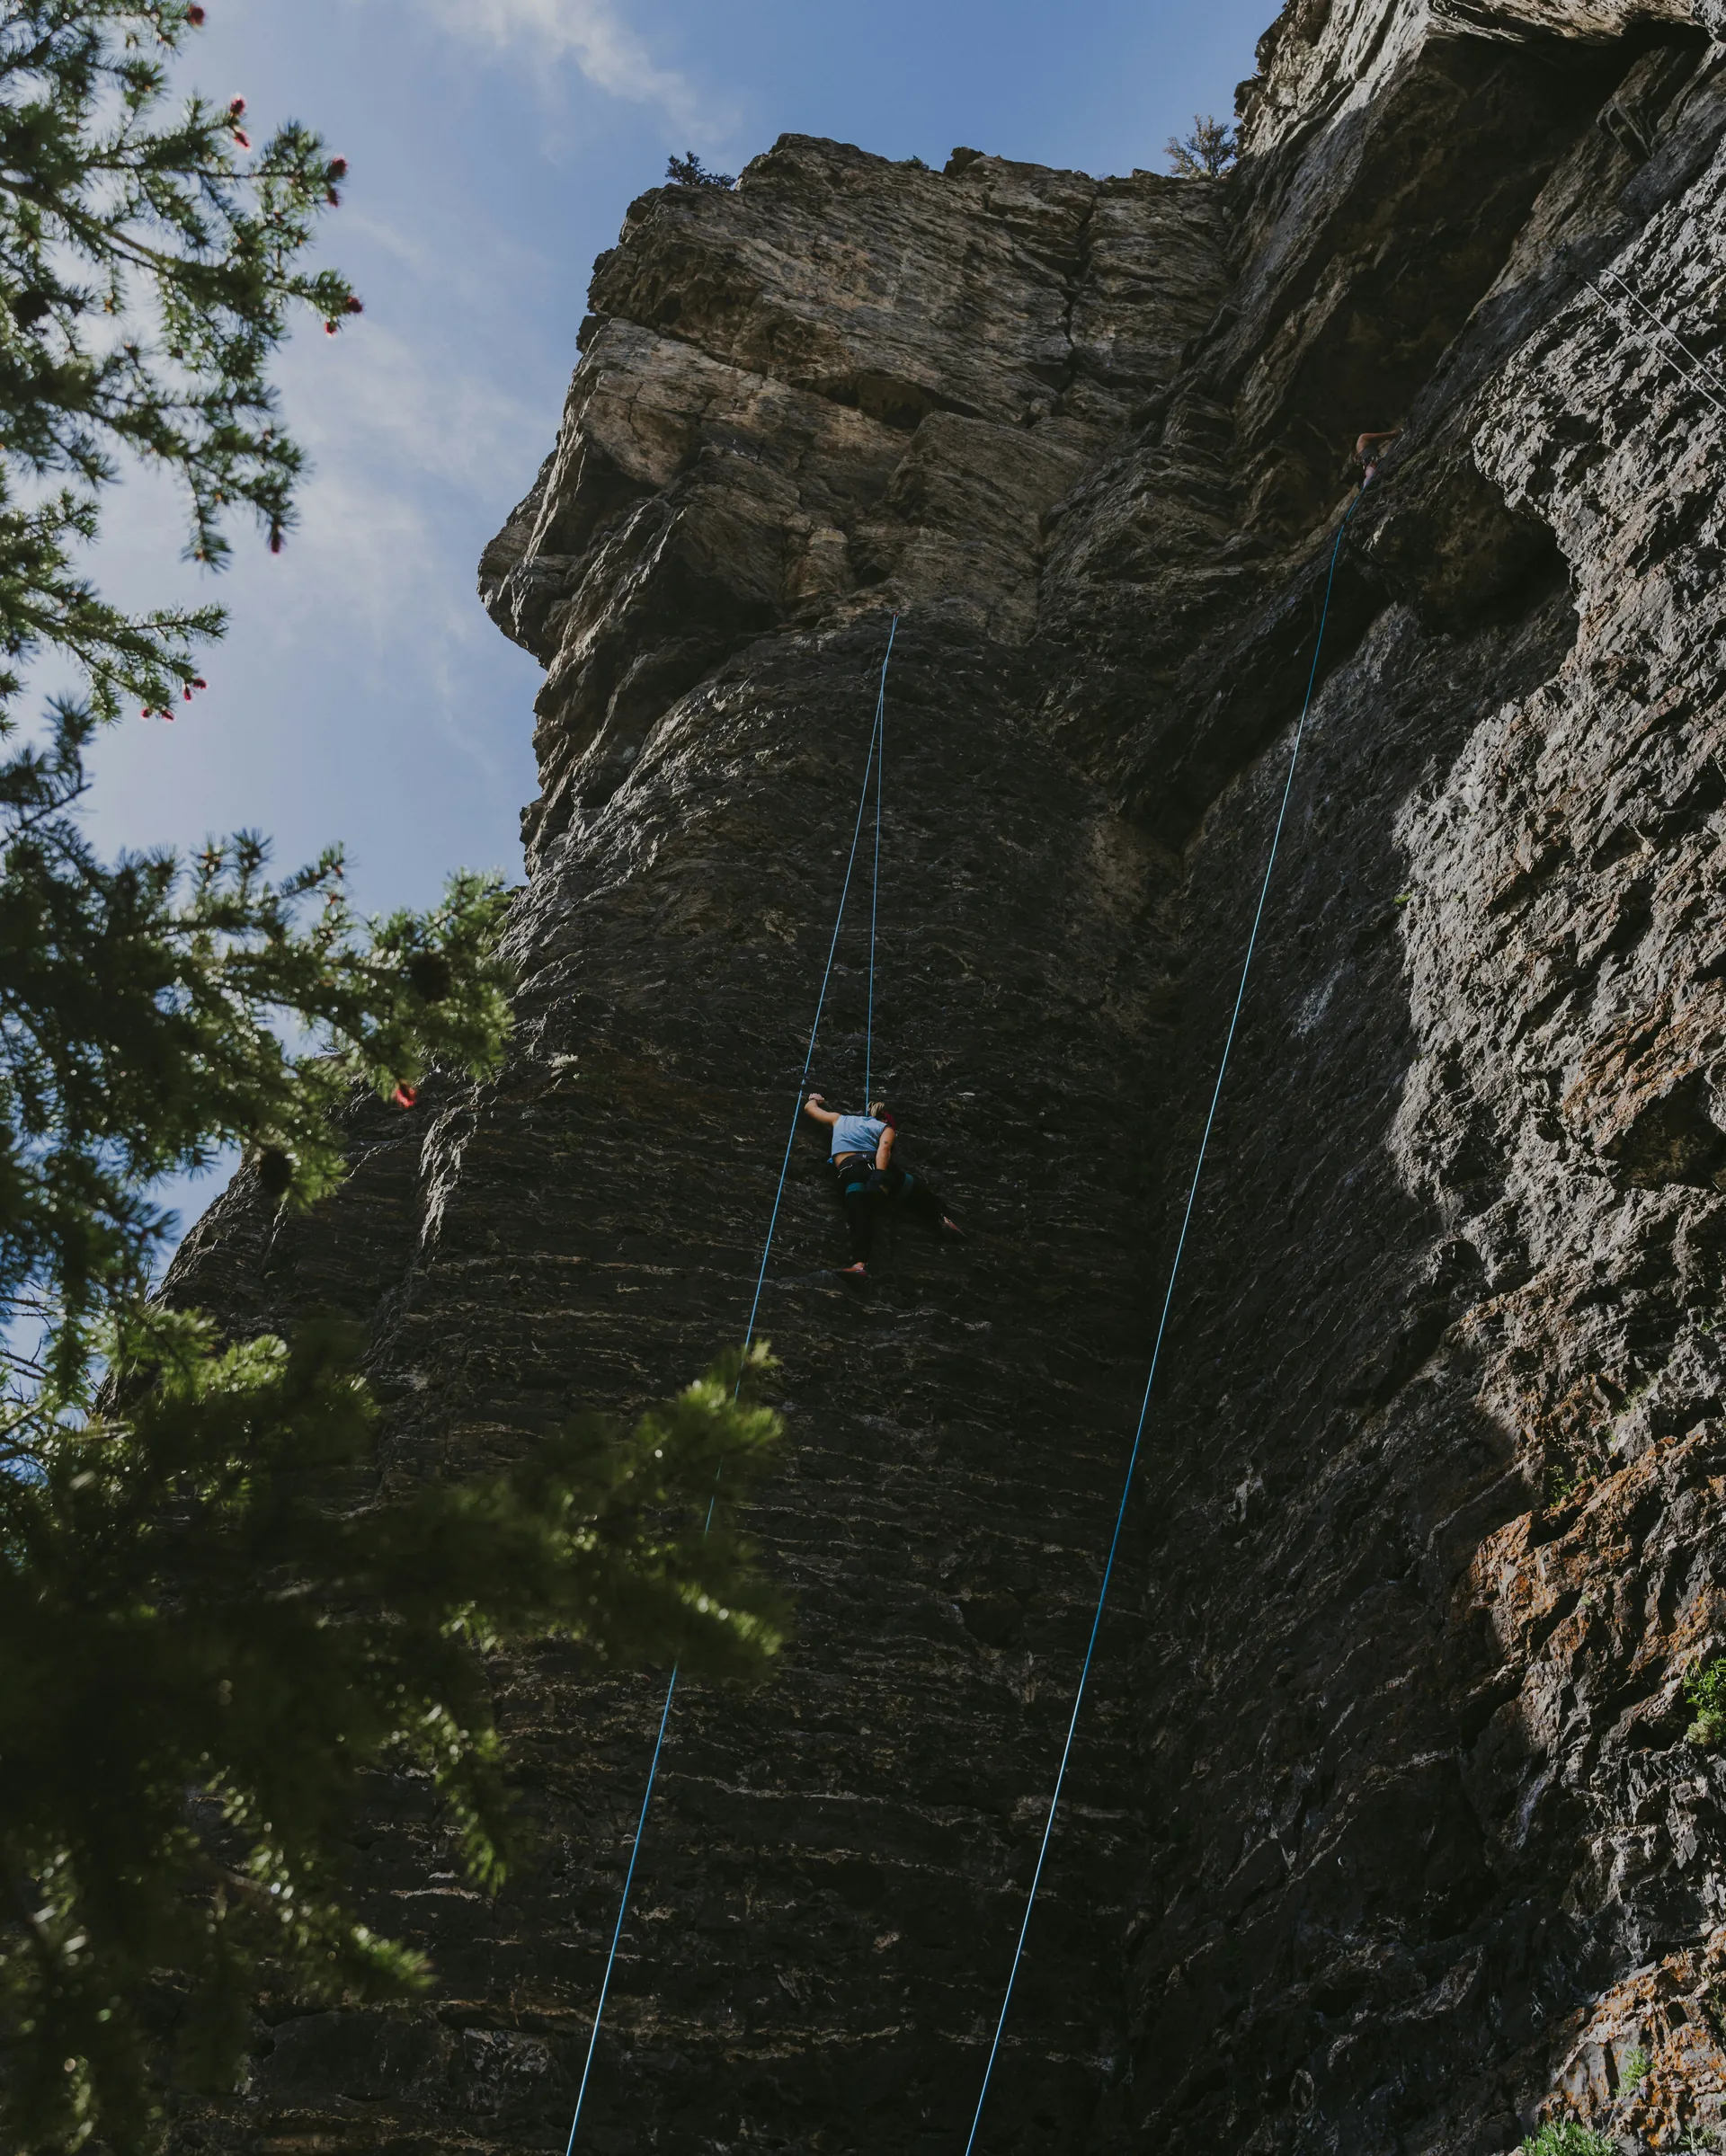
If you've spent time at a climbing area or browsed through climbing forums, you've likely heard climbers mention "sending a redpoint" or "projecting a route." But what does redpoint climbing truly mean, and why is it so significant to climbers? In sport climbing, a redpoint is a successful free-climb of a route by a lead climber, completed without falling or resting on the rope, after prior attempts where the route wasn't climbed cleanly.
Unlike an onsight (where you climb without any prior knowledge) or a flash (where someone provides beta before your attempt), redpointing allows climbers to practice and rehearse the route multiple times before achieving a clean ascent. This distinction is important as it marks the transition from practice to mastery, offering climbers a precise way to track progress and celebrate achievements.
Whether you're a boulderer exploring sport climbing, a gym climber transitioning outdoors, or an experienced climber refining your ascent styles, understanding redpoint climbing can enhance communication, set realistic goals, and deepen appreciation for climbing ethics. This guide will define redpoint climbing, trace its origins, and provide strategies for successfully sending your own redpoints.
What “redpoint” means in climbing (and what doesn’t count)
A redpoint requires a clean lead ascent from the bottom to the top of the route, after any amount of prior practice or beta, with no falls and no weighting the rope or gear for support. Importantly, this is strictly a lead-only achievement—sending a route cleanly on top rope, even after practicing it, does not count as a redpoint.
The non-negotiables: lead ascent, no falls, no takes
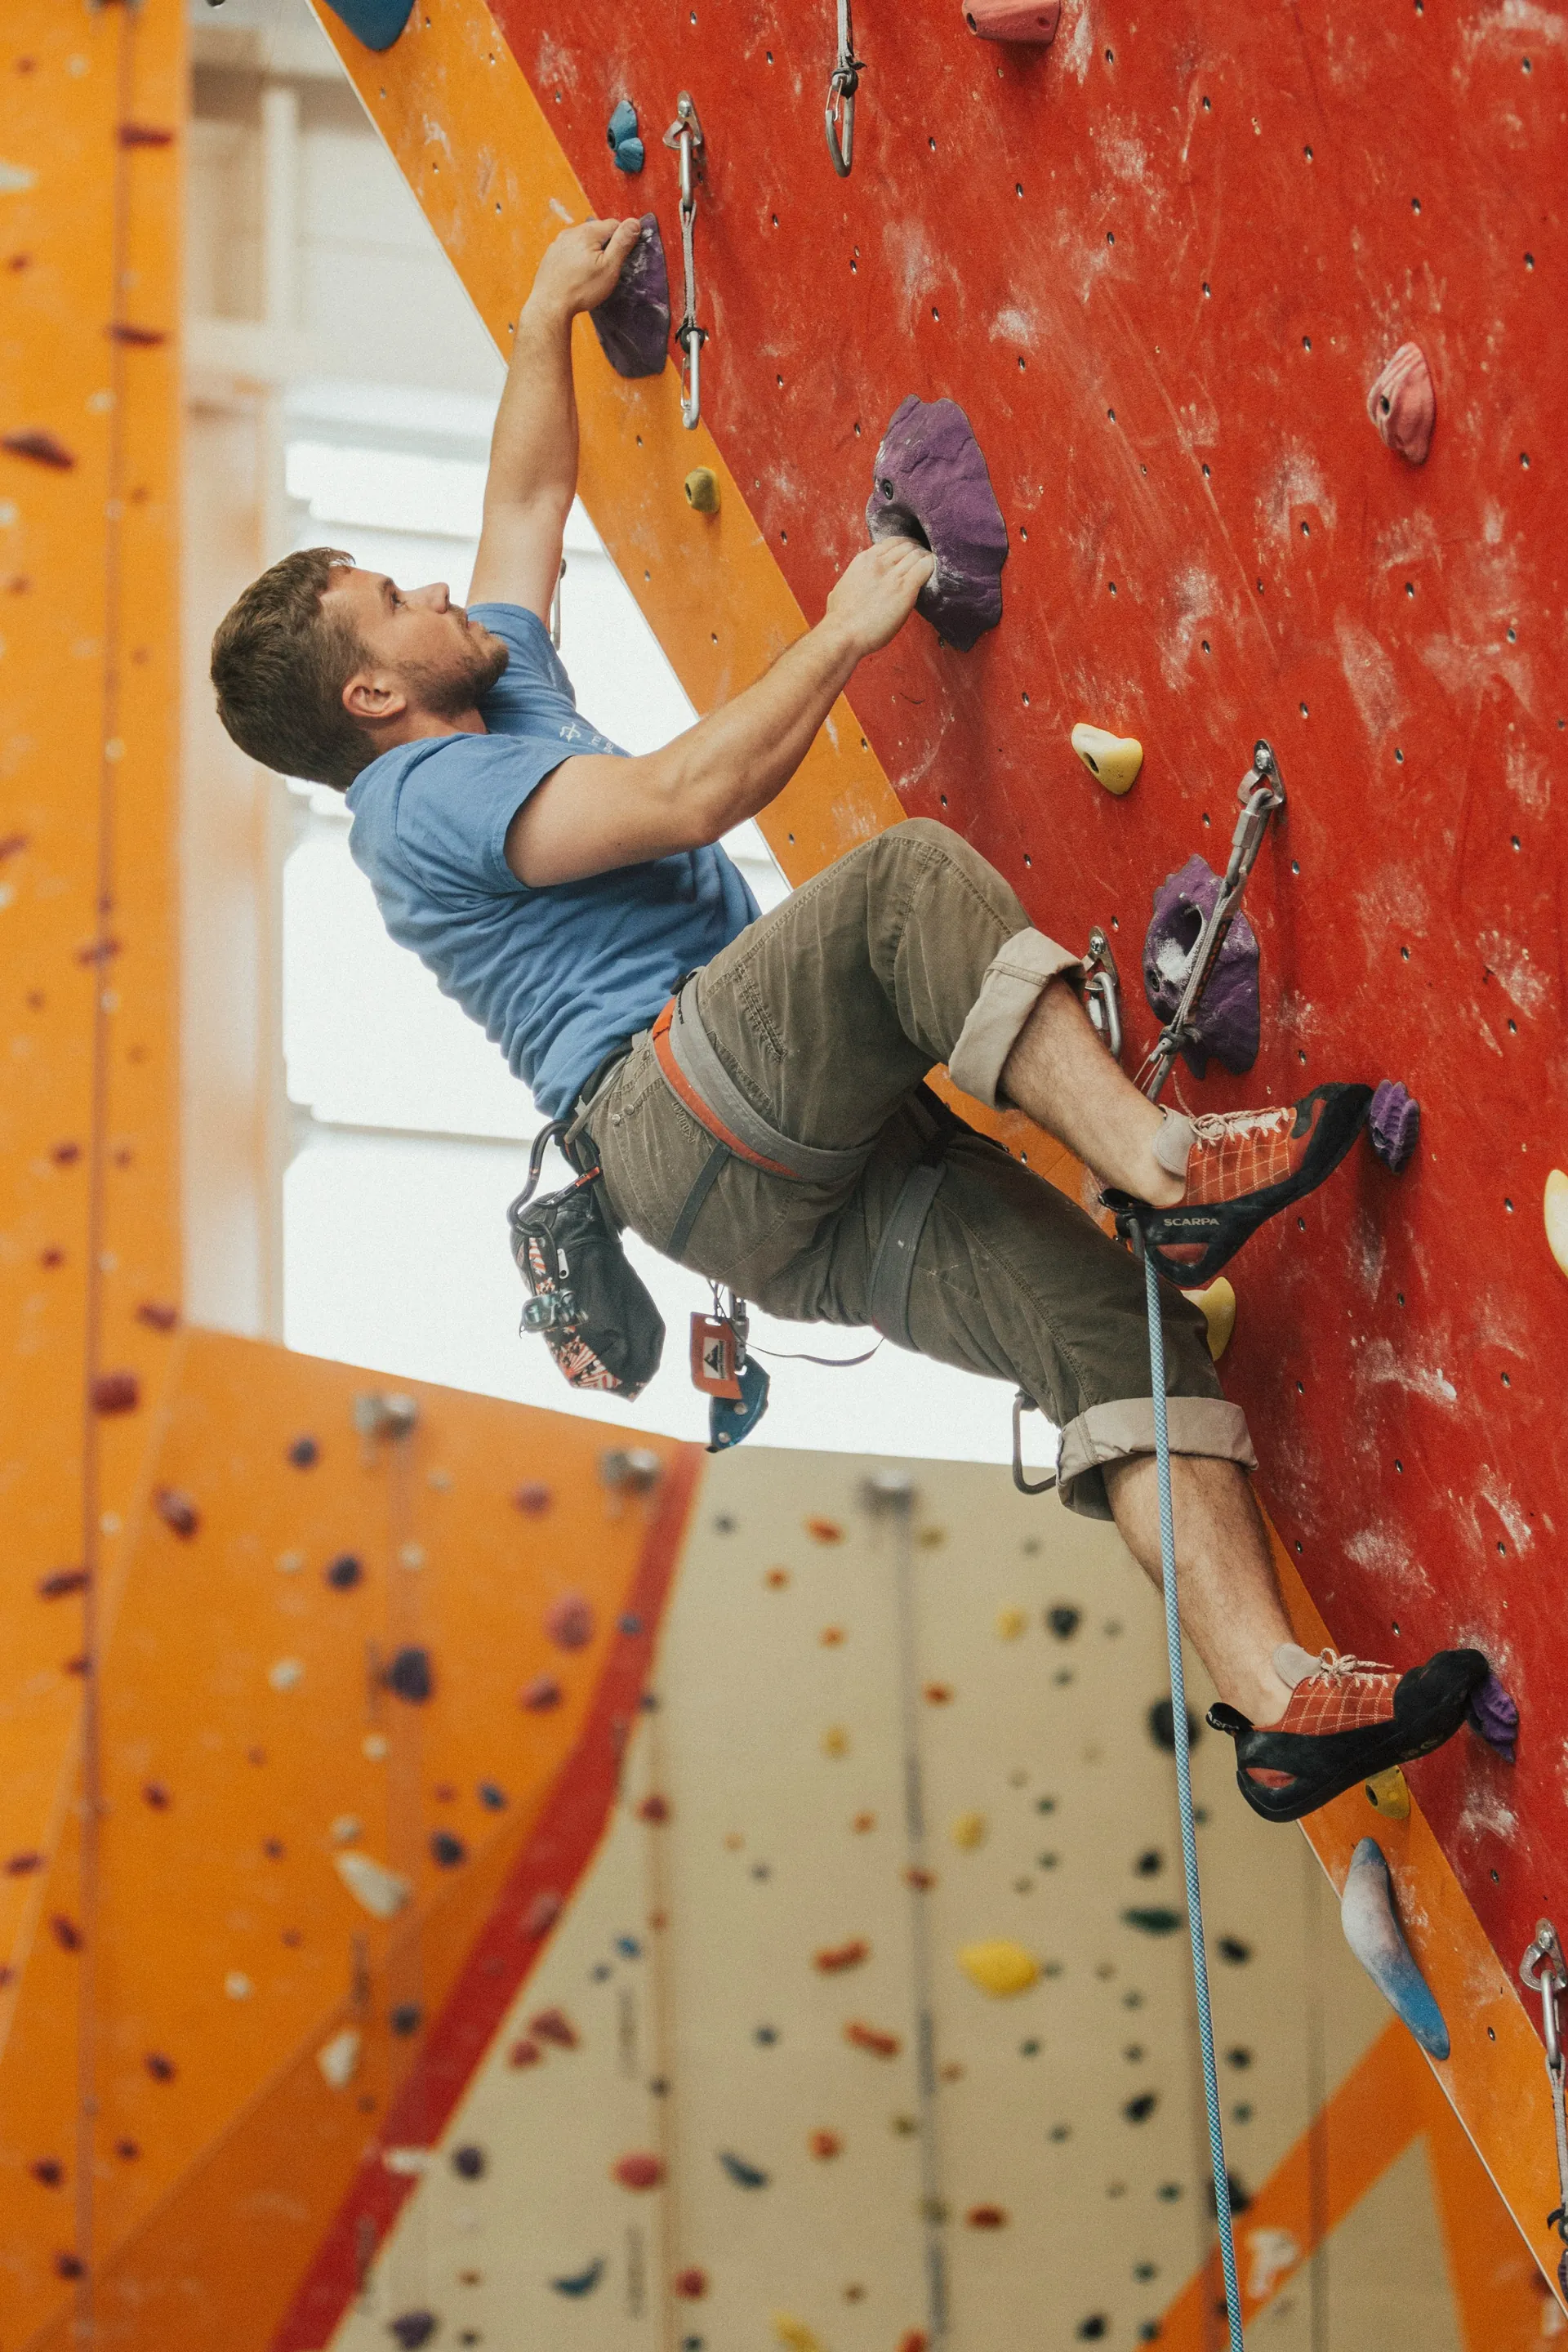
To claim a redpoint, you must lead the entire route without any falls, hangs, or takes where your bodyweight rests on the rope. Picture this common gym scenario: you're at your local sport climbing gym, you've top-roped the route a few times to learn the moves, but when you tie in for the lead attempt and clip every draw without slipping or pulling on gear, that's your redpoint. At the crag, if you're projecting a steep route and make it to the anchors on lead without incident after sessions of working it, you've redpointed it—no exceptions for partial progress or shortcuts.
Resting on rock vs resting on rope/gear
During your redpoint attempt, you can pause to shake out, use hands-free stances, knee-bars, or heel/toe hooks as long as you're fully supported by the rock. But resting by hanging on the rope, sitting back in your harness, or grabbing the quickdraw or bolt to make upward progress invalidates it entirely—these count as weighting artificial aids. Think of it this way: if your belay partner feels any tug from your weight during a "rest," it's not a true redpoint rest.
The restart rule after a fall
If you fall at any point during a redpoint burn, the standard is to lower off, pull the rope completely free from all protection (like draws or bolts), and restart from the ground for a fresh attempt. This differs sharply from "working" the route, where you might hangdog—lowering briefly then continuing from mid-height without pulling the rope—which builds beta but doesn't qualify toward a redpoint. Many climbers follow this "pull the rope" ritual religiously to keep their attempts clean and honest.
Where the term comes from: Rotpunkt, Kurt Albert, and the shift to free climbing
The term "redpoint" originates from the German word "Rotpunkt," coined by the pioneering climber Kurt Albert in the mid-1970s. This happened in Germany's Frankenjura region, where Albert painted a red dot at the base of routes he had successfully freed. This tradition marked a major historical shift from aid-dependent tactics—relying on pitons and hooks—to free climbing under one's own power. It elevated the standard for what constituted a true ascent.
The original Rotpunkt idea and why it spread
Kurt Albert initially marked fixed pitons or hooks with a red "X" after figuring out how to free-climb past them without aid. Only after freeing the entire route did he paint a full red dot (Rotpunkt) at the base to signal that the route "goes free." This visual cue quickly spread across Europe, defining modern sport and free-climbing values. It encouraged climbers to prioritize clean, self-powered ascents over artificial assistance.
From aid tactics to free standards
Before the era of Rotpunkt, Frankenjura routes primarily served as training grounds for aid climbing larger alpine objectives. Climbers would routinely pull on gear for progress. Kurt Albert's approach established "clean climbing under your own power" as the benchmark, making redpointing central to pushing the boundaries of hard sport climbing. It also fostered a culture of ethical, fall-free leads.
Modern usage vs strict historical definitions
Nowadays, everyday climbers might use the term "redpoint" more loosely, such as in gyms or casual settings. However, the strictest definitions still demand no falls or rope weighting while on lead. When sharing your accomplishments, prioritize clarity and honesty about your climbing style—whether it's a pure Rotpunkt or a practiced lead. This ensures respect for the term's origins and keeps conversations with fellow climbers precise.
Redpoint vs onsight vs flash: how ascent styles are categorized
Ascent styles create a practical hierarchy based on your first successful lead and the level of prior knowledge—or beta—you possess. An onsight climb requires no meaningful beta on the first attempt. A flash allows for some beta but still demands a first-go send, while a redpoint permits unlimited practice before achieving a clean lead.
Onsight: first try with no meaningful beta
An onsight is a clean lead on your very first attempt, with truly no prior knowledge of the route's moves, sequences, or holds, aside from what you can naturally observe from the ground. Common actions that disqualify an onsight include watching someone climb the route, receiving detailed verbal beta, viewing videos or photos of the climb, or inspecting it closely via rappel or binoculars. Stick to basic information like the grade or line location if absolutely necessary.
Flash: first try with beta
A flash involves sending the route cleanly on your first lead attempt, but after receiving beta. This beta might include verbal tips from others, watching someone else attempt the climb (even if they fail), or reviewing videos. However, you cannot practice the moves beforehand. Flashing still tests your ability to execute under a mild preview, which distinguishes it from the more "blind" challenge of onsighting.
Why people track these styles separately
Climbers log onsights to measure their route-reading and improvisation skills on unknown terrain. They track flashes to evaluate their execution ability when given information, and they record redpoints to monitor their power and strategy after practicing and overcoming fatigue from projecting. By separating these ascent styles, climbers can benchmark growth across distinct skill sets, making gym sessions or crag trips more insightful for personal improvement.
Related terms that often get mixed up: pinkpoint, headpoint, hangdogging
Here's a quick vocabulary map to help you label your ascents accurately: pinkpoint mirrors a redpoint but with pre-hung draws, headpoint involves rehearsing via top-rope or inspection before a clean lead, and hangdogging refers to practicing with intentional rests on the rope without full restarts.
Pinkpoint vs redpoint (pre-hung draws vs clipping on lead)
A pinkpoint is a clean lead ascent after practice, but with quickdraws already pre-placed on the bolts by you or others, saving energy and time compared to clipping your own on every attempt. While many climbers casually call these "redpoints" in gyms or on fixed-draw routes, purists distinguish them—report accurately in competitions or when grade-chasing to honor the extra effort of hanging draws yourself.
Headpoint and how it overlaps with redpointing
Headpointing means thoroughly rehearsing a route—often on top-rope, via detailed inspection, or even aid—to memorize every move before attempting a clean lead send, blending preparation with redpoint execution. It's most common on committing trad or multi-pitch routes where falls carry higher risk, allowing you to redpoint confidently after dialing the sequence.
Working a route (hangdogging) vs the final “send”
Working a route through hangdogging involves climbing as far as possible, then taking intentional rests on the rope (lowering briefly without pulling it), repeating sections to refine beta before eventually attempting a full clean lead. This builds the puzzle pieces for your redpoint send, but only the final fall-free lead counts as the achievement.
The redpoint process: how projecting actually works
Follow this repeatable six-step system for your next project: scout and select wisely, perform bolt-to-bolt reconnaissance, isolate crux chunks, link sections with overlaps, practice for performance, and execute ground-up redpoint burns. Trusting the process will lead to inevitable sends if you remain patient.
Choosing the right project
Select a route that aligns with your strengths—such as slabs if you're technical or steep pockets if you're powerful. Ensure the route offers good fall safety, easy access, and high personal motivation. For experienced climbers, aim for 1-2 grades above your onsight max; if you're newer to projecting, select something just above your current limit.
Consider factors like route length (shorter for power, longer for endurance), the number of cruxes (one major crux is simpler), and conditions such as season or temperature to determine the optimal send window.
Efficient rehearsal: isolate, solve, then link
Begin bolt-to-bolt with a stick clip to analyze sequences without excessive fatigue. Isolate crux chunks to perfect your body positions, footwork, and clipping stances. Once these are solid, work on building overlaps—climb from a mid-section below to the top of the next section, gradually extending your links until ground-to-rest or rest-to-rest flows seamlessly.
Dialing rests and pacing (“route economy”)
Identify no-hands stances early in the process and practice deep breathing and shaking out during rehearsals. If needed, hang briefly to fully recover. Climb with deliberate pacing—move slowly through easier terrain to conserve energy, and accelerate only where it’s most efficient. This deliberate pacing will allow your rest quality to multiply your power for the cruxes ahead.
Building a send plan
Sketch out your plan on paper or your phone. Include key details such as sequence cues (e.g., "high foot left, dyno right"), clip positions with stance notes, planned shakeouts with breath counts, and crux execution triggers (e.g., "commit at third move"). Add bail criteria, such as pump level or skin wear, to help you decide when to step back. Review this plan before each burn to stay focused and confident during execution.
Redpoint attempt tactics: executing when it counts
The leap from knowing the moves to sending demands optimized warm-ups, mental steeling, precise on-wall micro-decisions, and seamless belay support—turning rehearsal confidence into ground-up execution under accumulating pump.
Warm-up structure and attempt timing
Build your ladder with easy routes or traverses to prime pump tolerance, progressing to bolt-to-bolt on your project (stick-clipping first bolts), resting 30-45 minutes post-flash-pump warm-up before 1-3 serious redpoint burns per day—cap at two if near your limit to preserve recovery for future sessions.
Managing falls, fear, and commitment
Practice controlled falls early to desensitize fear, use pre-climb visualization replaying your sensory movie of success, breathe deeply at rests to reset (exhale on hard pulls), and define "commit zones" past cruxes where you push through doubt without second-guessing.
Micro-strategy on the wall: clipping, shaking, and crux execution
Clip from stable stances using straight arms, shake forearms downward at no-hands spots with straight elbows, sync deep breaths to movement rhythm (inhale easy, exhale crux), and rely on precise footwork—high feet, smears—to minimize forearm pump and overgripping.
Partner/belay factors that affect success
Communicate clearly ("slack," "take," "clipping") for rhythm without hesitation, ensure smooth rope management to avoid drag or catches mid-move, and deliver consistent, soft catches that let you rebound quickly—positive energy from your belayer boosts your send odds.
Training for Redpoint Performance (Without Getting Injured)
Redpointing requires a combination of power endurance for sustained crux linking, finger strength for tackling crimps and pockets, refined technique as a form of "free fitness," and smart recovery strategies to avoid overuse injuries. Focus on gradually progressing these qualities with quality repetitions over sheer volume.
Power Endurance and Route Specificity
Train for sustained efforts by incorporating 4x4s (four boulder problems near your limit, repeated four times), linked boulder circuits that mimic your project's angle and holds, or alternating hard/easy route laps to build flash-pump tolerance. Tailor your sessions to the specific demands of your project, such as steep overhangs for pockets or slabs for technical footwork.
Finger Strength and Tendon-Friendly Loading
Develop your crimp and pocket strength using a hangboard with 7-10 second hangs at 75-85% of your max. To avoid injury, ensure you warm up your tendons thoroughly and avoid sudden intensity spikes. Balance your training with antagonist exercises, such as reverse wrist curls and finger extensors, to prevent imbalances and reduce the risk of pulley strains.
Technique as “Free Fitness”
Improve your technique by honing skills like precise footwork for smears and edges, hip drops to maintain balance over your feet, and straight-arm relaxation to reduce pump by 20-30%. Practicing these techniques on easier terrain or traverses can yield faster redpoint progress than focusing solely on strength without efficiency.
Recovery Management During Projecting Phases
Incorporate 1-2 full rest days between sessions to allow your body to recover. Prioritize getting 8+ hours of sleep and follow a simple nutrition plan, including protein post-climb and carbs to replenish glycogen stores. Watch for early signs of overuse, such as persistent finger soreness or elbow twinges, and reduce training volume if these symptoms appear to ensure long-term progress without injury.
Using redpoints to track progress (and talk about your climbs clearly)
Utilize redpoints for an honest self-assessment by comparing them against your onsight or flash baselines recorded in logbooks. Communicate clearly during conversations to establish accurate benchmarks and avoid exaggerating achievements.
Redpoint grade vs onsight/flash grade in practice
For most climbers, redpoint grades are typically 2-3 levels higher than their onsight maximum up to 5.11d/7a grades. This gap often widens to nearly 4 grades by 5.13b/8a. However, elite climbers may narrow this difference slightly thanks to superior beta processing and extensive experience. Monitor this gap over time—a shrinking difference indicates improved route-reading skills or enhanced efficiency.
“Redpoint crux” vs “hardest move”
The redpoint crux can differ from the raw hardest move on the route due to cumulative fatigue, the positioning of the crux (e.g., high on the route after pump builds), or mental exhaustion. What feels cruxy during fresh rehearsals might present differently during full burns, making it essential to recognize these nuances.
What to record while projecting
When projecting, log key details such as the highest points you reached, the longest links you managed, the total number of burns taken, and session conditions like temperature and skin state. Additionally, note pivotal beta adjustments, such as discovering a new heel hook that unlocked progress. These metrics can help you identify patterns that accelerate your sends.
Style transparency
Always specify details like pre-hung draws, major kneebars, heel-toe rests, weather conditions, or crowd beta when reporting your climbs. Providing full disclosure, such as noting "pinkpoint with preclips," demonstrates respect for the climbing community and helps others accurately contextualize your achievement.
Conclusion
Redpointing is more than just clipping bolts on lead—it's a methodical sport that requires smart project selection, focused rehearsal, mental resilience, and honest self-assessment. Whether you're projecting at your local climbing gym or tackling routes at a crag, the redpoint framework provides a valuable language to track progress and communicate effectively with fellow climbers.
Start by choosing a route that truly excites you. Work on it systematically, bolt-by-bolt, and refine your rests. Build overlapping links and commit fully when the conditions are right. Remember, patience and consistency will always outperform raw strength, and the send will come to those who respect the process and stay injury-free through smart training and recovery.
Now, get out there, find your project, and send it.